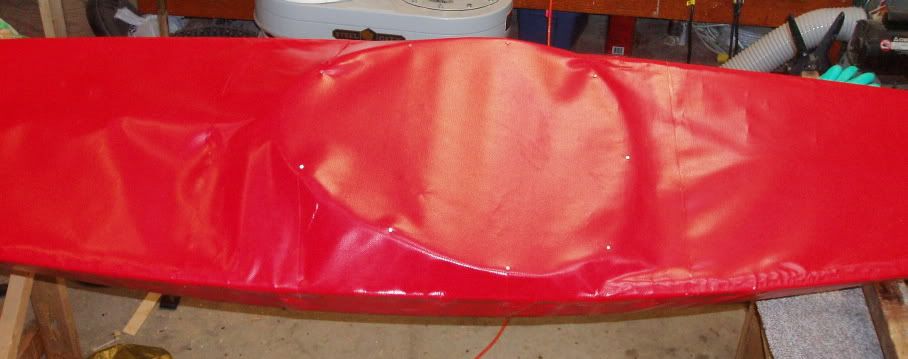
 Since that time the coaming has been installed, mostly. I ran out of machine screws so had to buy two more.
In order to create tie down points for carrying handles, and the rest of the deck rigging, padeyes using 1" D-rings (bought at Fabricland, probably not the cheapest or the best selection but they had them) were installed. Pieces of PVC, 1" x 6" were cut, glued then folded over and trimmed (as per Tom Yost's instructions) to create 3" long padeye anchors to be glued to the sides of the kayak with the D-ring at the deck. The narrow strip of masking tape created a glue-free spot in the center where the D-ring sits and
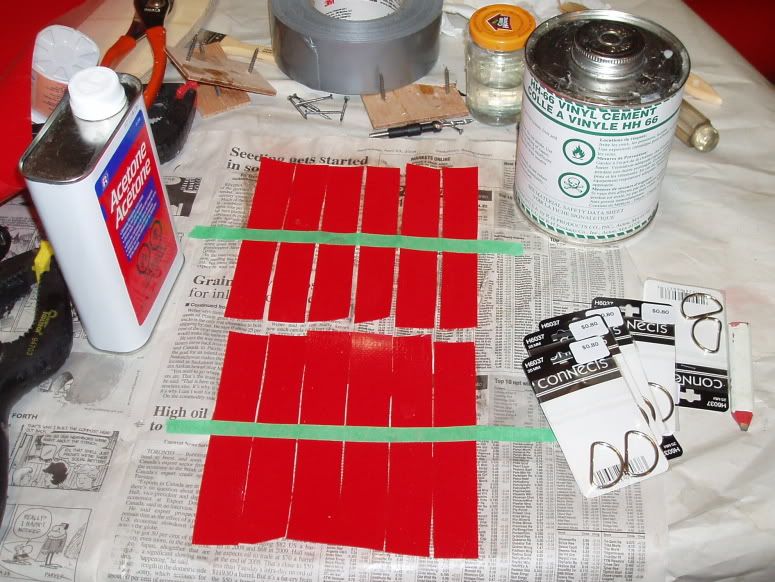
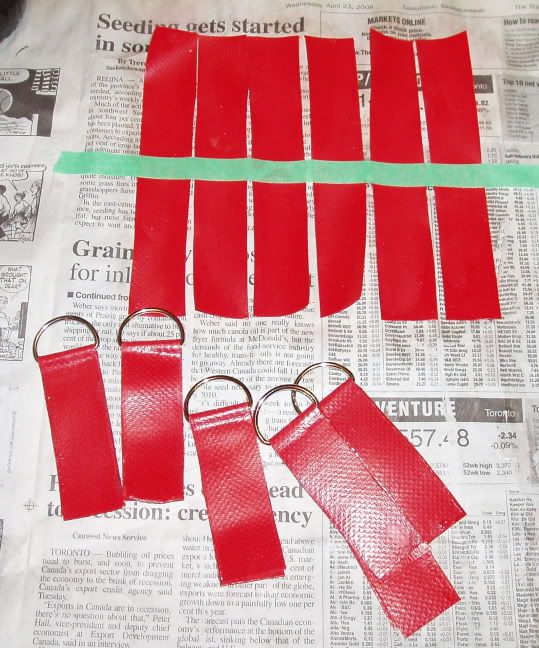
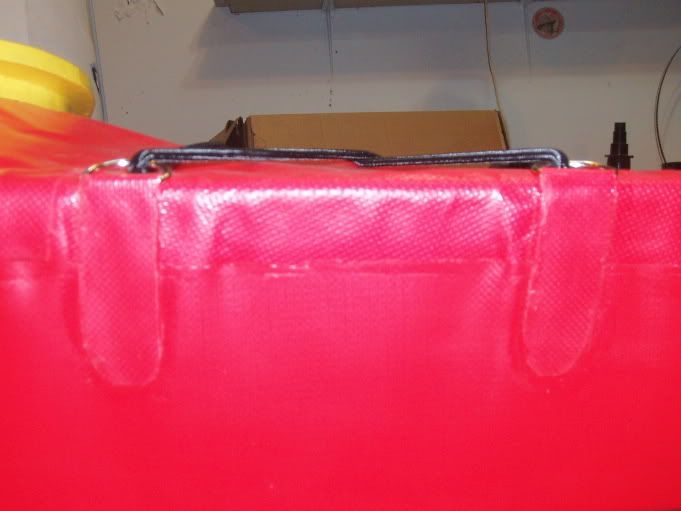 These were then glued to the kayak, one pair at the bow, one pair at the stern, two pair for bow deck bungees and two pair for the stern deck rigging (which will use cords and a pair of sliders to tighten them).
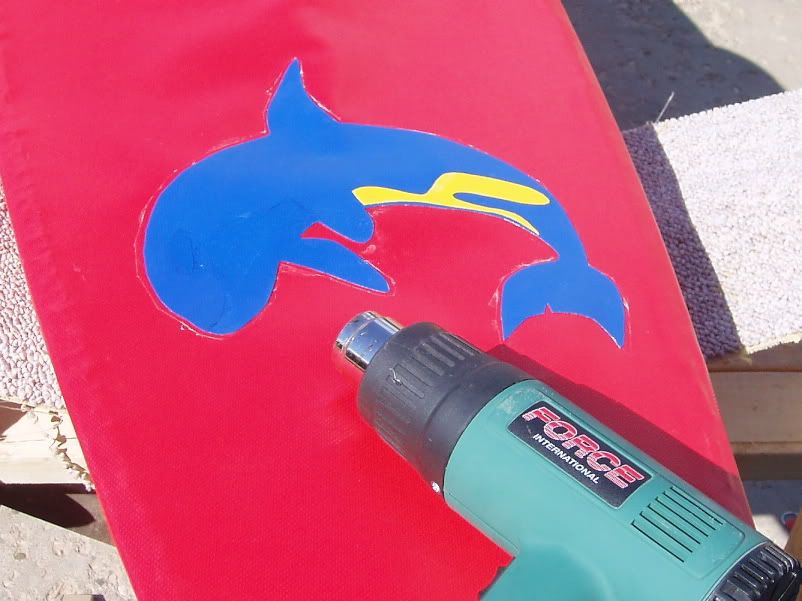
The Orca-style decoration was also glued on today. The whole thing was cut from blue PVC then the yellow patches were glued on afterwards.
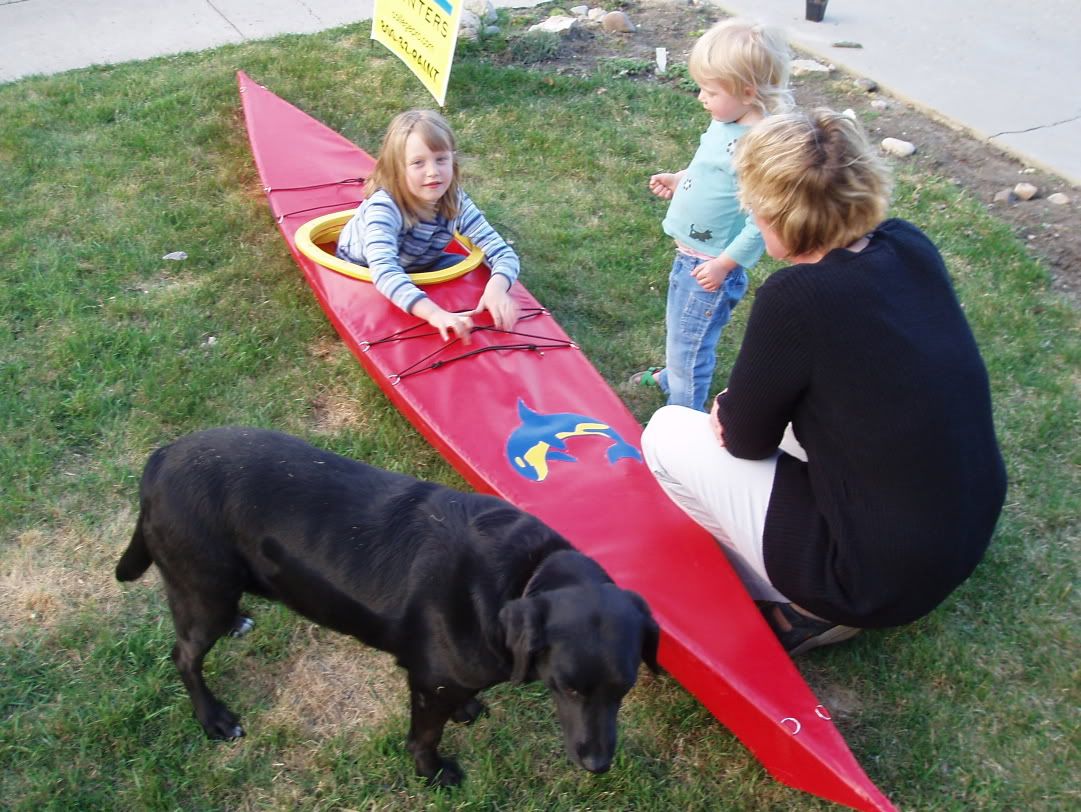
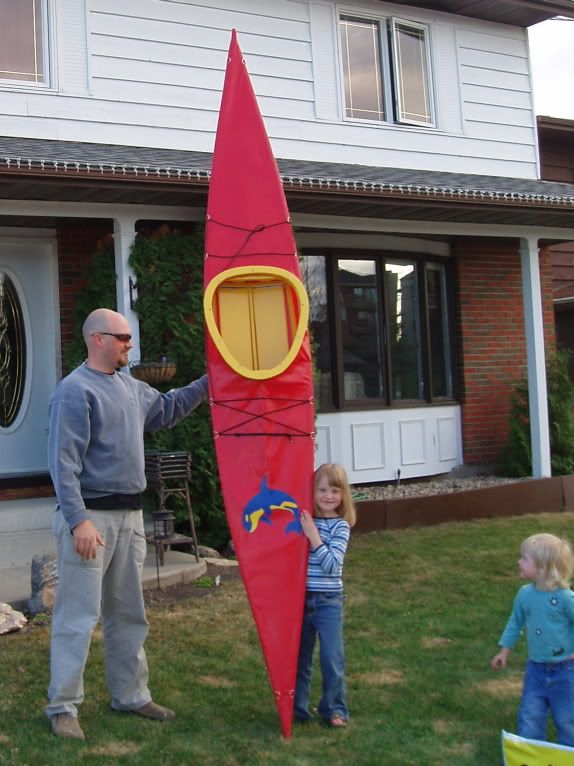
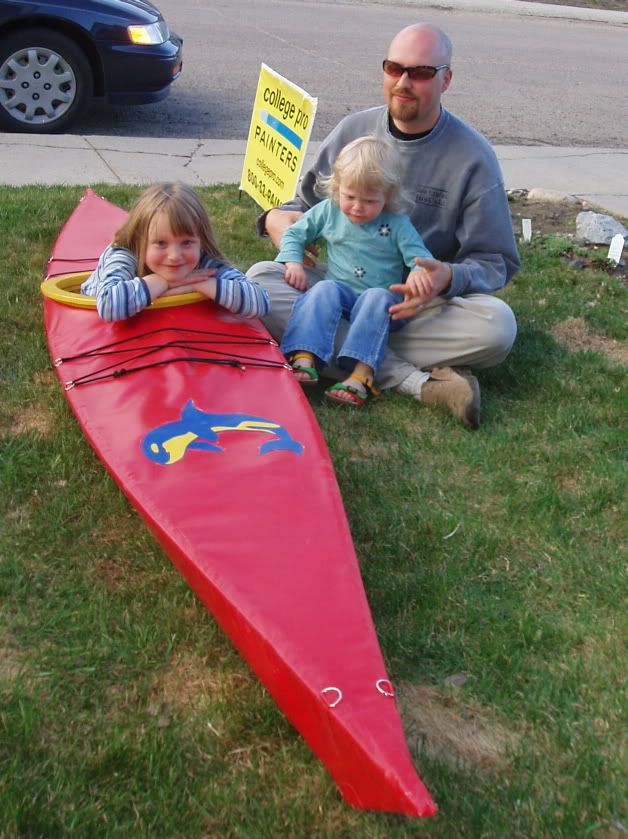
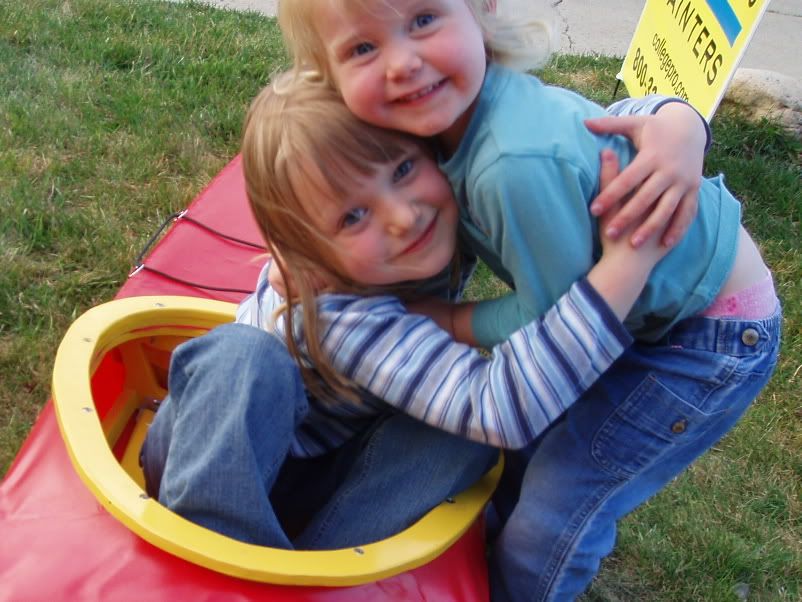
 I have to remember to draw the eyeball on the Orca yet with black marker.
With the kayak very nearly complete (I still need to make the outriggers, cut off the coaming bolts, and fit out the cockpit with foam) the girls were trying it out on the lawn this evening. My older daughter loves to pose, so we indulged her by taking a few more pictures of the girls with the kayak.
No comments:
Post a Comment