Inspired by Anton Olsen's flotation bags installed in his daughter's Sea Pup, I decided to make some for the Sea Flea. The air-filled flotation bags fill up the voids in the kayak so that there is less room for water when a mishap occurs. Somewhere I read that there are plans for flotation bags in the Chris Cunningham book, Building the Greenland Kayak, so I ordered it through the local library to have a look. Tom Yost also describes his methods for building flotation bags on his web site. It was Tom's description that I primarily followed. The bag for the bow was made first and I decided to make it out of a single piece of PVC fabric folded in half and glued at the seams. That ended up not working as well as I expected so the stern air bag was made as per Tom Yost's instructions. I should probably have made the stern air bag a bit larger in each dimension as it doesn't quite fill the stern but it's not bad.
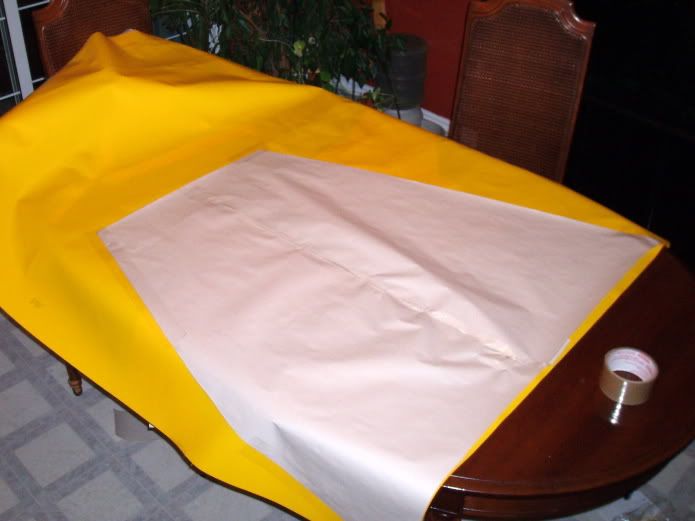
Here is a paper template for the bow bag being laid out on the fabric.
 My plan was for the seam to be on the bottom, the straight side where the fold is would be at the deck. However, with the seams on the ends, the bag takes on an oval shape in cross section, something I hadn't thought of. This meant that the bag fits properly only with the seam to the side and because of it's shape the end closest to the feet is angled. Oh well. Once glued up, the air bag was set in place. Although the bags are removable, I don't really expect to do so and it's a lot easier to get them in there now before the deck goes on the kayak.
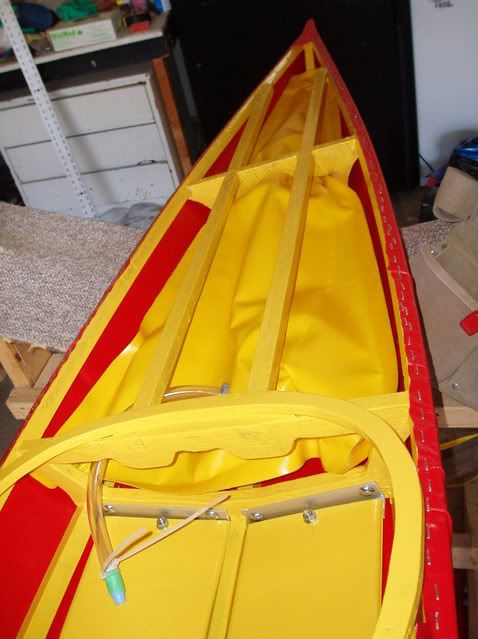 The stern flotation bag is inflated and tested for leaks.
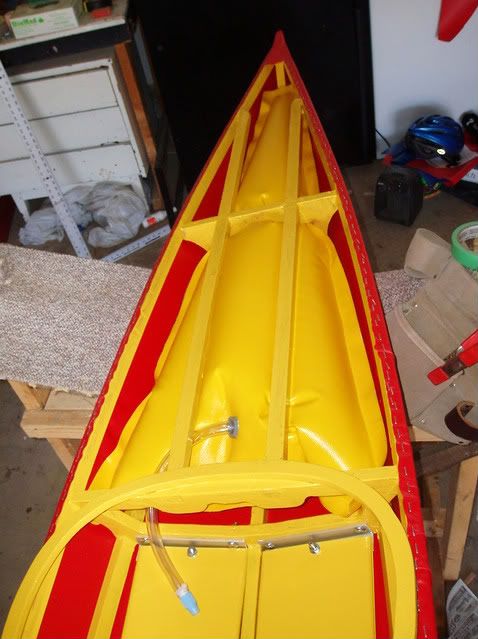
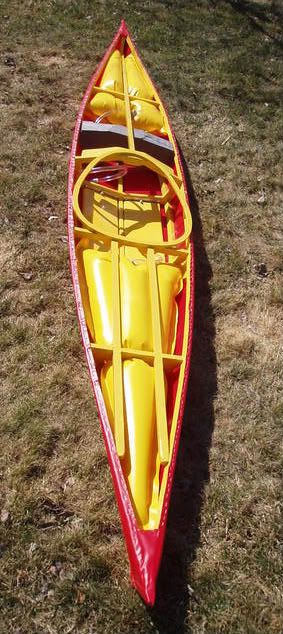
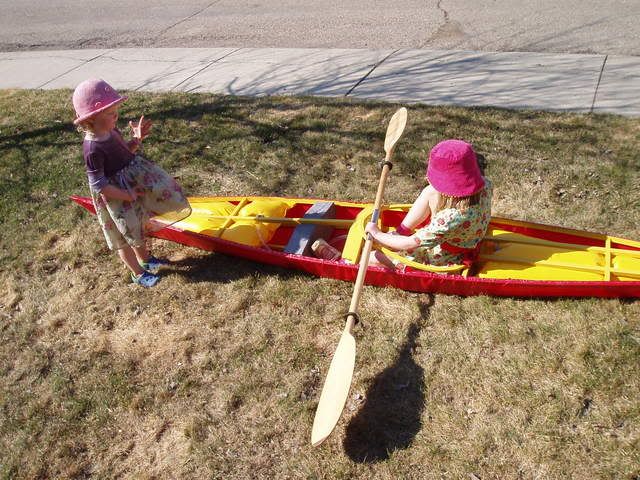
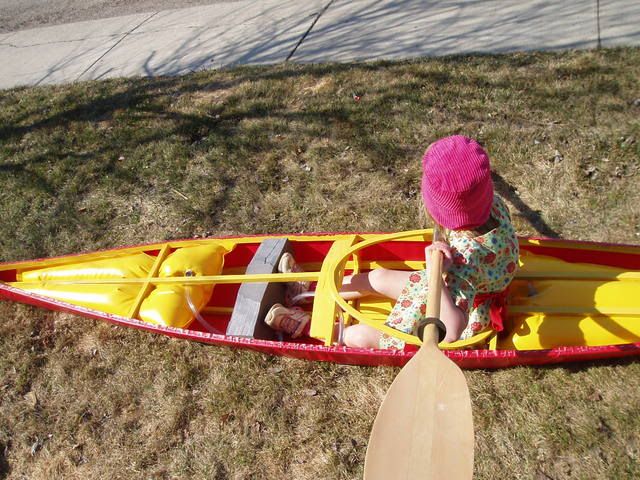
 The foot brace I am using is a piece of minicell foam cut to size and wedged between the stringers (actually it was a near perfect fit prior to trimming and I mostly just cut the corners off). This chunk of minicell foam is left over from a bunch I ordered from Joe at Redfish kayaks in order to build the seat for the guillemot. As my daughter grows, I can trim the foam down and slide it more forward. Once her legs grow another foot, it will hit the front flotation bag but by then she'll probably be into a kayak that's a bit larger and my younger daughter will be paddling this one.
 Incidentally, the Chris Cunningham book also includes information about building kid's kayaks, and adding outriggers.
Here is a paper template for the bow bag being laid out on the fabric.
 My plan was for the seam to be on the bottom, the straight side where the fold is would be at the deck. However, with the seams on the ends, the bag takes on an oval shape in cross section, something I hadn't thought of. This meant that the bag fits properly only with the seam to the side and because of it's shape the end closest to the feet is angled. Oh well. Once glued up, the air bag was set in place. Although the bags are removable, I don't really expect to do so and it's a lot easier to get them in there now before the deck goes on the kayak.
 The stern flotation bag is inflated and tested for leaks.

 The foot brace I am using is a piece of minicell foam cut to size and wedged between the stringers (actually it was a near perfect fit prior to trimming and I mostly just cut the corners off). This chunk of minicell foam is left over from a bunch I ordered from Joe at Redfish kayaks in order to build the seat for the guillemot. As my daughter grows, I can trim the foam down and slide it more forward. Once her legs grow another foot, it will hit the front flotation bag but by then she'll probably be into a kayak that's a bit larger and my younger daughter will be paddling this one.
 Incidentally, the Chris Cunningham book also includes information about building kid's kayaks, and adding outriggers.
The flotation bags look great! This boat really came together quickly. I bet your daughter is looking forward to trying it out.
ReplyDelete