Saturday, April 28, 2007

The Ultimate Radiant Heater

It was a beautiful sunny day today. I took the kayak outside and set it up in the sun so that the varnish could cure in the warmth of the sunlight after last night's final coat on the hull. Since I could finally take a couple of pictures in natural light, I did.


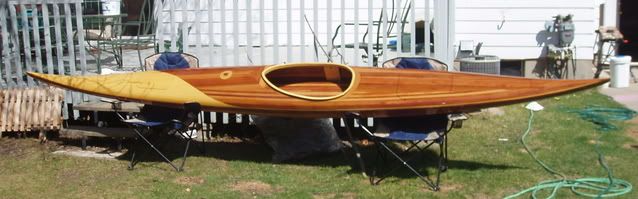
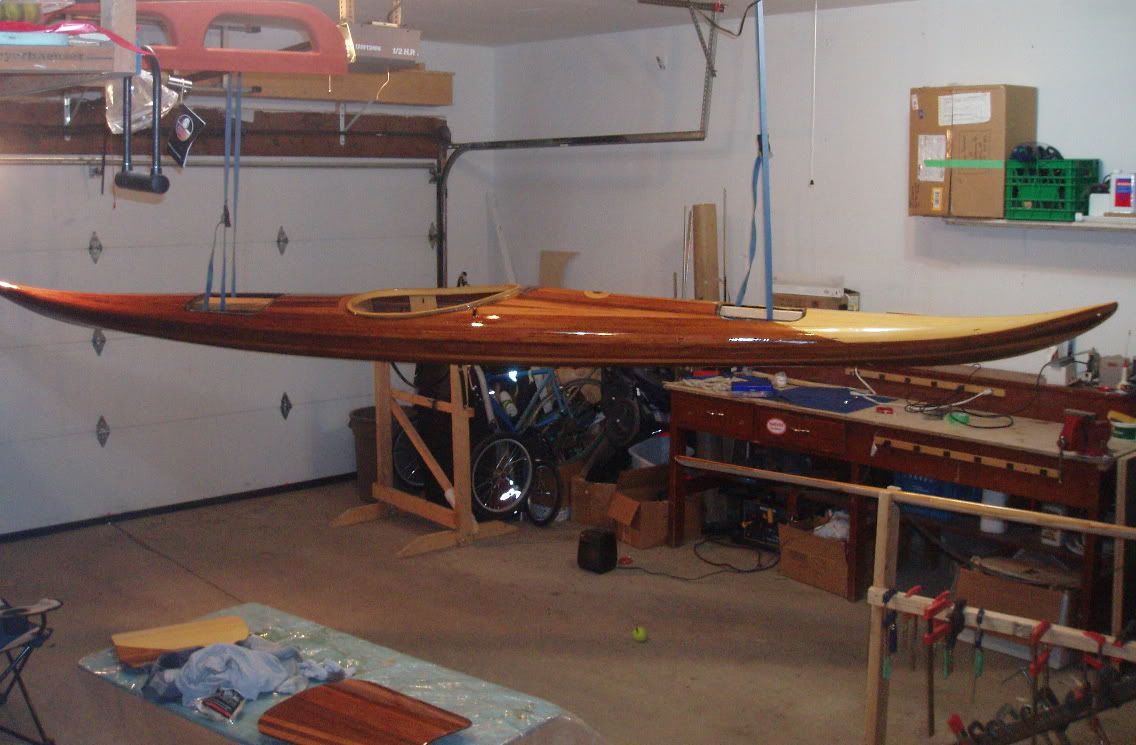
One more coat of varnish on the deck and I think that's it for varnishing.

Sunday, April 22, 2007

Coat 2.5

The 3rd coat was applied with the kayak on the sawhorses. I masked off the sheer line and varnished the deck. Then, after allowing the varnish to harden for a few hours, I flipped it over and did the same on the hull. In both cases the masking tape was removed within a few minutes of applying the varnish to each section. That way, the wet varnish could flow beyond the masked line without creating a dried varnish line. I called this post "Coat 2.5" because although I had 3 coats on the deck & 2 coats on the hull, I think it was really more like 1 1/2 on the hull because working on the underside I think I missed a few spots. I guess maybe I should have called it Coat 2.25 then.

A self portrait:

Saturday, April 21, 2007

2nd Coat

Because I applied the varnish on too thick and had some sags and runs, I had to let the varnish dry longer than I hoped, even with the garage quite warm at about 25C. The problem is that the things I needed to sand off, where the varnish was thickest, were still gummy and would not sand well until late this afternoon. Around 5pm, after 18 hours or so of drying, I wet-sanded the whole kayak with 120 grit wet-dry sandpaper. I also gave the whole thing a going over with a green scotch brite sanding pad and plenty of water. I then washed off all of the sanding residue with clean water, dried it off and left it over supper for the residual water to dry.

Refuelled with a BBQ'd burger & my homemade "Raven Ale," I began again the varnishing process. This time around I paid better heed to the instructions of Martin Step. While I cleaned up after supper, I filled the sink with hot tap water and let my container of varnish sit in there to warm up. With warmed varnish in hand, I headed back to the garage and began applying the second coat. Starting on the right side of the stern, I applied a brush-load of varnish in a horizontal stroke about a foot long. I spread this from deck peak to sheer with vertical brush strokes across the one foot section, then smoothed this out with gentle horizontal brush strokes. I then moved to the hull and did the same thing in a one foot section, then moved to the other side & repeated the process. I ensured that my brush strokes overlapped each section in order to blend the edges between sections. I used the station locations (conveniently indicated by the staple holes) to ensure that I did only 1 foot at a time and to keep track of where I was when moving side to side. I worked quickly and proceeded the length of the kayak in under an hour and a half. Another difference from last night is that I wore a mask with a carbon filter so I did not feel quite so overwhelmed by the fumes, though my eyes burned a bit by the end. Once complete, I left the garage and will not go back to avoid disturbing any dust until at least a couple of hours have passed as advised by Martin Step. Also, I went back to the house by an indirect route to minimize the amount of fumes that enter the house (which got to be quite a bit this morning when the door was being opened repeatedly).

The garage will be kept warmer overnight tonight, and hopefully there are fewer runs and sags, so I am hoping that I can sand then add a third coat in the morning. In the morning I should probably take the kayak down and flip it over on the cradles in order to see how good of a job I'm doing on the bottom. If it seems to be coming out OK, I'll hang it back up and do the whole boat again with it suspended from the ceiling like the last two coats. I suspect that this hanging method is more commonly used for spraying varnish rather than brushing.

From the bow:

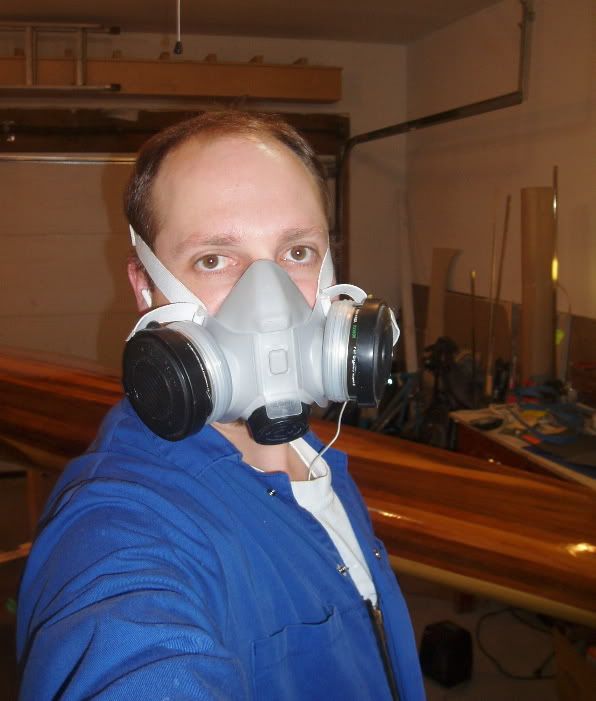
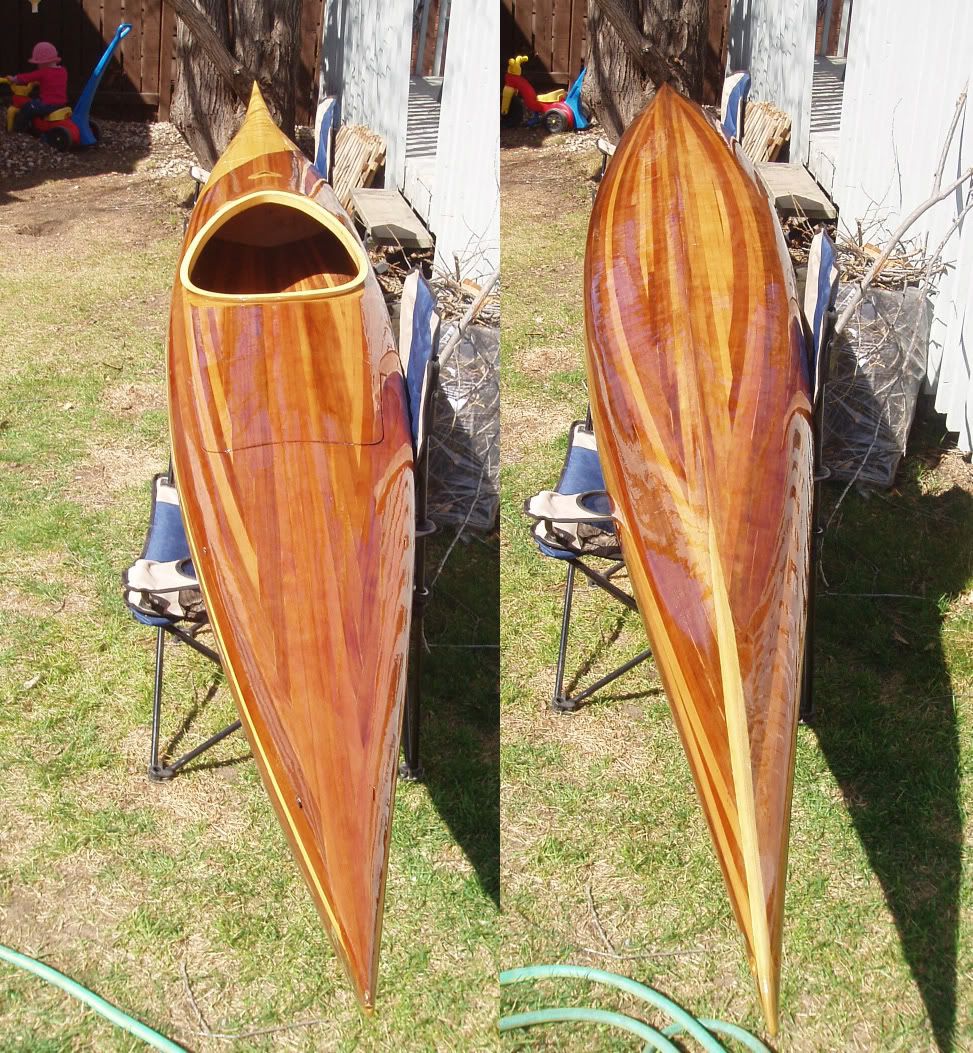
From the bow at the waterline:
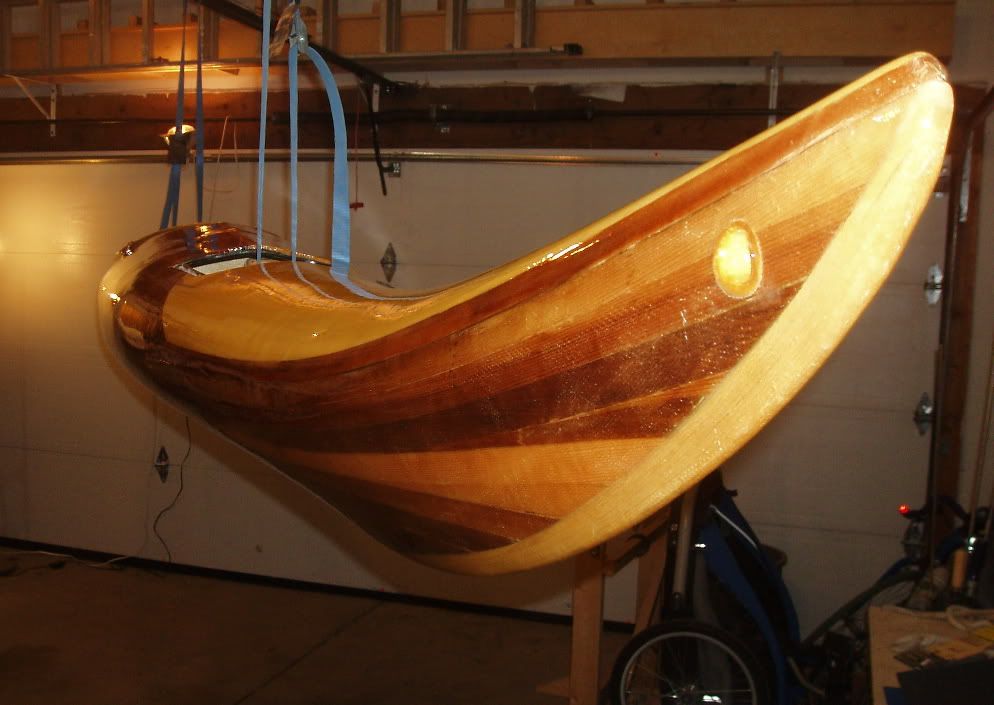
From the stern:

A Coat of Varnish

Last weekend with Rob's help I got everything ready for varnishing. The kayak was wet sanded & washed with water with a bit of soap, then washed with clean water & dried. The garage was cleaned up thoroughly: everything was put away & tidied up, the floor was swept (using sweeping compound), the dust blown out of every nook and off every shelf (several times). Later, after the dust settled, the garage was swept again.

Last night I applied, again with Rob's help, the first coat of varnish. I suspended the kayak from the ceiling so that I would be able to get at all sides, top and bottom at the same time. The whole kayak was lightly wiped with a tack cloth, then varnishing started. I am using the Flagship Spar Varnish purchased through Kisseynew Canoe Company. Once the can was opened, we poured the gallon of varnish out into 3 collapsible bottles (to minimize airspace in the container) with the remainder going into a glass jar. The remaining air in the containers was displaced using Lee Valley Finish Preserve. The varnish was strained through a disposable varnish filter then we began brushing the varnish on using disposable foam brushes. Rob worked on one side while I worked on the other, doing both the deck and hull, maintaining a wet edge as we proceeded from stern to bow down the kayak.

It seems that I put the varnish on heavier than Rob did & my side has the sags and runs to show for it. This morning I reviewed the varnishing instructions in Canoecraft and The Strip Built Sea Kayak. Some tips I have to keep in mind are to NOT go back and attempt to touch up a spot after a few minutes have passed & not to try to put on to heavy a coat.

I'm not too sure about trying to get the underside done at the same time. It's hard to get a good coat underneath and to really see what you are doing. I think for the subsequent coats I'll focus on the deck then once that has dried, flip it over on stands and do the hull. Maybe.

I'll give the boat a couple more hours of drying time then wet sand with 220 grit to take off all the drips, runs, sags, and dust that are in the first coat.

Here are a couple of pictures from this morning.


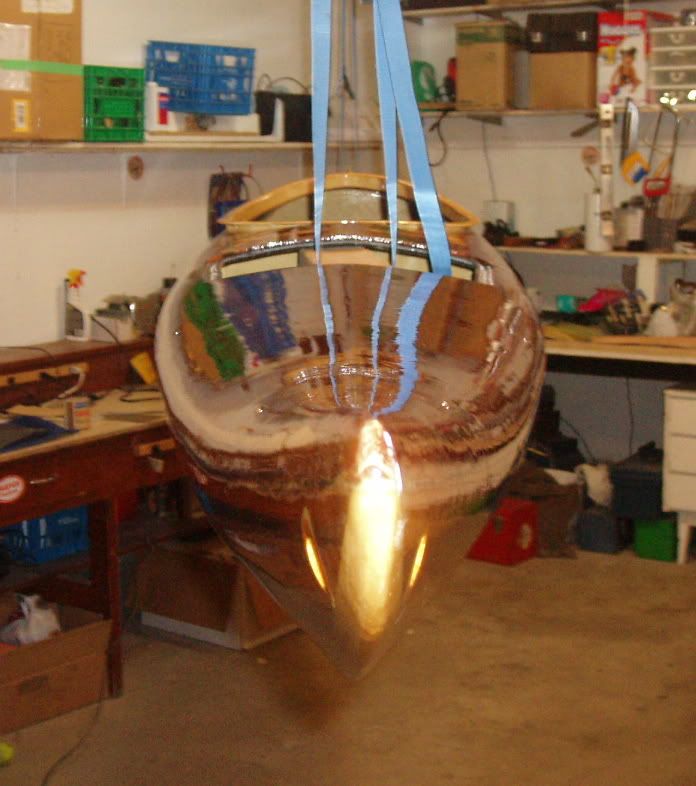
Now while the varnish dries I'm going to re-read Martin Step's varnishing advice from Green Valley Boat Works.

Friday, April 13, 2007

Anybody Want To Go Together On a Spool of Deck Line?

Neocorp.com - These guys have cord with 3M Scothchlite woven into it. Their Neoflect®Reflective Cord 3/16" would make a good deckline for the kayak with the added benefit that when you shine a light on it , it should light up like a christmas tree (albeit one that is poorly decorated with tiny silver lights). However, the stuff only comes in 150' rolls. So, should I order a whole spool which amounts to a significant outlay of cash, especially with shipping from the US added on?

That amount of cord should be enough for several kayaks. Anybody want to go together on this, or buy a portion of the cord off of me to help defray the costs?

I suppose I'll probably head down to Eb's and see what they have in more standard black deck line. I'd prefer to buy locally anyway, but they don't carry the reflective stuff (at least not the last time I checked).

Thursday, April 05, 2007

The To Do List, again

A month ago I posted a to-do list. Let's see what we can strike off the list:

Kayak To-Do List
1. Sand inside seam
2. Install mobies
a. Mark location
b. Mask surrounding area
c. Cut patches of glass cloth for reinforcement
d. Epoxy in place with thick epoxy & fillets overlayed with glass cloth
3. Build & install cheek plates
4. Build & install bulkheads

5. Build & install bulkhead footbrace
6. Install paddle park
a. Drill holes for paddle park bungee
b. Fill with thickened epoxy
c. Re-drill holes
d. Attach hook with thickened epoxy

e. Install bungee (after varnish)
7. Install backband
8. Carve seat from minicell foam (underway)
9. Wet sand epoxy
9a. Touch up spots with epoxy
10. Varnish
a. Sand
b. Varnish
c. Sand
d. Varnish

e. Sand
f. Varnish
g. Sand
h. Varnish
i. Rub to a gloss
11. Install soft padeyes
12. Install deck lines
12a. Build sliders for holding stuff on the deck (they are reputed to work much better than bungees).
13. Install bungees into mobies
14. Install weather-stripping into hatch seal channels
15. Carve & install handles/grab loops for bow & stern
16. See if it floats

The item(s) in blue have been added to the list. We also need to get a few things before it's done, or before we take it out on the water. I still need to buy deckline (the reflective stuff would be nice), a paddle float, & a pump. Currently, a custom-made Snapdragon spray skirt has been ordered through a friend that happens to be their local distributor.

Wednesday, April 04, 2007

Epoxy Final Sanding

.... or perhaps that should be Penultimate Sanding?

I have sanded the kayak in preparation for varnish. As per Martin's suggestion I "sand(ed) to at least 150" using my random orbital sander working progressively through the grits.

In the photo above I have just started with 80 grit on the hull. The spots that still have the gloss of un-sanded epoxy are low spots. Since my fiberglass job was imperfect, there are areas where I cannot remove all of the high spots without sanding into the glass cloth, something to be avoided. I have the dust collection bag container on the back of my sander removed and vacuum hose connected in it's place. With the sander connected to the shop vac the majority of the dust is collected. The use of a HEPA filter in the shop vac prevents the vacuum from simply acting as a dust pump & exhausting the very fine dust into the air (where it would be inhaled: the finer the dust => the more it goes through a regular filter => the deeper it is carried into the lungs). This reusable filter is highly recommended and will protect your shop vac motor as well as your lungs.

To avoid breathing in the dust that is not sucked up by the vacuum (a fairly small proportion) I wear a dust mask. If working with epoxy which is not fully cured, I use a more substantial mask with carbon cartridge filters.

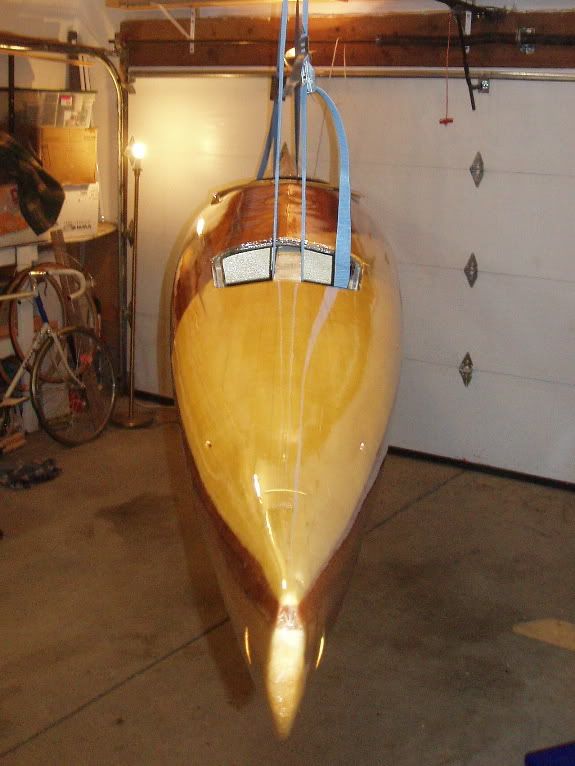
Now with the boat entirely sanded it doesn't look too pretty anymore. In sanding I found a couple of spots where I would like to touch up the epoxy. One of these spots is at the area surrounding the paddle park hook that I installed. Another is at the tip of the stern where the bow and hull were joined - the halves did not meet perfectly there and as a result the tip has a small gap (perhaps 3/16" long) on one side that remains. The third spot is at the location of the bubble that kept reappearing when glassing the outside seam and the subsequent fill coats.


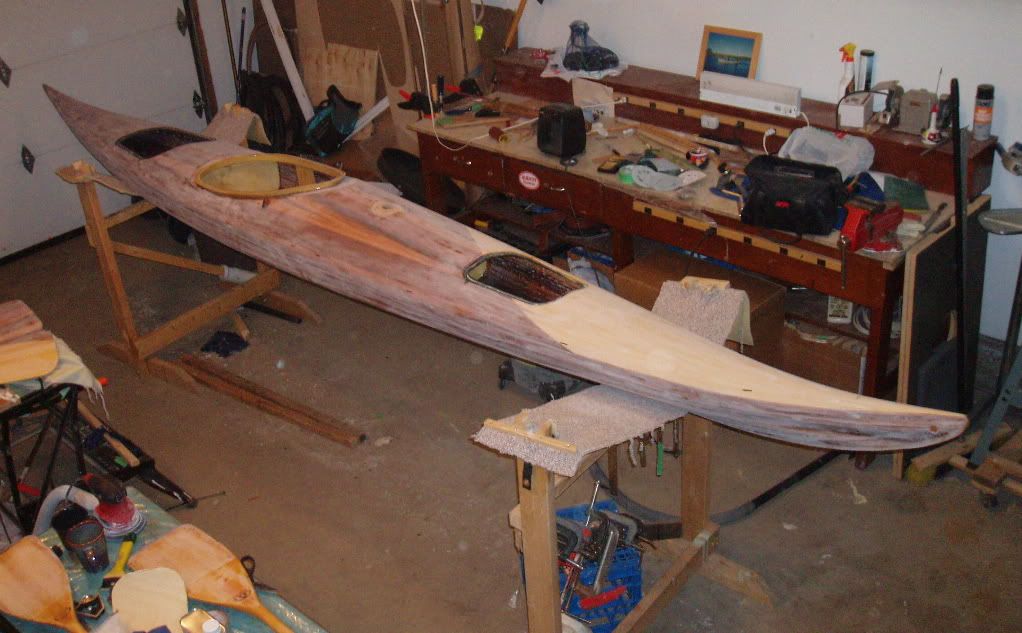
My plan is to touch up those epoxy spots, let them cure then get them faired into the rest of surface. With that done I can then clean up the shop, rid my life of every speck of dust (ha!) then begin the varnishing. In the meantime, here is an article on varnishing courtesy of Martin Step at Green Valley.

A Place To Sit, Part 1

I began shaping a large block of minicell foam to create a seat for the kayak. Custom-made seats of minicell are reputed to be extremely comfortable and to provide a good fit for excellent boat control. Last year I ordered a supply of minicell foam for fitting out the kayak from Joe at Redfish Kayaks in the US, including a 4" x 16" x 24" block for the seat. Comparing the prices locally and from suppliers across Canada & the USA, Joe's price was best after the consideration of shipping charges.

My first step was to cut the block to length in order to fit snugly between the hip braces, trimming it to 18.5" on the band saw. I then traced the shape of the bottom of the hull onto the front and back of the seat block, using form #9 for the front and form #10 for the rear. I then connected the lines on the side edge and added a line down the center of the bottom for reference.
I next used my japanese saw to cut a wedge off of each side of the bottom to get a shape that closely matched the profile of the bottom of the kayak. Note that this is different from the method described by Vaclav at One Ocean Kayaks.

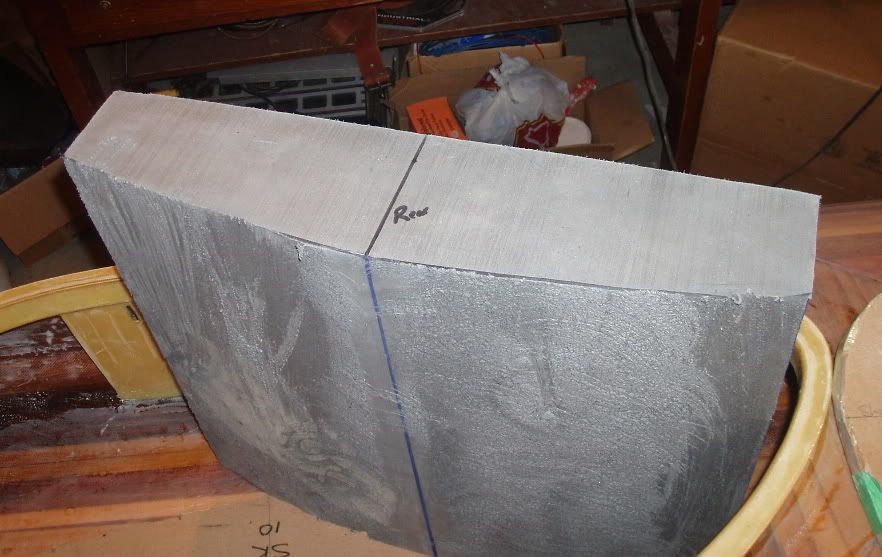
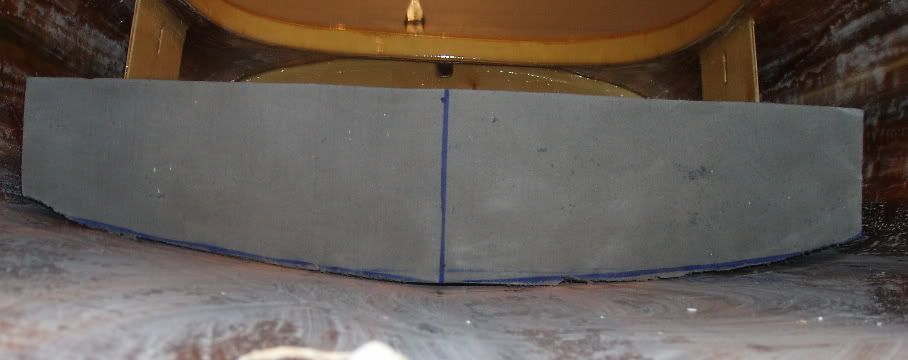
Since I cut a bit outside the lines with the saw, I used a wheel in my drill designed for stripping paint (about 5-6" in diameter, found at the local Canadian Tire). This wheel seems to work well for the task and I think it will do the job of shaping the top to fit a bum. One has to be careful in using it though because it does tend to catch and want to gouge if the angle is held too high (this is why I practiced with it on the bottom!). My next steps will be to follow the seat carving instructions laid out on the Shop Tips section of the One Ocean Kayaks web site.

Tuesday, April 03, 2007

Scraping By

Much is said in the boat building forums in favour of the lowly paint scraper for fiberglass work and I finally figured out why. When well sharpened the paint scraper works very well for removing high spots, bumps, drips, runs, edges and excess glass/epoxy. My success with the scraper was initially limited, but since then it has been very helpful. The trick is getting the tool sharp and keeping it that way. In order to sharpen the scraper I clamp the handle into a bench vise. Then with a flat file (nothing fancy here, just a hand-me-down from the toolbox) held horizontal I move the file across the scraping edge a number of times. Every once in a while I remove the burr from the back-side of the cutting edge by passing the file across the back edge, holding the file flat against the blade back. Thirty seconds of attention will restore the edge allowing effective scraping with little effort. Since this is not high carbon steel, the edge dulls quickly so requires resharpening after a few minutes of work on fully cured epoxy (green epoxy, being softer is less harsh on the blade). My one caution while sharpening with the file is to ensure that all of your digits pass well clear of the blade. I once allowed my thumb to be sliced open during sharpening of the scraper.

The replaceable blades are double edged. I have reshaped one side of the blade currently in the tool so that it is curved. I used the flat file for reshaping but this could probably be more quickly done with a grinding wheel. A curved blade allows the tool to be useful in concave areas, a rather handy feature for the interior of the boat. Another tip is to take the sharp corners off of the straight scraper blade. The sharp corners, if left on, tend to catch and gouge or slice into the epoxy. To remove the corners, simply round them off with the flat file.