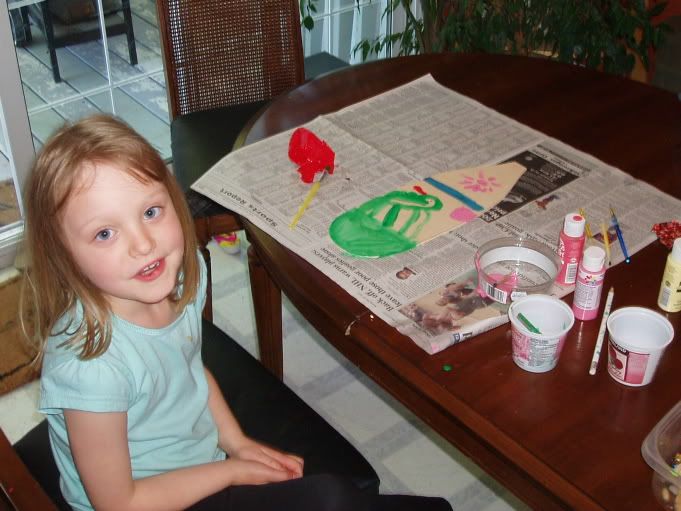
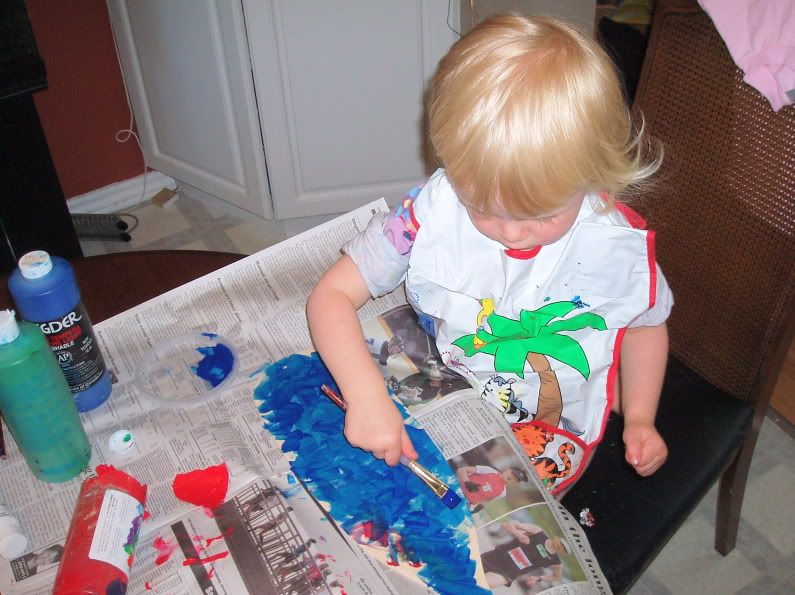
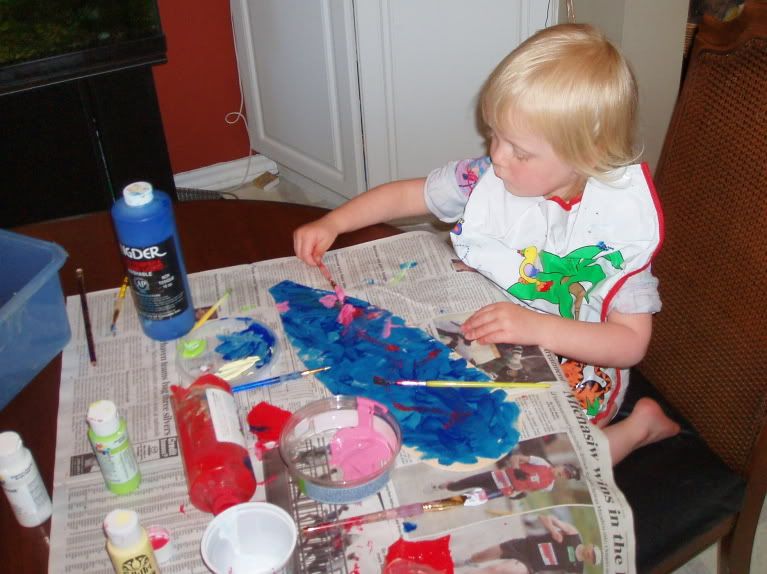
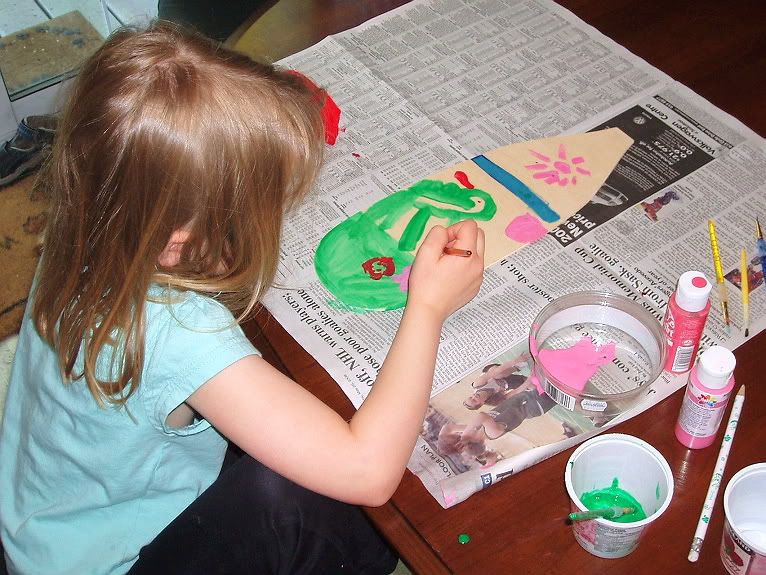
 I used some leftover cedar from building the frame of the Sea Flea for the shaft of the paddle. The piece was 1.5" x 1.5" and I cut it down to 150 cm long (Grey Owl sells a kids paddle that is 150 cm long). Using a bandsaw, I cut a curve into the end 15" of the paddle shaft blank to give the blades a curved shape, and cut the shaft so that it is 1" in the height dimension and 1 1/8" in width dimension. The full 1.5" height of the shaft blank was maintained at the paddle blades but the thickness tapers to a point at the ends. I should have taken some pictures of the paddle blank as it was being shaped but I didn't.
Prior to attaching the blades I also rounded the shaft. First, I marked the shaft as described in Warren & Gidmark's paddle building book using an easily constructed spar gauge (also described in the book). I then, with help from my daughter, planed down the four corners to give an octagon in cross section. We then took down those eight corners to give a 16-sided shaft which was sanded smooth to oval. On Wednesday evening I glued the blades onto the paddle blank using colloidal silica-thickened epoxy and I have since begun to shape the part of the shaft that backs the blade. Ideally, there will be no corners, just smooth flowing lines. The paddle shaft will flow into a thickened backing of the blade. In reality, I'm not sure how achievable this is as the shaft backing the blade is only 1.5" wide, much narrower than the rest of the blade which is 1/8" thick.
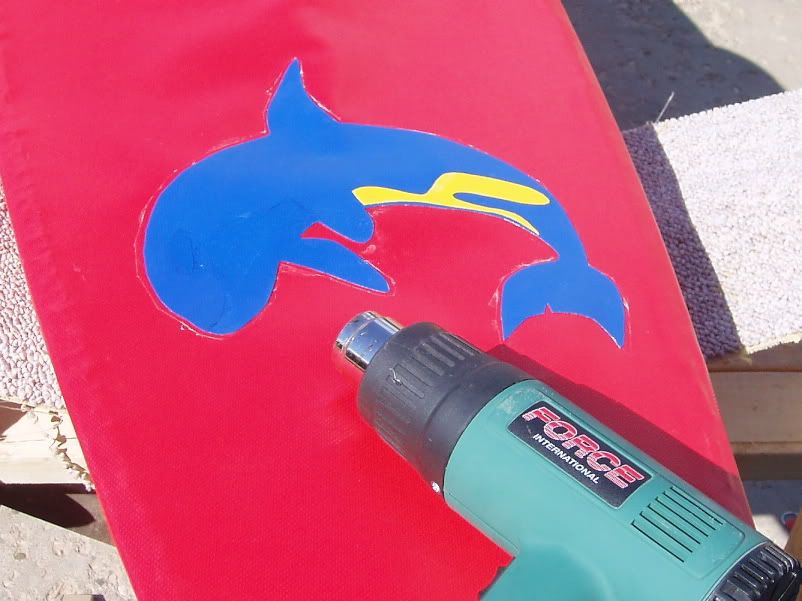
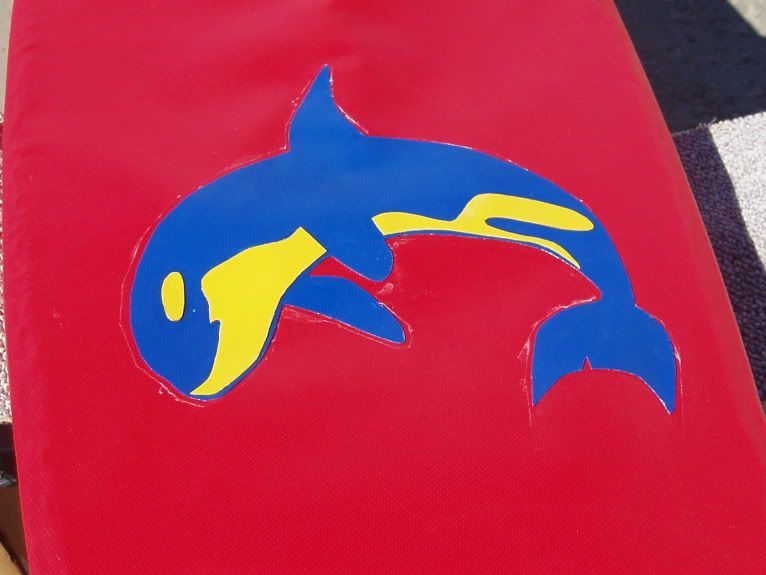
After the shaping is completed, the blades will be glassed with 4-ounce cloth on the front, and possibly on the back as well. The glass on the front will strengthen the paddle as well as protect the artwork. I am considering adding some aluminum or copper wire to the edge in order to add a degree of protection since it's certain the paddle will see hard use and the blade edges will take the brunt of that. It's ironic that due to their lesser strength, the paddle must be as light as possible, yet due to their lesser coordination, the paddle must also be as tough as possible.
More pictures will follow soon.
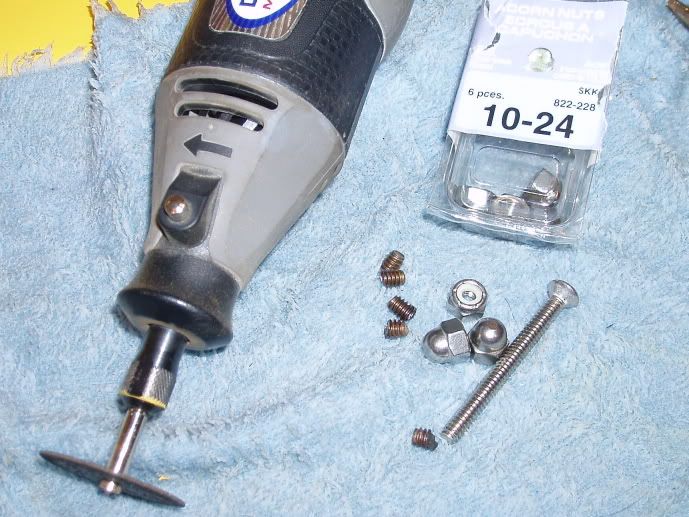
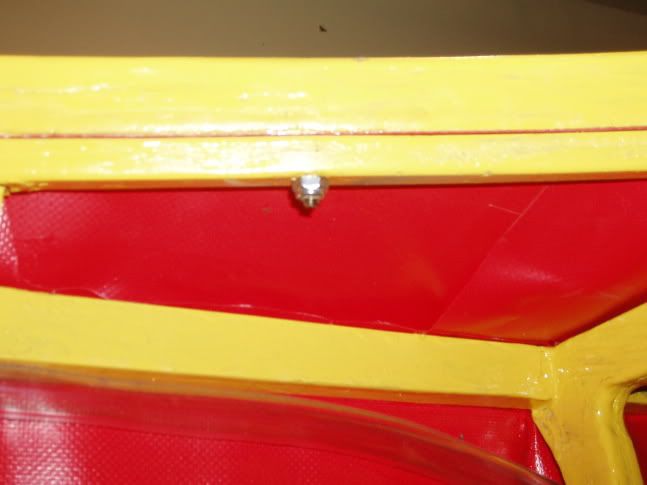
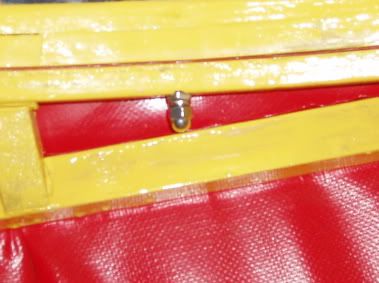
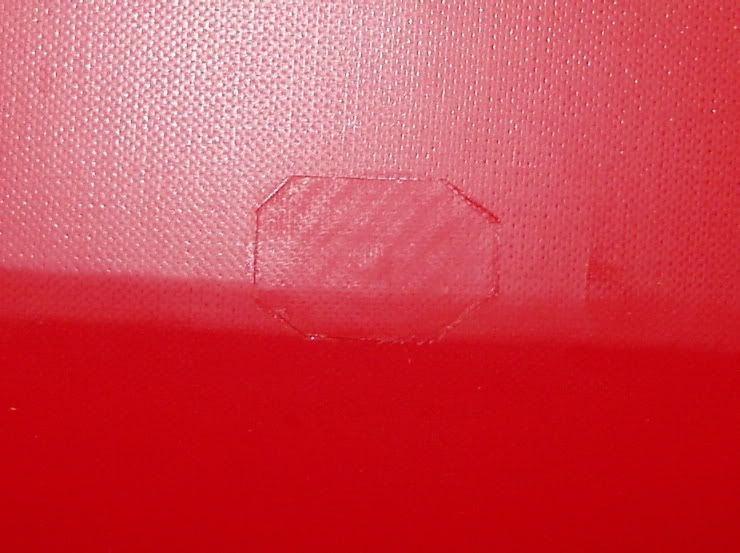



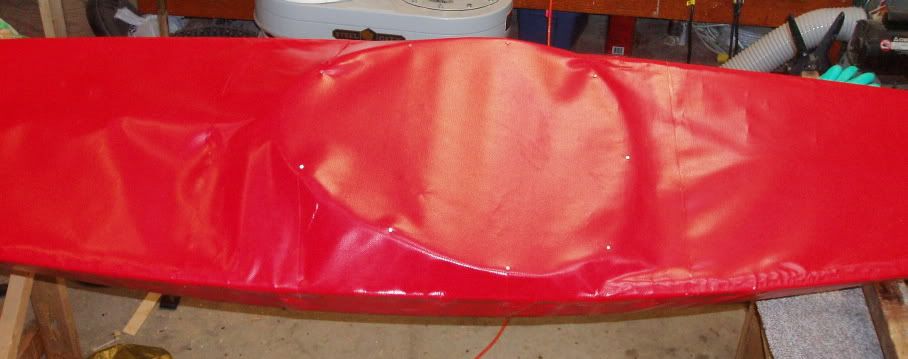
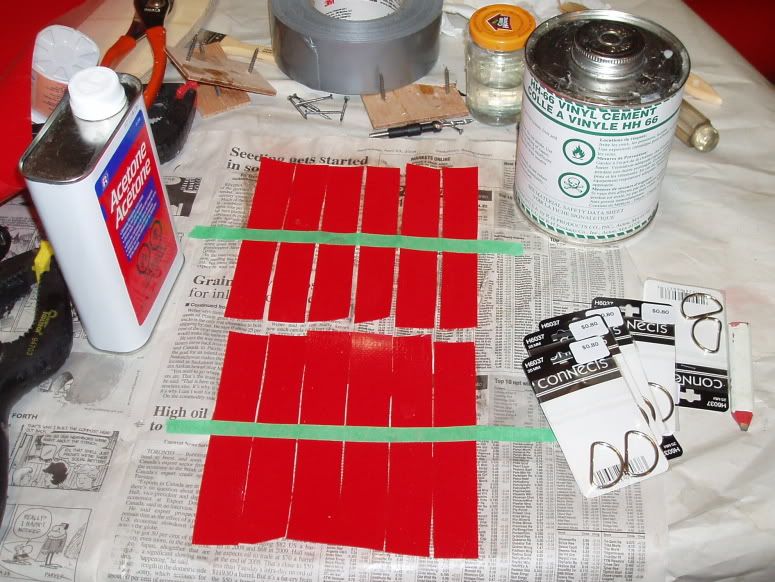
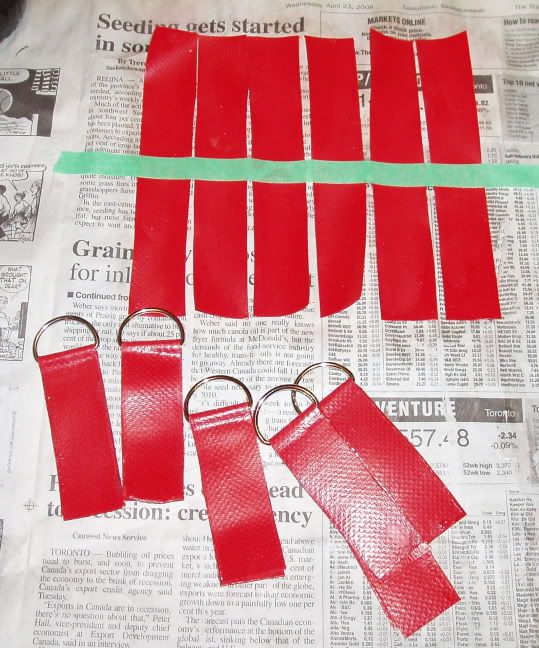
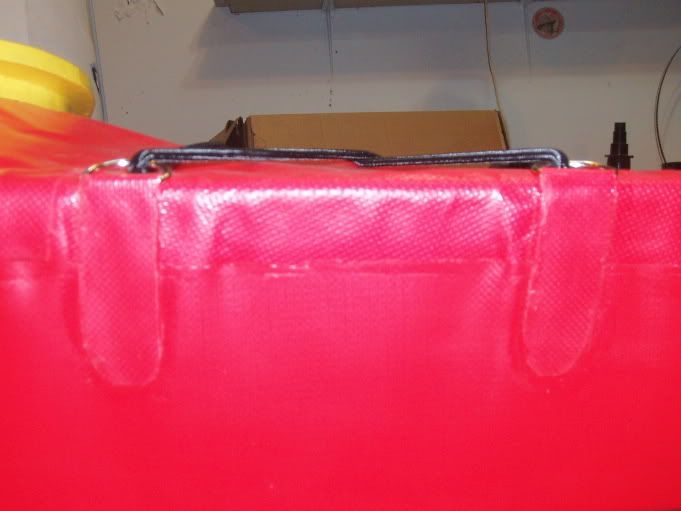
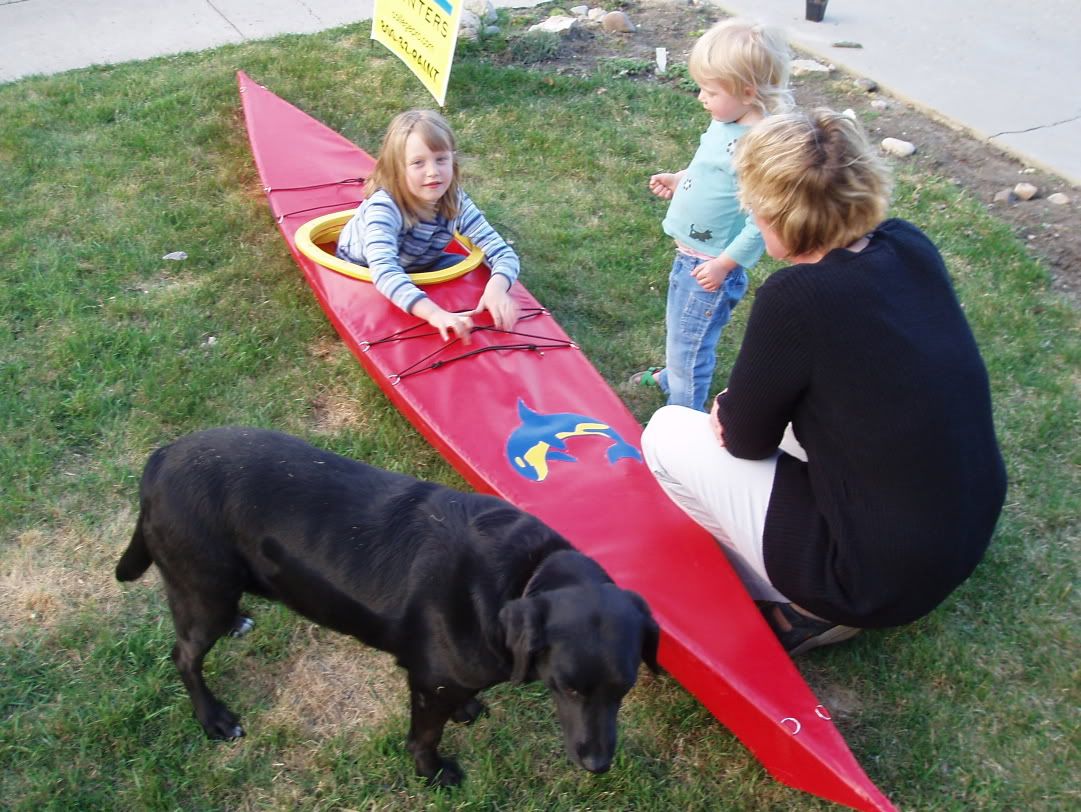

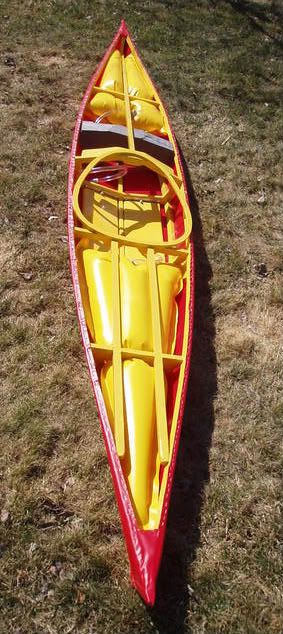
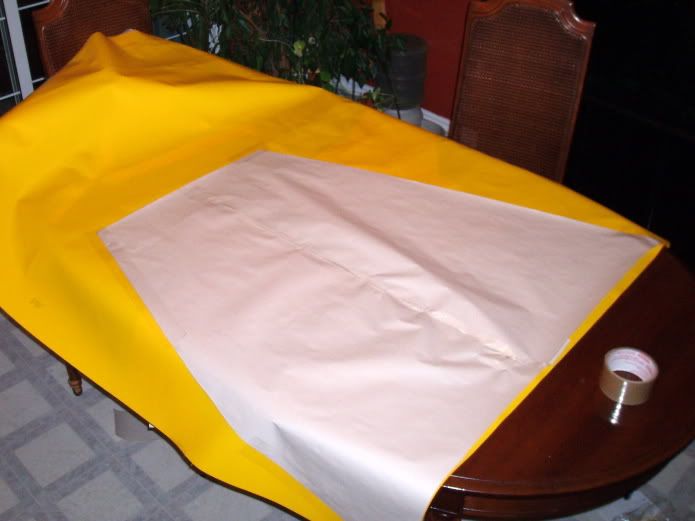 My plan was for the seam to be on the bottom, the straight side where the fold is would be at the deck. However, with the seams on the ends, the bag takes on an oval shape in cross section, something I hadn't thought of. This meant that the bag fits properly only with the seam to the side and because of it's shape the end closest to the feet is angled. Oh well. Once glued up, the air bag was set in place. Although the bags are removable, I don't really expect to do so and it's a lot easier to get them in there now before the deck goes on the kayak.
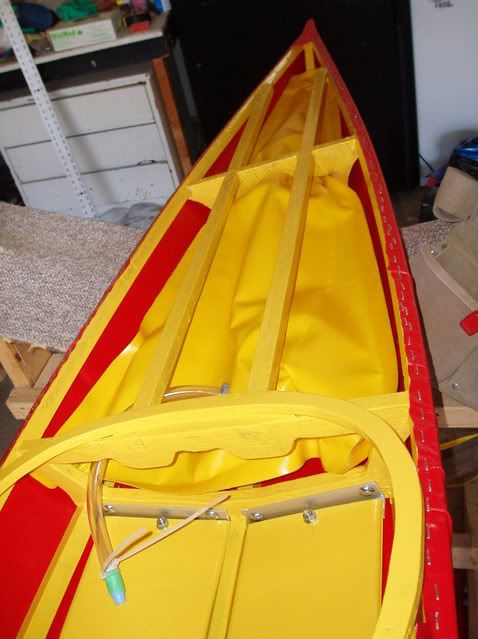 The stern flotation bag is inflated and tested for leaks.
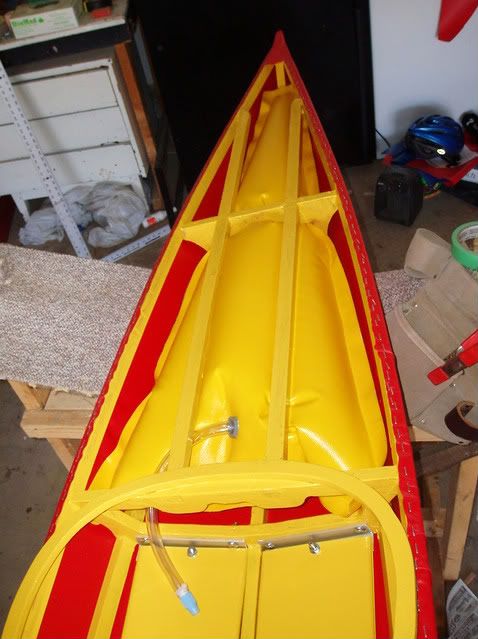
 The foot brace I am using is a piece of minicell foam cut to size and wedged between the stringers (actually it was a near perfect fit prior to trimming and I mostly just cut the corners off). This chunk of minicell foam is left over from a bunch I ordered from Joe at
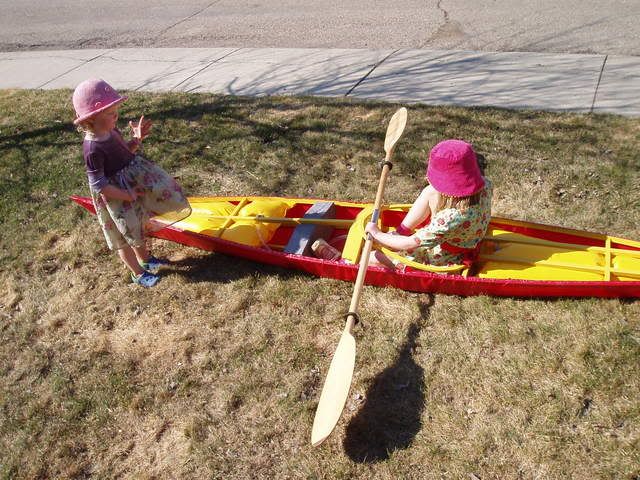
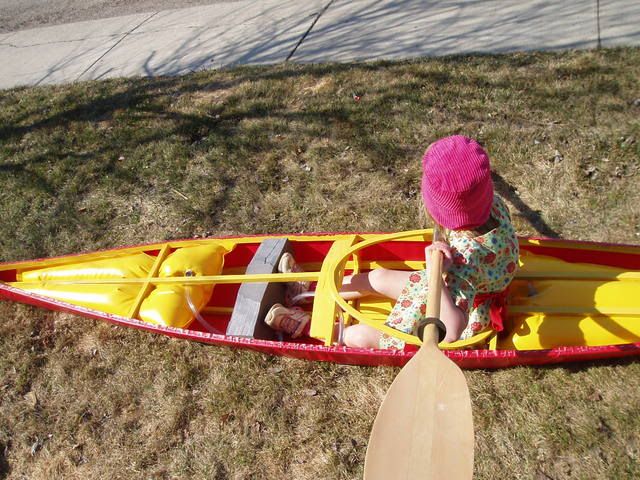 Incidentally, the Chris Cunningham book also includes information about building kid's kayaks, and adding outriggers.