I have started building another kayak. This time, it's for my daughter who turns 6 this summer. The kayak is a
Tom Yost design called the
Sea Flea and we are building the 11' version. Tom Yost has created a bunch of kayak designs and has made the plans and instructions available for free at
yostwerks.com.
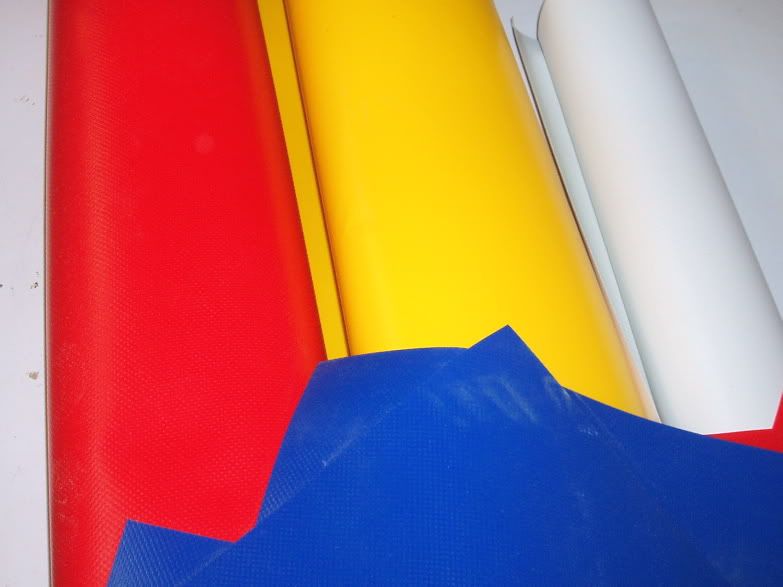
This kayak is a "skin on frame" which means that it is composed of a frame (plywood & cedar) covered in a skin (PVC fabric). Skin on frame is the method of building boats (qajak, umiak, etc.) used for thousands of years by the
Inuit and other northern peoples where the frame would have been made from whatever wood and bone was available, and the skin was quite literally skin (seal, but others would have been used as well). The methods described in the online manual by Tom Yost are quite far removed from those traditional kayak building techniques. Yost's methods were originally described to build folding kayaks using HDPE stations and interlocking aluminum stringers. However, these methods have been modified to build non-folding kayaks with wood instead. The latter method allows the boat to be built at a lower cost (I'm using mostly scrap wood or what I had on hand) and more quickly. The Sea Flea frame consists of 4 cross sections together with several stringers that run lengthwise. The stringers include two gunwales, a keel, two chine stringers, a bow deck stringer and two stern deck stringers (that's a point I need to clarify).
The
Sea Flea specs from the
Yostwerks web site:
Length overall: 11'
Beam: 19"
Height: 8"
Coaming: 19" x 16"
Weight: 20 lbs.
The weight given is for the folding version built with aluminum and HDPE. The wood version should come out slightly less (maybe). I expect that this will be a kayak my daughter can play around with and develop some skills with. Initially, I'll use
pool noodle pontoons or some such device to stabilize it. As she grows and develops, those training wheels can eventually be removed (in a couple of summers?) and she should be able to paddle on her own. I also expect to tow her a fair bit, or I might rig up
something like what Mike Hanks arranged. In a few years when she starts to outgrow it (based on size or skills) it can be handed down to her sister and we'll have to build something bigger (assuming she doesn't hate it and wants another kayak of her own).
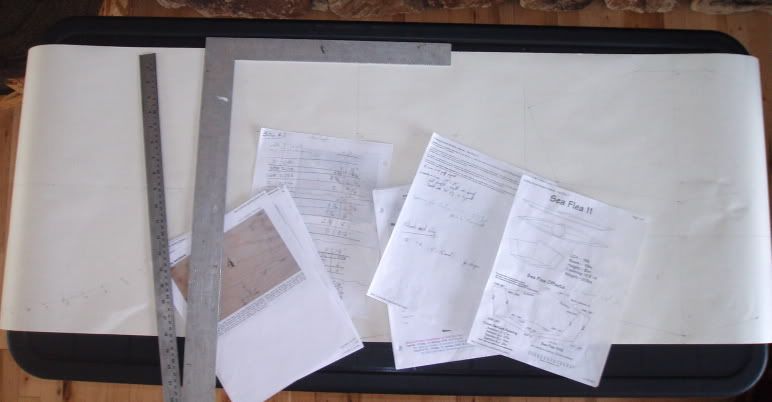
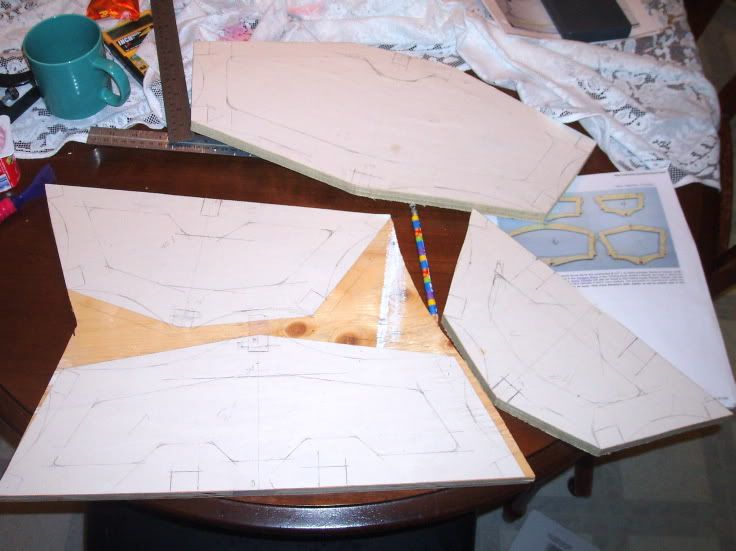
The first step I undertook was to convert all of the
offsets from decimal feet to fractional inches (e.g. 0.745 = 8 15/16") and listed them in a table. Next, I plotted these offsets out onto a large piece of drawing paper, borrowed from my kids.
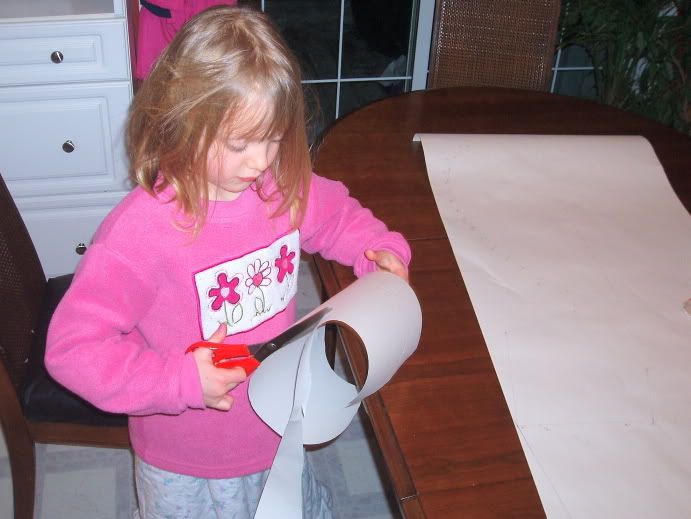
I then got my daughter involved by having her cut out the stations from the paper staying to the outside of the lines.
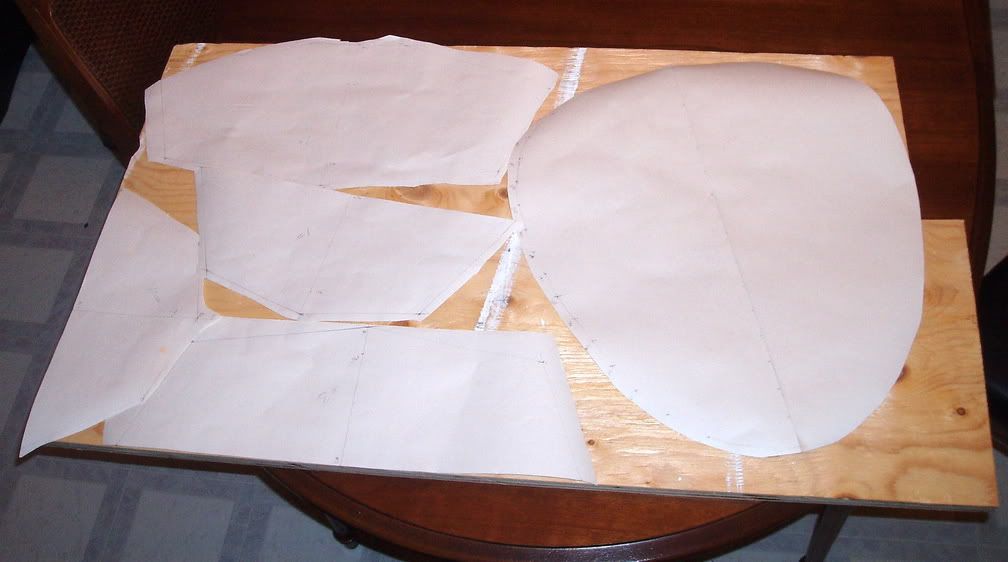
It looks like the stations will just barely fit on a scrap piece of 5/8" plywood I have. I also have some other wood that would work quite well (1/2" pine panels bought for some other project), but I thought I should use up this scrap first (now that I type it, I'm having second thoughts, the pine would be lighter and wouldn't need to be painted, but I suppose the glue could delaminate if water ever penetrated it).
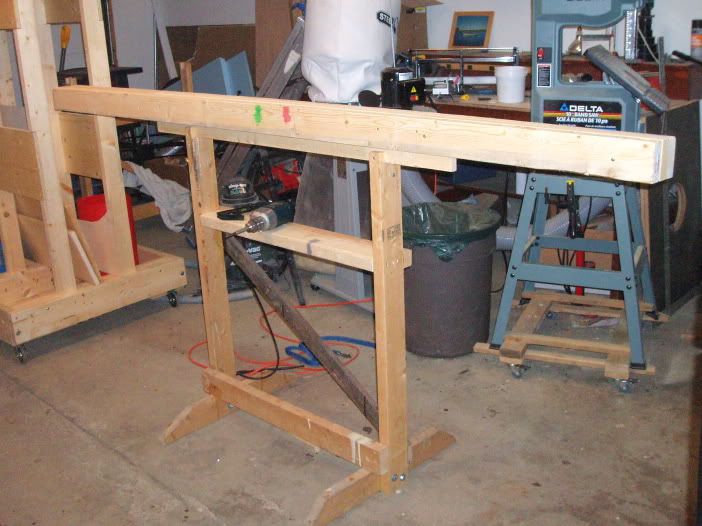
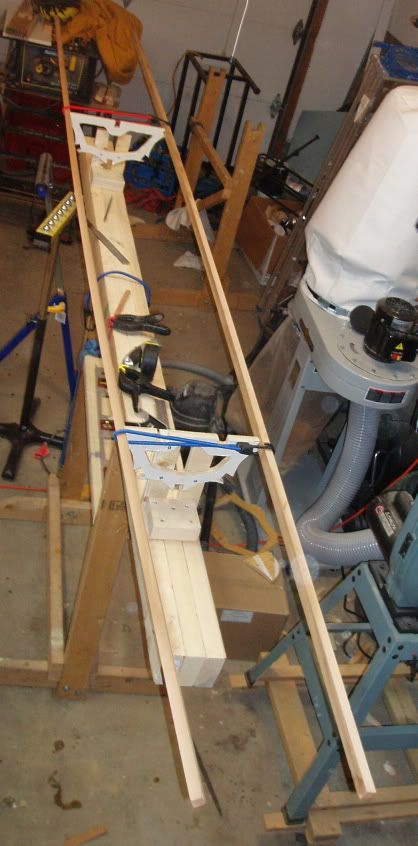
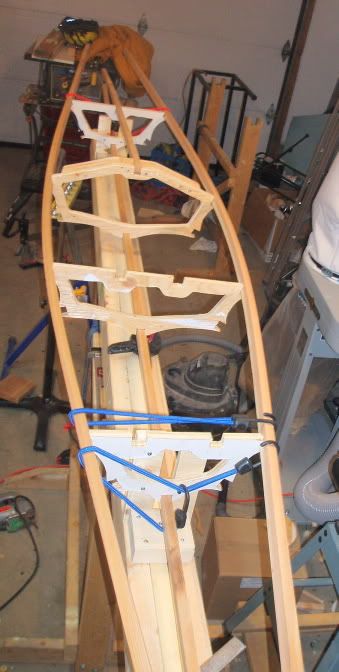
I also have built the strongback which will support the stations during construction. My strongback was a bit different from that
described by Tom Yost, being composed of scrap 2x4s, a length of 2x6, and no 1x6 top plate. The strongback is only 8 feet long, though for the 11' Sea Flea I could have gotten away with one that was 6' long (I decided not to cut up my lumber any more than I had to and I had 2 8' 2x4s on hand). The 2x6 was incorporated into it to allow it to sit nicely in one of my stands, manufactured for my guillemot build a couple years ago. The only problem I see with this set up is the working height as my stand is tall. That will be quite convenient for me, but not so much for my daughter who I hope to have help me.
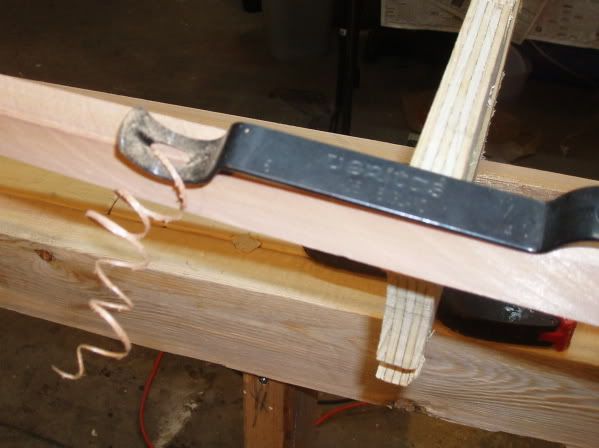
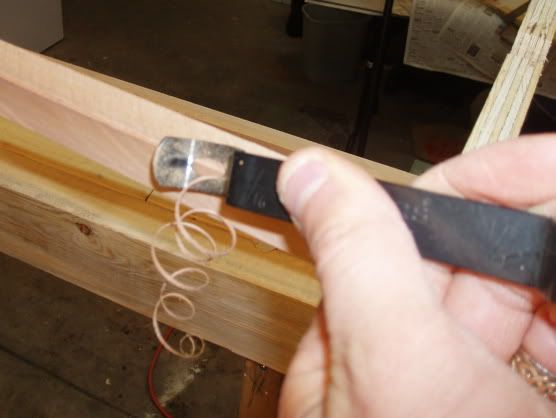
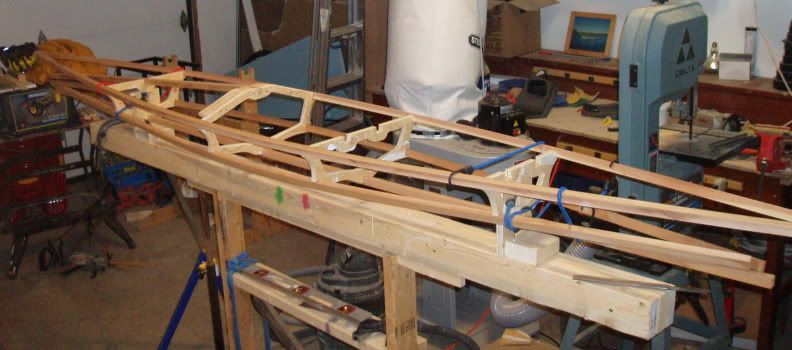
The next steps are to rip some stringers from a 10' cedar 2x6 then to scarf some shorter pieces to make gunwales and chine stringers that are 11' long (10' may be enough for the keel?). I will also attach the paper station drawings to a sheet of 5/8" plywood and cut out the four stations (cross sections), then
align stations 1 & 4 on the strongback (stations 2 & 3 are not attached to the strongback but are merely
placed between the stringers with the correct spacing).
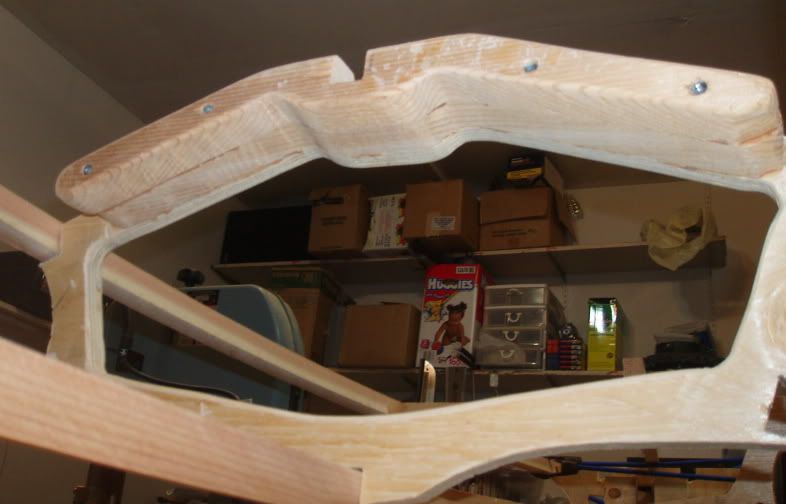
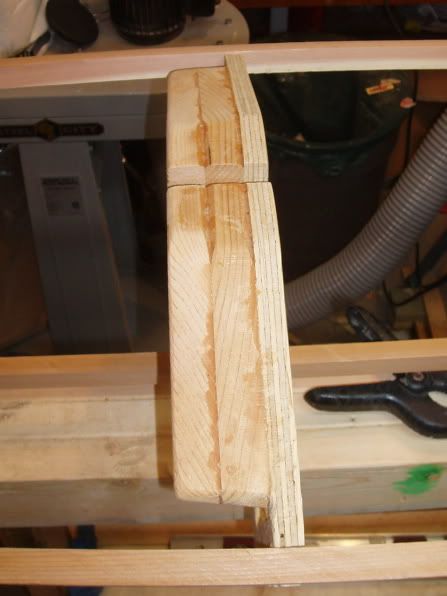
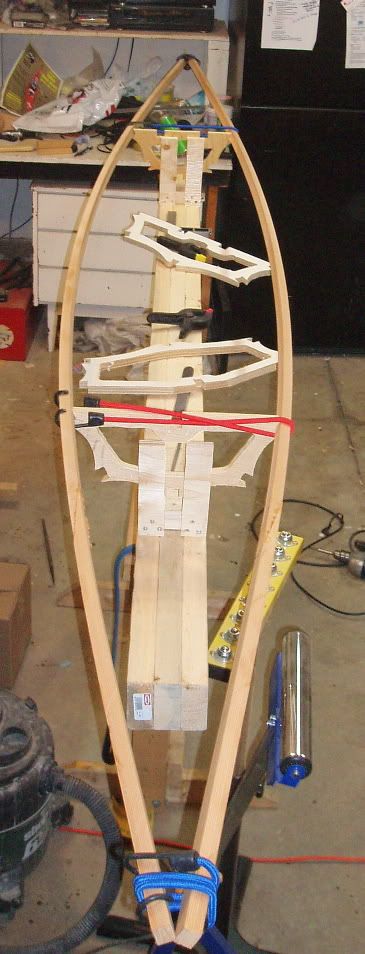
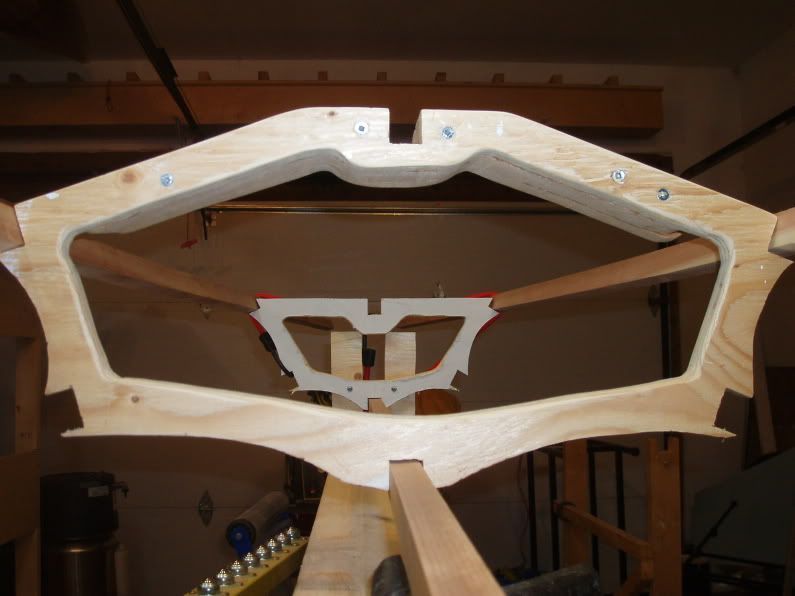
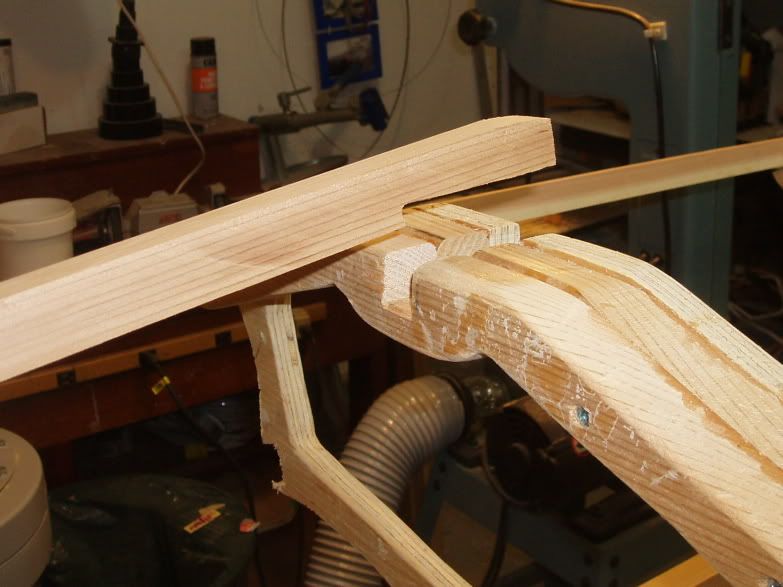 The fore deck stringer was notched to better fit into the groove in the top of the masik.
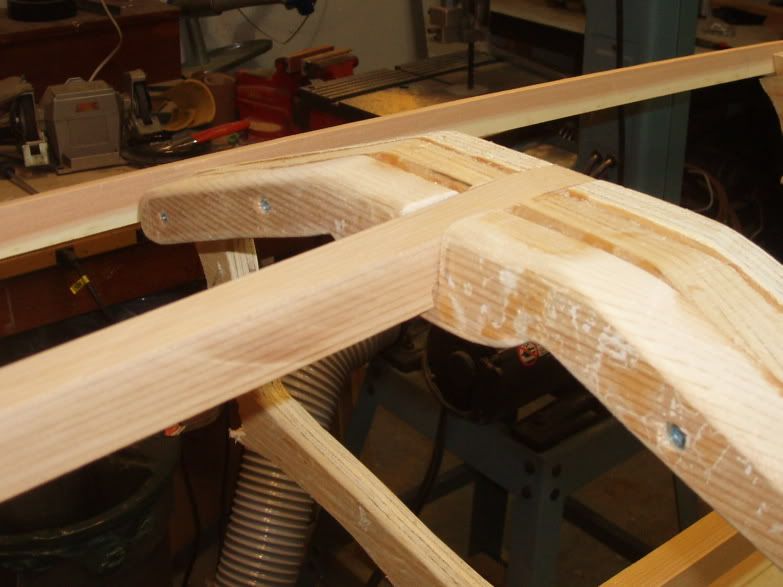 The masik and the rest of cross section #2 has had all edges rounded off and sanded smooth. The paddler's legs project through the opening in this cross section so it needs to be smooth & comfortable.

