Monday, March 31, 2008

Masik

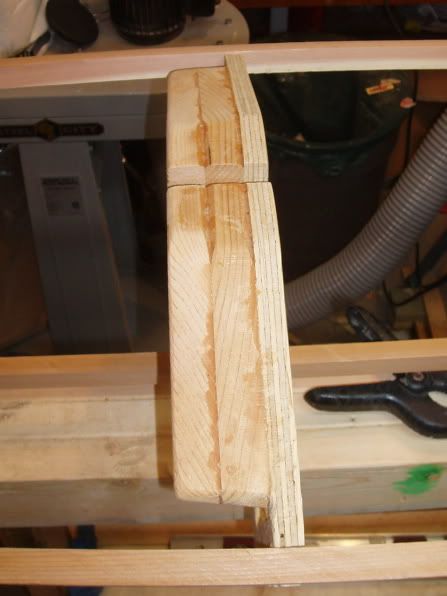
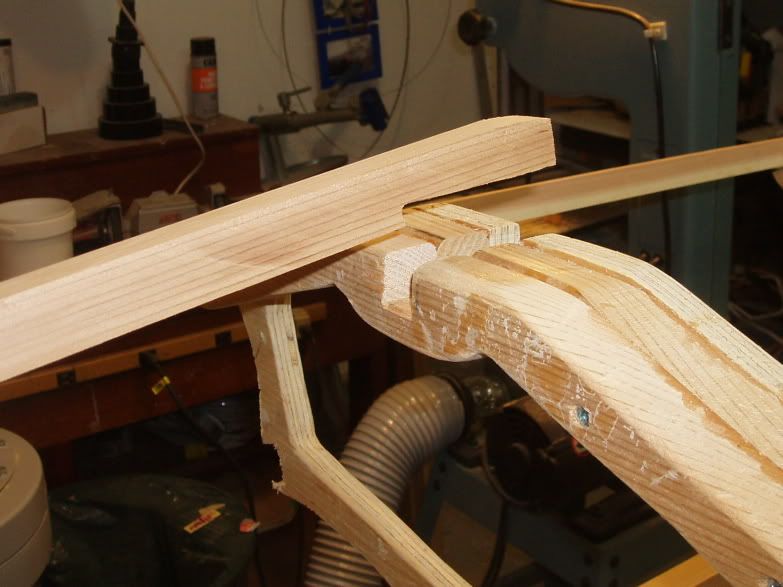
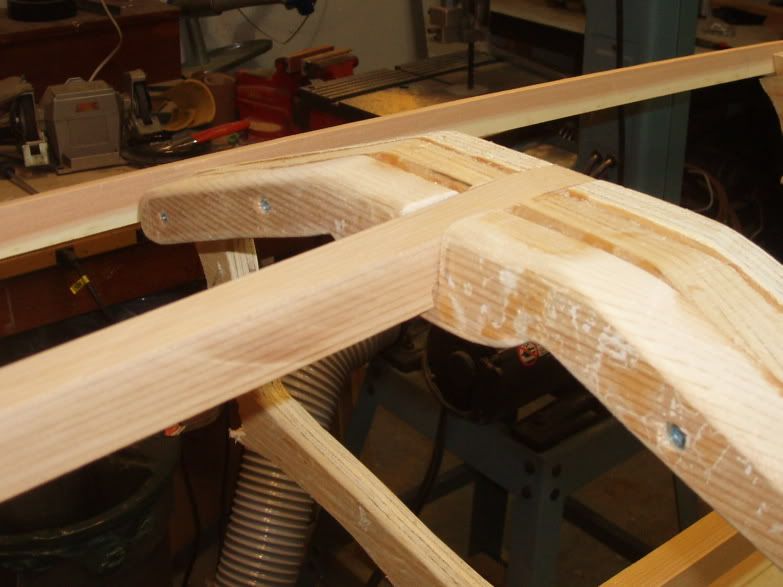
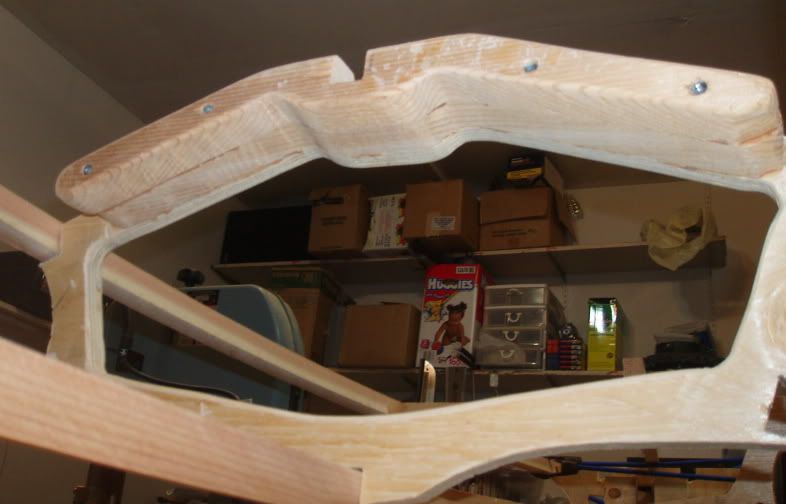
Based on the suggestions of other builders of the Sea Flea such as Marcel & Kelly, I have added material to the top of cross section #2. The top of this cross section would be called a masik in more traditional skin-on-frame kayak building. The masik is "a curved deck beam, often in the range of 6-7cm wide, that supports the front of the cockpit coaming" (http://www.qajaqusa.org/). Marcel had noted on his web site that the standard construction of cross section #2 could be improved by providing a "thicker surface for gripping with the tops of the thighs" (http://home.comcast.net/~marcel.rodriguez/kidsofv2.htm). To rectify this, Marcel added a 2x4 shaped to match the top of the cross section to the forward side. Marcel has built 5 kayaks for his daughter, McKinley so I figured his advice is worth considering (check out McKinley's rolling video). I had some 1x6 cedar shorts in the cutoff bin so I used two pieces of that to provide the extra support for bracing with the thighs and to strengthen the deck support.


The fore deck stringer was notched to better fit into the groove in the top of the masik.
The masik and the rest of cross section #2 has had all edges rounded off and sanded smooth. The paddler's legs project through the opening in this cross section so it needs to be smooth & comfortable.

Gunwale Work

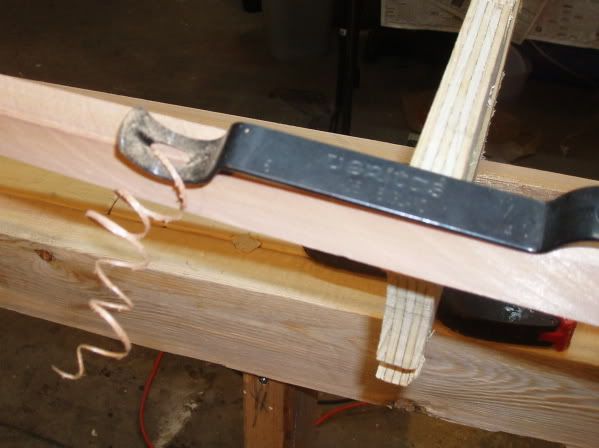
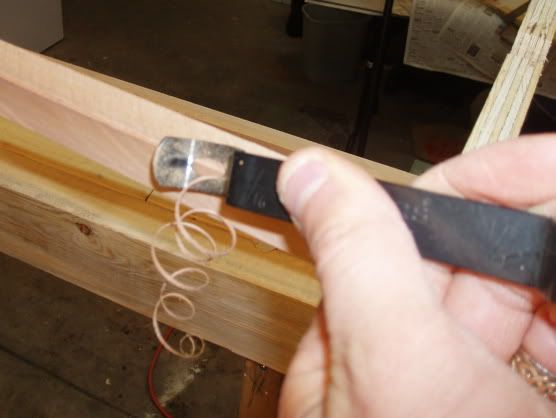
I have given the top outside corner of the gunwales a 1/4" radius rounded profile using a Veritas cornering tool. This handy little tool quickly rounds off the corners of the cedar gunwales.
Later, I will use the tool to take the sharp corners off of the keel and chines.

Skeleton of a Flea

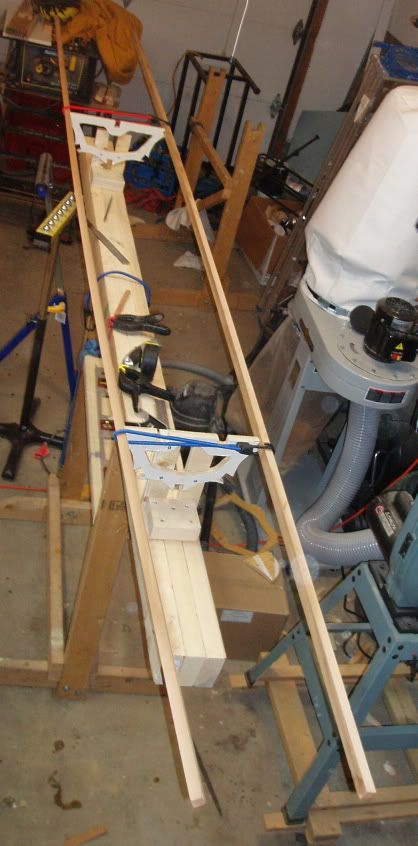
Work on the Sea Flea kayak continues. The cross sections (a.k.a. stations) have been all cut out and sanded smooth. Cross sections #1 and #4 are attached to the strongback & aligned as seen in the photo below. In the photo the gunwales are being test-fit. (See the corresponding photo from yostwerks.com.)

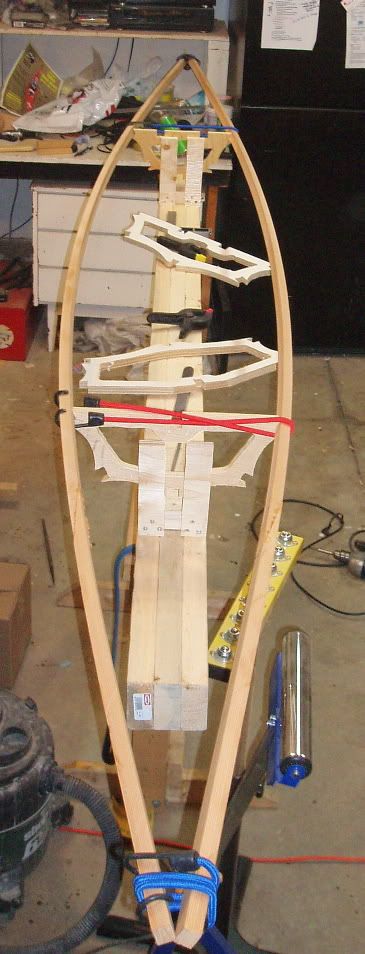
Cross-section #2 is test fit between the gunwales. Only cross sections #1 & #4 are attached to the strongback during building. Cross sections #2 & #3 are positioned as seen below, held in place by the gunwales (and later the chines, keel & deck stringers).

Ready to determine the shape of the stems (I'm at about the same stage as Tom shows here).
I still need to cut & fit the aft deck stringers. Then I will double check the position of all cross-sections and ensure everything is level and straight before using tape to temporarily secure the positions in advance of gluing.

Sunday, March 30, 2008

Bike Advocacy in High Heels

Copenhagen Cycle Chic - Bike Advocacy in High Heels

Who doesn't like looking at pictures of women on bikes? Of course I realise that statement completely misses the point. A lot of interesting cyclist photos from Coppenhagen & around the world. Cool.

Tuesday, March 25, 2008

PVC Fabric

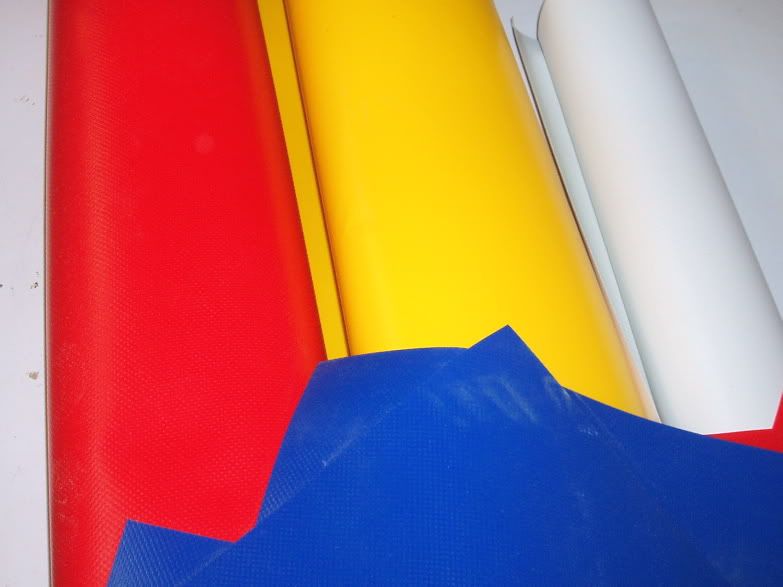
I purchased the 18 ounce PVC fabric and the HH-66 glue for my daughter's Sea Flea. I looked around at a few places in town and found prices for fabric ranging from $23/m to $10.50/m. I asked on the KBBB about possible differences in fabric but didn't find any compelling reason to believe there was a drastic difference in quality that was reflected by the price. After having a close look and handling the material, I could see no reason not to go with the less expensive stuff. I purchased 4 meters of red & 2 meters of yellow from Denham Awning Makers, plus the 946 ml can of HH-66 glue (I would have gotten the 237 ml can but they were out). My daughter picked out red for her kayak, and I got the yellow to add some sort of design (probably something like Anton Olsen used) and to be used for other things (float bags perhaps. They also threw in some scrap pieces of blue & white fabric.

My fabric & glue costs:
6 meters of fabric @ $10.50/m = $63.00
946 ml HH-66 glue = $18.75
So for about $90 ($81.75 + taxes) I have way more glue & fabric than I need. That brings the total cost spent on the kayak so far to about $110 including the cedar 2x6 that I purchased for $20. I don't anticipate much else in material costs as most everything else needed I should have on hand.

Monday, March 24, 2008

Small Progress

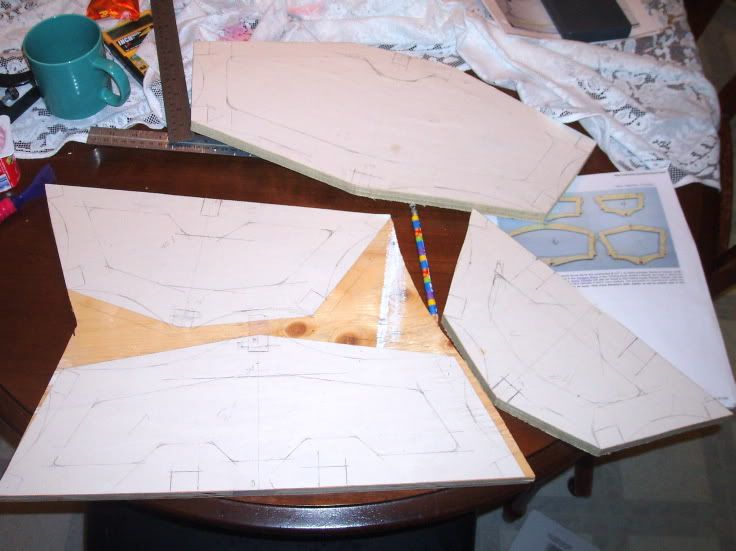
I got a bit more done this past weekend on the Sea Flea I am building for my daughter. I ripped my 10' cedar 2x6 (1.5" x 5.5") into pieces 11/16" x 3/4", then scarf-jointed two of these to make two 12' long boards for the gunwales. The first step was to rip the 2x6 into 3/4" x 1.5" pieces on my table saw. These were then cut again to yield the final dimensions (11/16" x 3/4") for the gunwales, keel & stringers to be used on this kayak. These cuts were made easier, safer & better through the use of a very basic feather board I made. I can't believe I've gone so long without one! With boards that long my roller stands also came in handy. By the way, I have a $50 roller stand from Lee Valley with roller balls, and a $18 stand from Peavey Mart with a single roller. I prefer the cheap one. Last fall in anticipation of fixing the gunwales on Jay's derelict canoe, I built a scarfing sled for the table saw. This sled did a pretty decent job of cutting my 8:1 angle and the scarfed boards matched nicely. With the angles cut, the boards were glued up in the kitchen and voila, 12 foot lumber was created.

I also glued the form patterns onto my 1/2" plywood (using spray glue that allows it to be removed later) and began cutting the forms out on the band saw. I then realised that I still needed to do 2 things: 1) mark the positions of all of the stringers and 2) mark the curve that allows the fabric to push inward without hitting the cross sections. Marking these would have been easier to do before the paper was attached to the wood and before things were cut up. Oh well, it's done now.

I was confused for a time regarding what to do with the deck stringers. Looking at some of the Sea Fleas built by others eventually answered that for me. I will have one deck stringer that runs down the centerline of station 2 to station 1, and two deck stringers on the aft deck running from station 3 to station 4, pretty much just like this guy did.

The next step is to finish cutting out all the cross sections (stations) using the band saw and a jig saw, outside & inside. Then I will mount cross sections 1 & 4 onto the strongback and temporarily attach the stringers.

Sunday, March 23, 2008

A Good Friday

The Good Friday holiday turned out to be a pretty good one. Among other things, I stopped in to Kisseynew Canoe Company to see what was happening there. Mark was working on his new canoe and it was looking pretty good. When I arrived, he had been shaping a yoke of ash & walnut using a power carving wheel on a disc grinder.

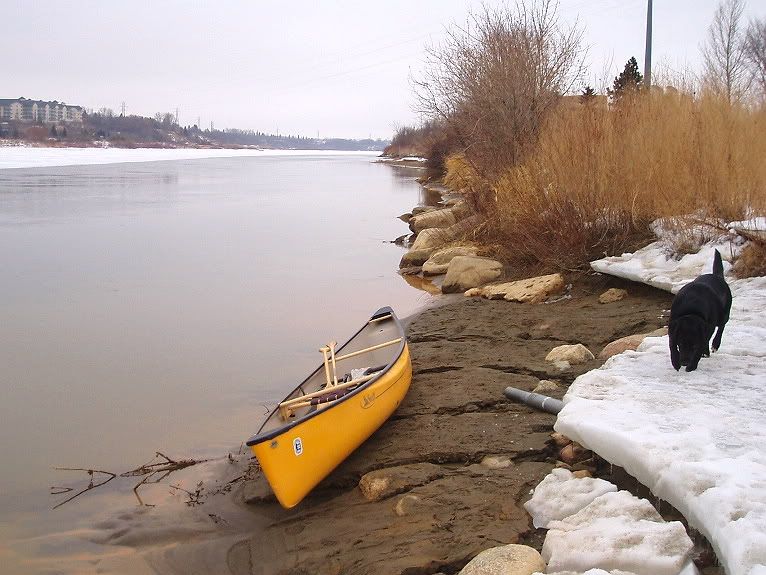
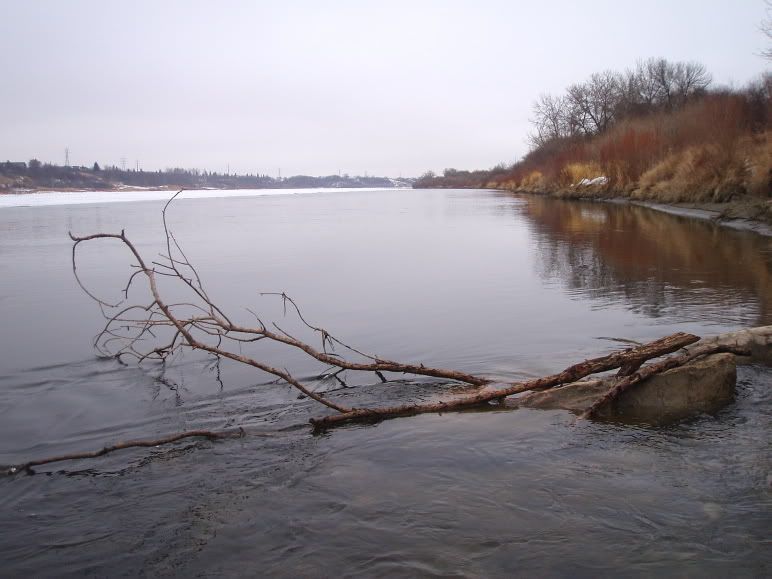
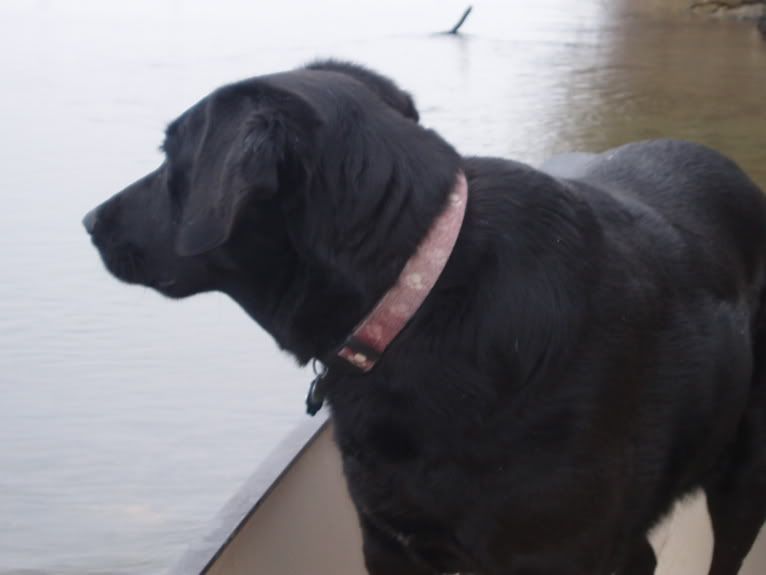
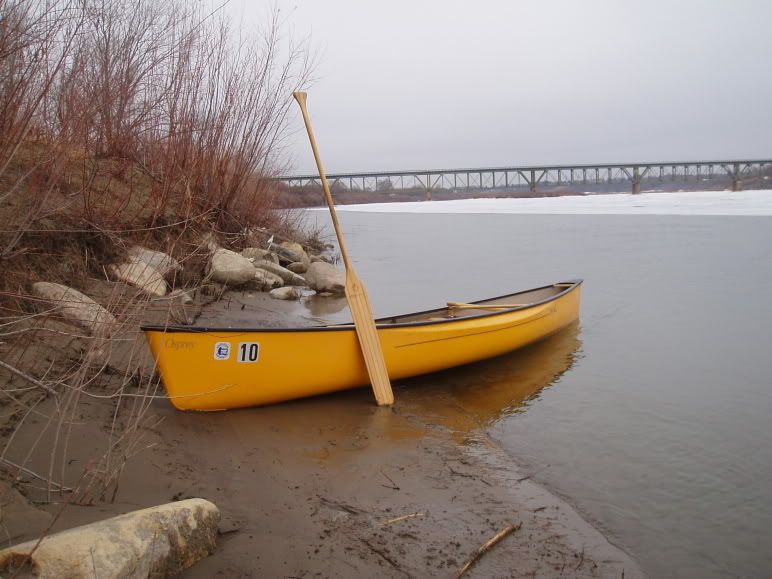
I then headed down to the river for a paddle, my first paddle of 2008. I used the Saskatoon Canoe Club's relatively new Swift Osprey. This solo canoe is one I've been wanting to try for some time now, particularly since it is a canoe I think might be a good one to build someday (although probably I need something with greater capacity for tripping use). The first thing I noticed is that it is light, certainly the lightest canoe I have paddled (my experience in actual solo canoes is limited to 2, and the other one is Royalex). I found that for me it paddled the most comfortably in a heeled over position using my voyageur paddle and a "canadian" paddling style which has the paddle slicing forward through the water. The canoe felt a bit "tender" at first, particularly in the heeled over position which kept it interesting whenever the dog would move around. This instability was quite manageable as the dog & I both became accustomed to it. At first I had Kaya in the stern because there is more room but I realised later that the bow would keep her closer to the centerline and not give her room to roam. The sliding seat made adjusting trim a pretty simple matter. There is a foot brace as well and I did try paddling with my bent shaft paddle but it just did not seem quite right.

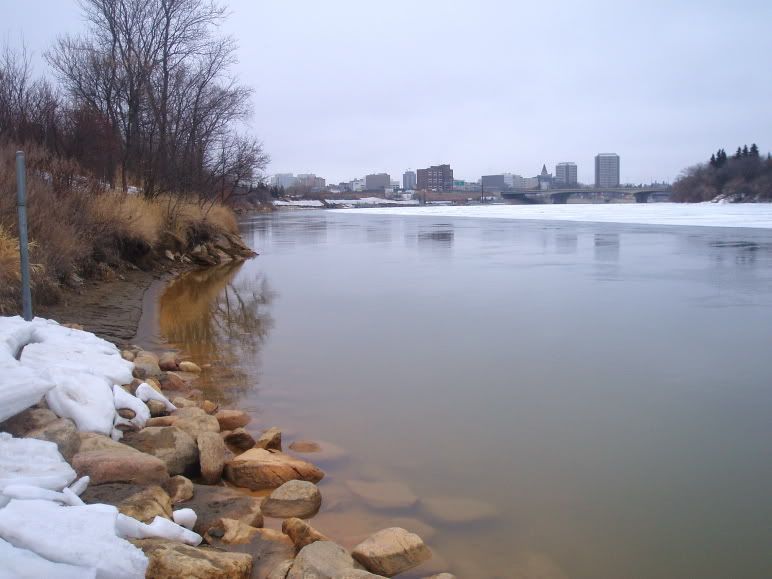
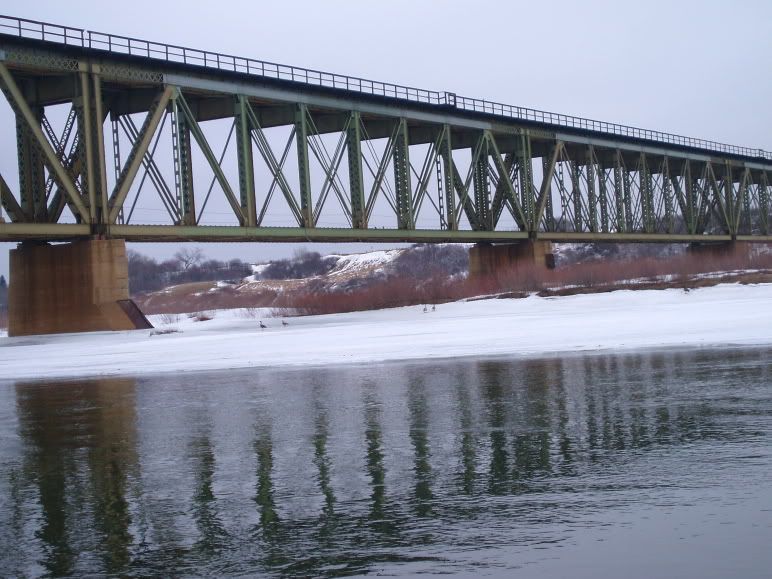
The weather was cool and overcast but not bad at -3C with a light north wind (9-13 kph according to Environment Canada). The river was mostly frozen but for a span of 15 - 100 m along the east shore. The current in the open channel of water was swift, making me work for my upriver progress. I first headed upriver with no particular goal in mind. As I warmed up and my muscles got used to the task I kept picking points farther upriver to head to. Eventually I came to the end of the open water at the Queen Elizabeth II power plant. The power plant is the source of thermal pollution which keeps this stretch of river open much of the winter.

After a brief rest I turned back downriver and into the cool wind to return to the boathouse (note to self, don't let you wet gloves cool down to ambient during a rest stop then put them back on and expect warmth any time soon!). The total distance was about 6.6 km according to the Google MapsPedometer. SCC Marathon Division members Trevor & Viki were there and heading out on the water, Trevor for his 11th paddle of 2008.

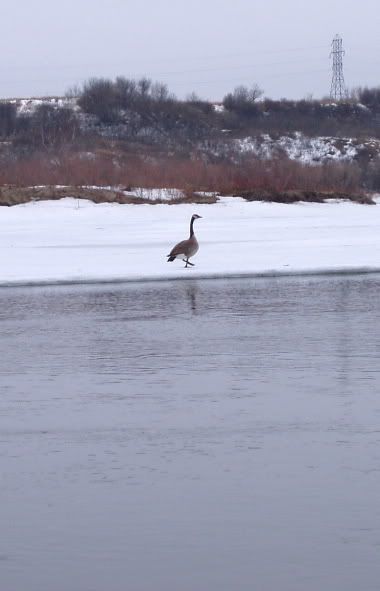
The Wildlife seen was restricted to birds: mallards that have been there all winter, geese that have recently returned though they may only have come from the Diefenbaker Lake outflow (80 km), some gulls and magpies.

A software-generated version of one of my snapshots:

Wednesday, March 19, 2008

Paddle To Be Free


A video by Branden Kraiker, son of paddling gurus Rolf & Debra Kraiker. Watching this video makes me want to start saving up my money to take our family up to the Thelon River.

Monday, March 17, 2008

Another Kayak To Build - The Sea Flea

I have started building another kayak. This time, it's for my daughter who turns 6 this summer. The kayak is a Tom Yost design called the Sea Flea and we are building the 11' version. Tom Yost has created a bunch of kayak designs and has made the plans and instructions available for free at yostwerks.com.

This kayak is a "skin on frame" which means that it is composed of a frame (plywood & cedar) covered in a skin (PVC fabric). Skin on frame is the method of building boats (qajak, umiak, etc.) used for thousands of years by the Inuit and other northern peoples where the frame would have been made from whatever wood and bone was available, and the skin was quite literally skin (seal, but others would have been used as well). The methods described in the online manual by Tom Yost are quite far removed from those traditional kayak building techniques. Yost's methods were originally described to build folding kayaks using HDPE stations and interlocking aluminum stringers. However, these methods have been modified to build non-folding kayaks with wood instead. The latter method allows the boat to be built at a lower cost (I'm using mostly scrap wood or what I had on hand) and more quickly. The Sea Flea frame consists of 4 cross sections together with several stringers that run lengthwise. The stringers include two gunwales, a keel, two chine stringers, a bow deck stringer and two stern deck stringers (that's a point I need to clarify).

The Sea Flea specs from the Yostwerks web site:
Length overall: 11'
Beam: 19"
Height: 8"
Coaming: 19" x 16"
Weight: 20 lbs.
The weight given is for the folding version built with aluminum and HDPE. The wood version should come out slightly less (maybe). I expect that this will be a kayak my daughter can play around with and develop some skills with. Initially, I'll use pool noodle pontoons or some such device to stabilize it. As she grows and develops, those training wheels can eventually be removed (in a couple of summers?) and she should be able to paddle on her own. I also expect to tow her a fair bit, or I might rig up something like what Mike Hanks arranged. In a few years when she starts to outgrow it (based on size or skills) it can be handed down to her sister and we'll have to build something bigger (assuming she doesn't hate it and wants another kayak of her own).

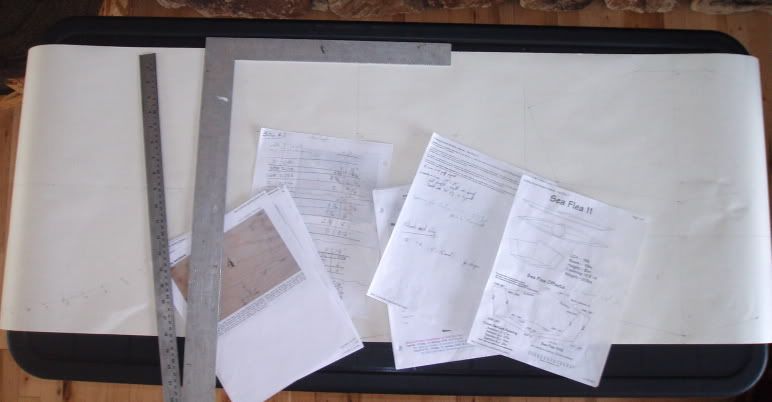
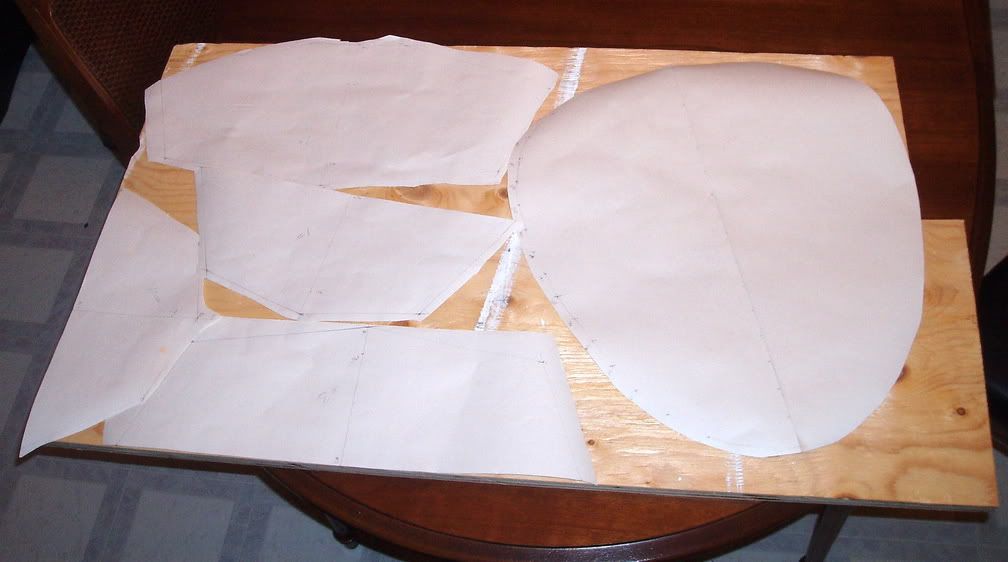
The first step I undertook was to convert all of the offsets from decimal feet to fractional inches (e.g. 0.745 = 8 15/16") and listed them in a table. Next, I plotted these offsets out onto a large piece of drawing paper, borrowed from my kids.
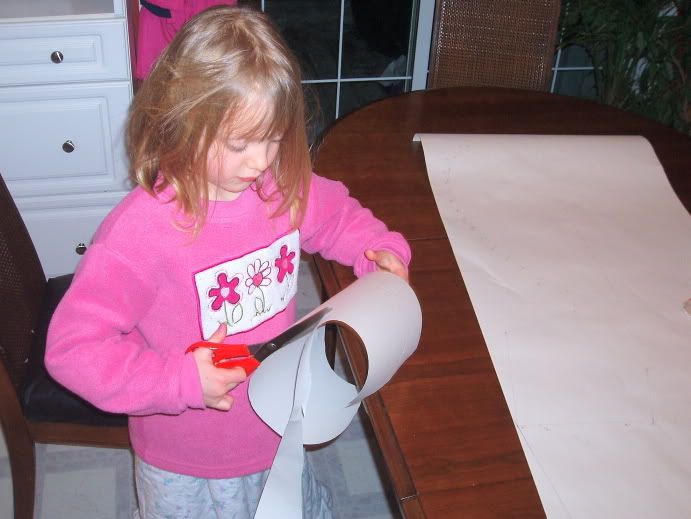
I then got my daughter involved by having her cut out the stations from the paper staying to the outside of the lines.
It looks like the stations will just barely fit on a scrap piece of 5/8" plywood I have. I also have some other wood that would work quite well (1/2" pine panels bought for some other project), but I thought I should use up this scrap first (now that I type it, I'm having second thoughts, the pine would be lighter and wouldn't need to be painted, but I suppose the glue could delaminate if water ever penetrated it).
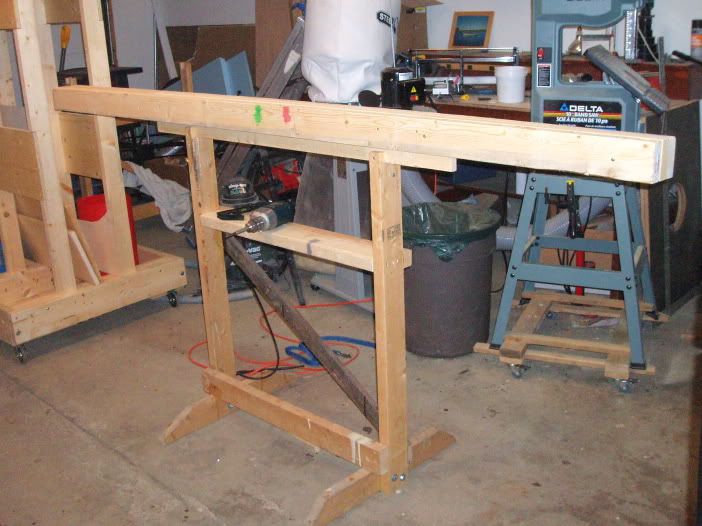
I also have built the strongback which will support the stations during construction. My strongback was a bit different from that described by Tom Yost, being composed of scrap 2x4s, a length of 2x6, and no 1x6 top plate. The strongback is only 8 feet long, though for the 11' Sea Flea I could have gotten away with one that was 6' long (I decided not to cut up my lumber any more than I had to and I had 2 8' 2x4s on hand). The 2x6 was incorporated into it to allow it to sit nicely in one of my stands, manufactured for my guillemot build a couple years ago. The only problem I see with this set up is the working height as my stand is tall. That will be quite convenient for me, but not so much for my daughter who I hope to have help me.
The next steps are to rip some stringers from a 10' cedar 2x6 then to scarf some shorter pieces to make gunwales and chine stringers that are 11' long (10' may be enough for the keel?). I will also attach the paper station drawings to a sheet of 5/8" plywood and cut out the four stations (cross sections), then align stations 1 & 4 on the strongback (stations 2 & 3 are not attached to the strongback but are merely placed between the stringers with the correct spacing).
Sunday, March 02, 2008

Jeff Healey

Just a couple weeks after the death of Canadian folk music great, Willie P. Bennett, Jeff Healey passed away this evening due to cancer.

It's a very sad day. Although Healey was well known for a couple of hit singles, his real benefit to the musical culture of this country was his work as a jazz musician with his band the Jazz Wizards and his vinyl-spinning appearances on CBC radio (which is the venue that made me most familar with him).