


Merry Christmas!
| Time (CST) | Conditions | Temp (°C) | Humidity (%) | Dew Point (°C) | Wind (km/h) | Pressure (kPa) | Vis (km) | Wind Chill |
|---|---|---|---|---|---|---|---|---|
| 23 December 2008 | ||||||||
| 6:00 | Clear | -35 | 65 | -39 | SW 13 | 101.9 | 24 | -47 |
| 5:00 | Clear | -35 | 70 | -39 | W 13 | 101.9 | 24 | -47 |
If you're hiking all day, going the distance, in unpacked snow, the longest, skinniest ones you can find are the best -- paticularly if you're punching through brush or crusty snow. You want something shaped more like a ski than anything. And a pointed tip helps a lot. I use a set like these for breaking trail.... But for campwork, like when you're setting up the tent in 3 ft of soft snow, or cutting poles, or getting firewood, a set of roundish bearpaws is best because it is so easy to turn around in them.... On a trip where I feel I can afford the weight of 2 sets, or if there are several people in the party and a spare pair is judged a good idea, I take along the first 2 types mentioned above. It's very nice to use the shoe that best does the job.So here are my new 12" x 60" Ojibwa snowshoes.


 The following is excerpted from www.ispeakforcanadianrivers.ca:
Transport Canada Minister Lawrence Cannon and his allies in government and industry hope to achieve this by exempting "minor waters" and "minor works" from the NWPA, and by re-defining "navigation" under the act in a way that will strip all legal protection from recreational navigation.
The new law will ignore all whitewater rivers, all seasonal waterways and all vessels with less than a one-metre draft. This is a direct assault on Canada’s tradition of river travel and the future health of our waterways by the same people who are supposed to protect both. It is a fundamental breach of public trust.
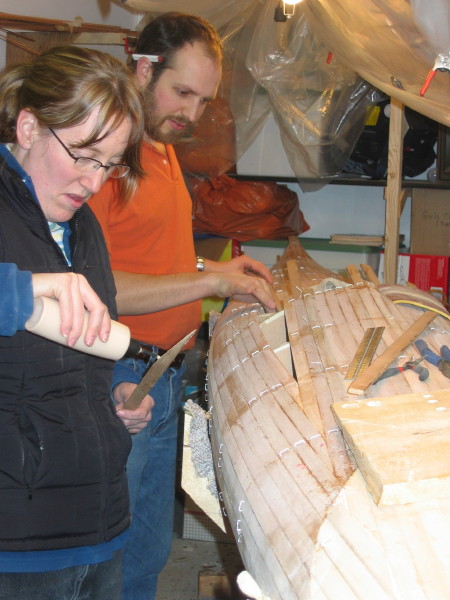 Typically, staples are used to achieve this. Staples are fast and effective, but they do leave behind a row of little holes at each station. Many builders use clamps, jigs, tape and bungee cord (or all of the above) to hold the strips in place while building.
 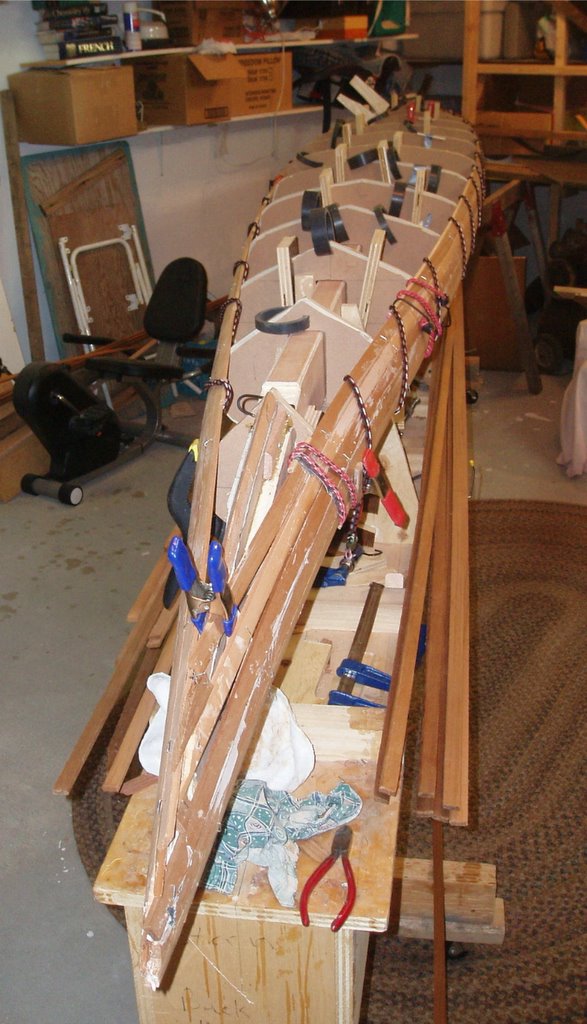 I tried this initially while building the Guillemot, but I decided to revert to staples in the name of speed and efficiency. The method shown in Glen's photos from the BM Rendezvous uses a wire device attached to bungee to hold the strips down against the previous strips, the bungee is tightened using a chain that can be hooked to the right length to the strongback. Meanwhile, a strap which goes around each form keeps the strips tight to the forms. This latter component seems to solve one of the perpetual problems of some stapleless methods which would allow the joined strips to move away from the forms. In areas such as at the bow of the Guillemot kayak which have a concave curve, wedges would probably be needed to maintain the pressure to hold the strips tightly to the forms.
 or a merge sign like this
 means. Whenever I drive somewhere and am using an exit lane to the right that joins another road as an added lane, I end up behind some idiot who STOPS in the middle of the bloody road thinking they've got to merge with and yield to the traffic when what they should be doing is getting up to speed and then moving left into the adjacent lanes if they so wish. Many folks are just as confused regarding how to merge. Again, they STOP and wait for an huge opening in the traffic before they enter the lane and continue on their merry way oblivious of the frustration and danger they cause. If any car should appear on the horizon in any lane, they must wait for all traffic to pass before they too can enter the roadway. Often it seems that the problem is due to the person wanting to go directly over to the left lane. Here's an idea: get up to speed and do a couple of lane changes in quick succession after properly shoulder checking. Occasionally they're just going to have to resign themselves to NOT doing a left turn 100 feet after the botched merge, and just taking the next road. Rarely would this add more than a minute to the drive, it would be safer and quicker for everyone, and I'm less likely to blow my top when I'm stuck in peak traffic behind this goof and we'd all get home sooner.
 I seem to be in a bicycle frame of mind lately so why fight it? The Slow Bicycle Movement has been launched & I herewith resolve to slow down. Not much I can do about style though.
 Available in the single speed version he was riding, or a 6 speed, these bikes are being sold for about $1000. My interest was certainly piqued, but I doubt if I can convince my wife that I can drop that kind of money on another bike.
 All this reminded me that I saw this week that Surly is now making a frame for (with?) Xtracycle (after having a look at Surlyville after seeing Ryan's Surly Karate Monkey, and Tim's Surly Crosscheck - I hadn't been to the Surly web site to drool in a couple of years).
 The Big Dummy is a "cargo long-bike" frame that uses the Xtracycle components. The Surly blog has some interesting comments about the handling of a long wheel-base bike. The frame is listed at Xtracycle for $900 (US) and the complete bike at $1800.
 My daughter was sleeping in the stroller so I took it for a ride around the parking lot. It rides like, well, a solid bike that's a bit too small for me. I didn't raise the seat (it wasn't quick release) and I should have to better evaluate it. At $800, I'm very interested in this bike. Perhaps I could get rid of my beater mountain bike that I ride in the winter, and the 1978 road bike that is my rain bike/all-round commuter (it's officially for sale so let me know if you want it, or want more information!).
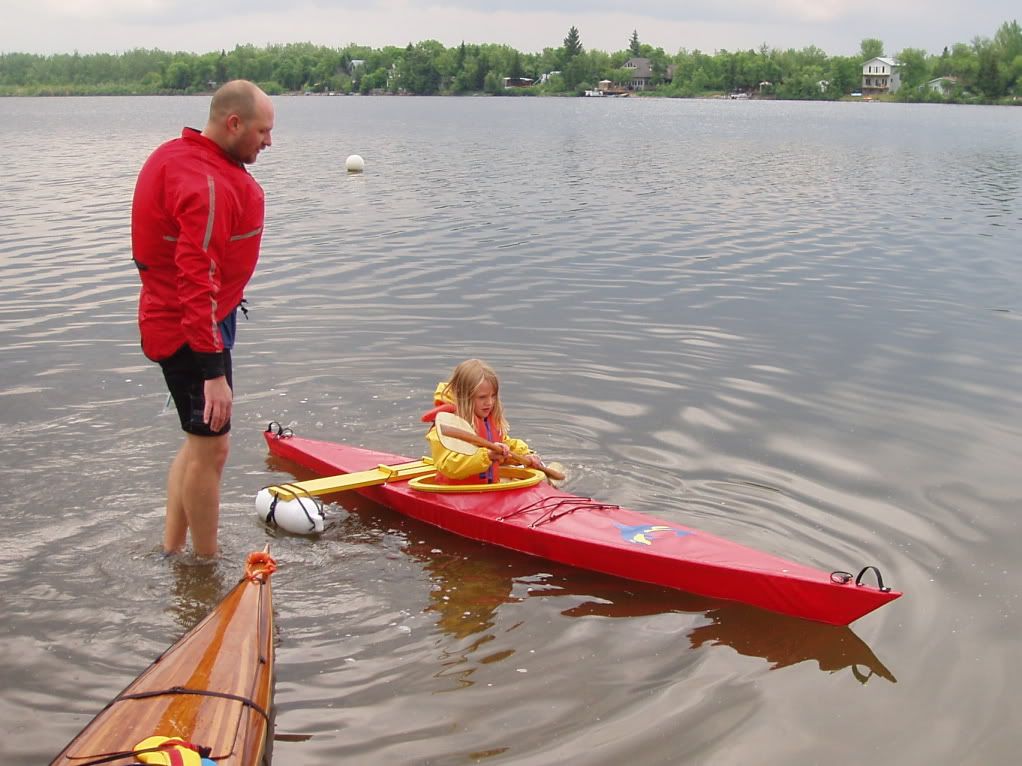 The outriggers are very similar to that described in the Chris Cunningham book, Building the Greenland Kayak. In my version the boat bumpers (the floats) are held onto the crosspiece by a bungee and a webbing strap. It seemed to work quite well and breaks down easily for transport or storage. The outrigger is secured to the kayak using a deck rigging slider which works quite well.
 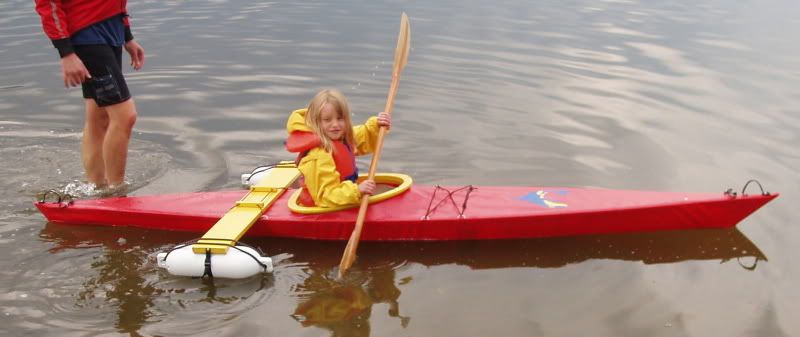 Mom heads out too.
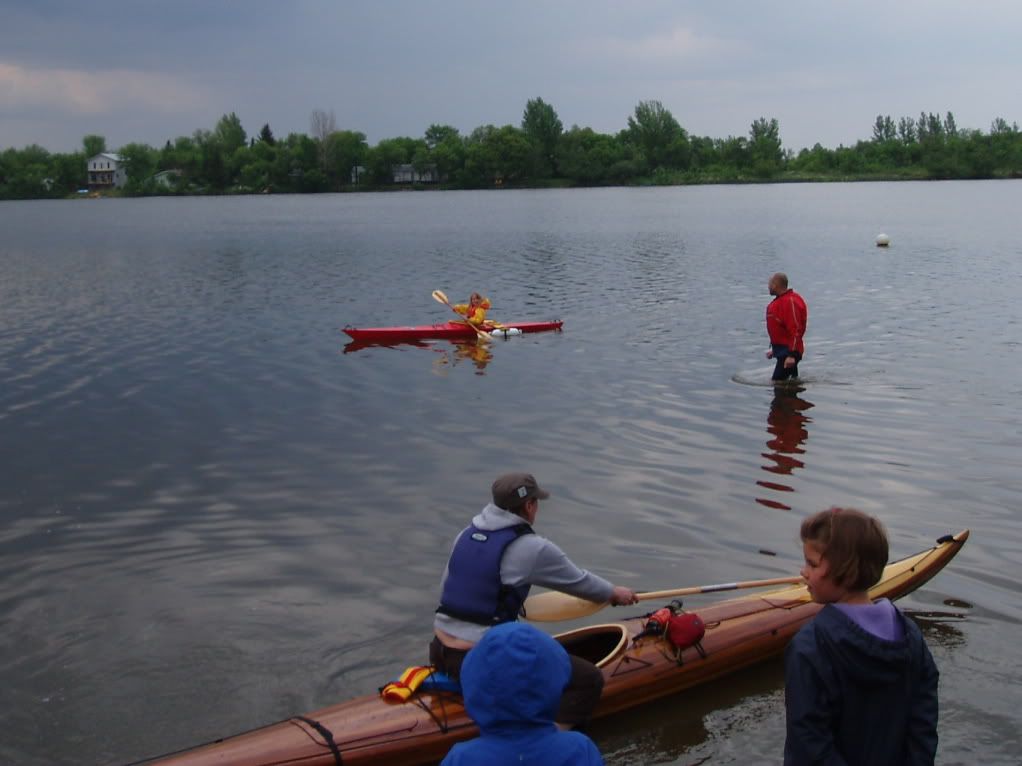 My wife is paddling her guillemot kayak, launched exactly one year earlier (the Saturday prior to Father's Day).
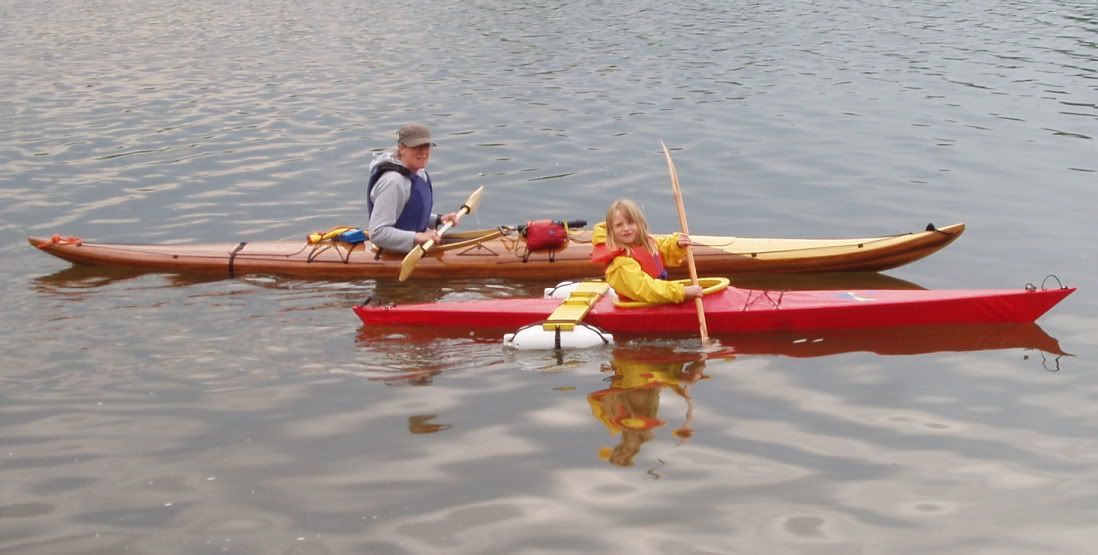
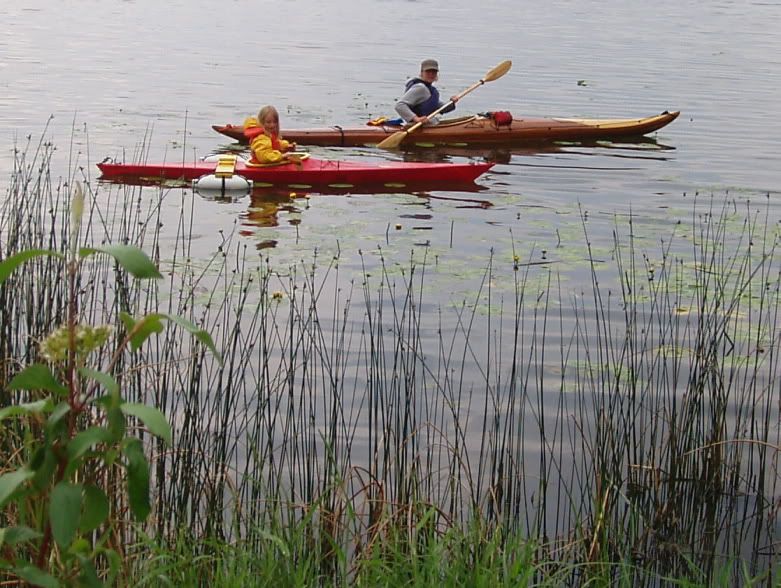 Our younger daughter gets her turn too, just as the rain started.
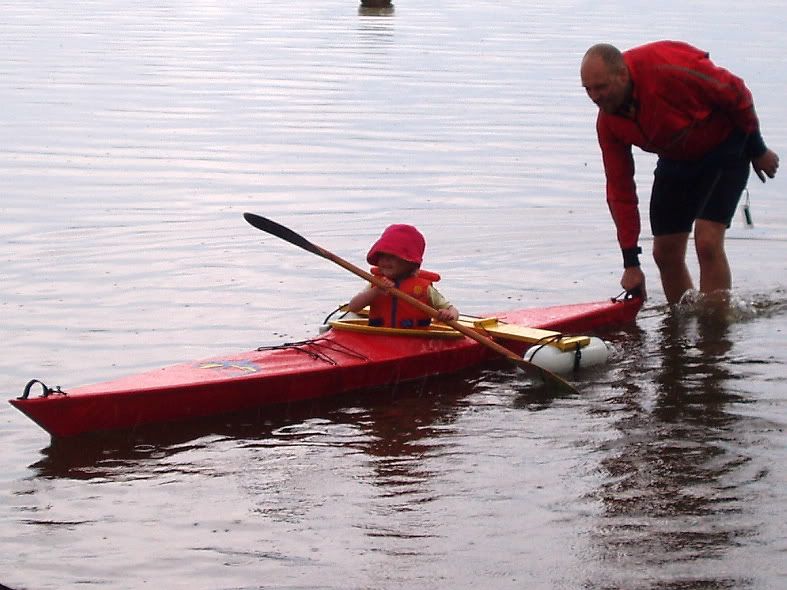 The next day (Father's Day Sunday) we took another tour. This time we had beautiful sunny skies and warm weather. We launched at the main beach and paddled through the lily pads and visited one of the large beaver lodges.
 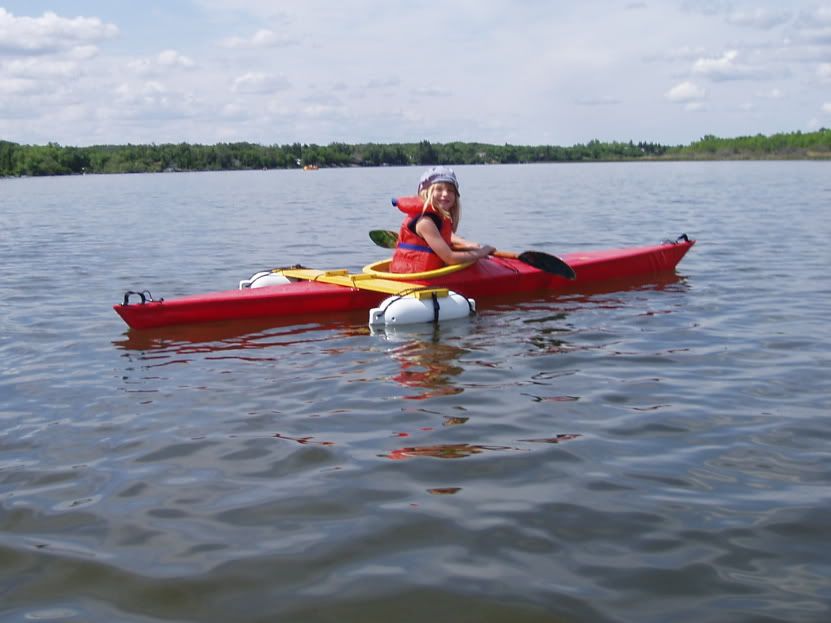 The younger girl & I paddled the canoe while Mom and our other daughter were in the kayaks. After a while, my wife gave a tow. She reported that the Sea Flea towed very easily, offering little resistance (until our daugther learned to use her paddle to increase the drag!). While being towed, she made a game of paddling hard to overtake and pass Mom.
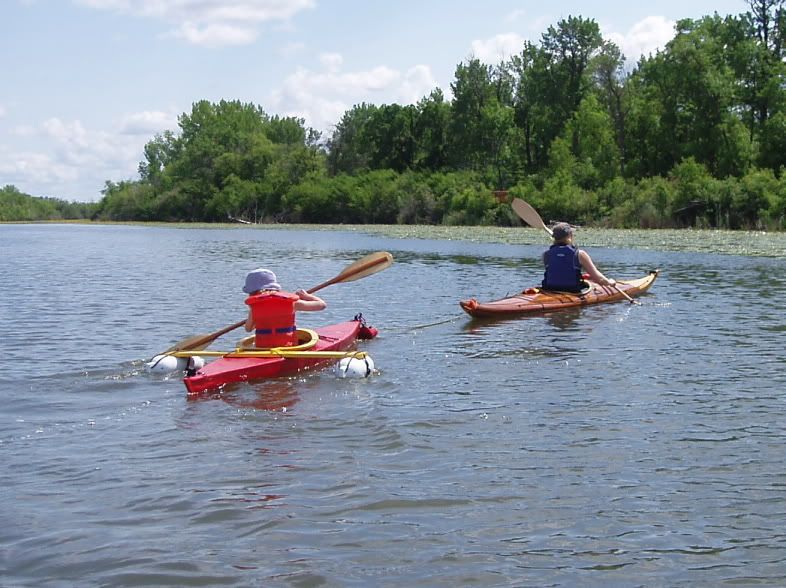 Unfortunately, we never did try the kayak without the outriggers. I wish we had at least tried it without them while we were playing at the beach.
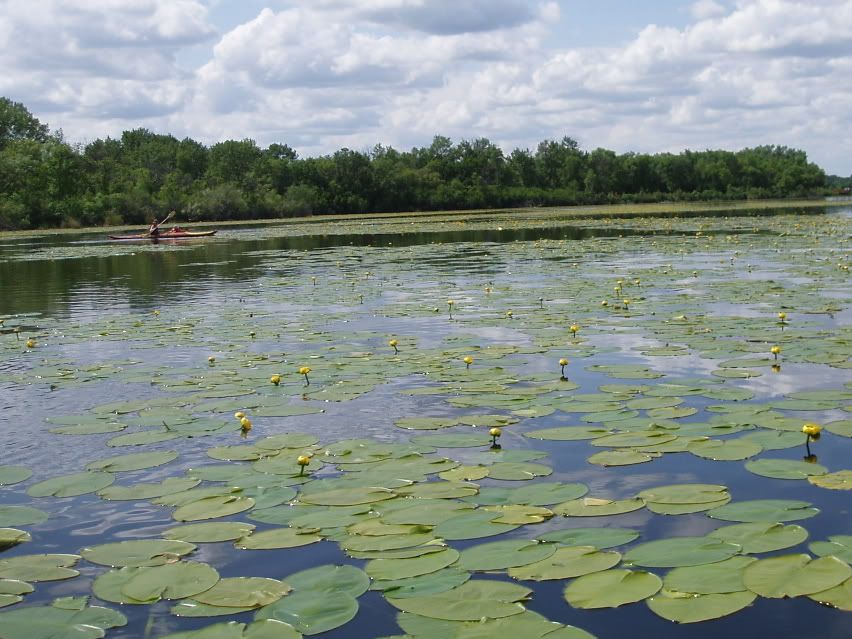 Our little girl played in Mom's kayak by the beach.
 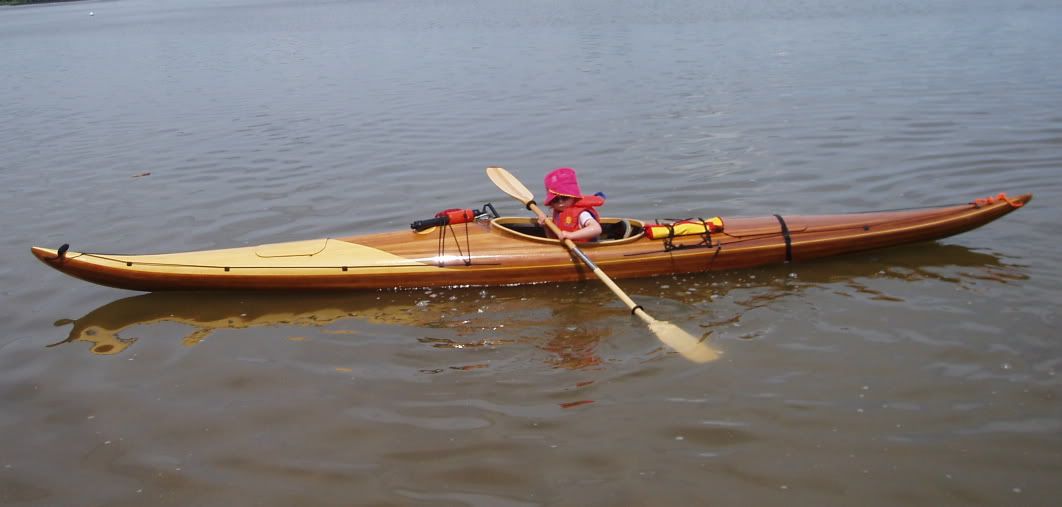 For more posts about the Sea Flea and the build, click here or click on the label "kid kayak."
 Mark's now well underway on his journey from La Ronge to Hudson Bay, paddling 1400 km in his solo canoe. He is about 9 days into the trip and should now be nearing the eastern border of the province.
| Tuesday June 24th | Between 12 - 1 pm |
| Tuesday July 8th | Between 12 - 1 pm |
| Tuesday July 24th | Between 12 - 1 pm |
| Tuesday August 5th | Between 12 - 1 pm |
| Tuesday August 19th | Between 12 - 1 pm |
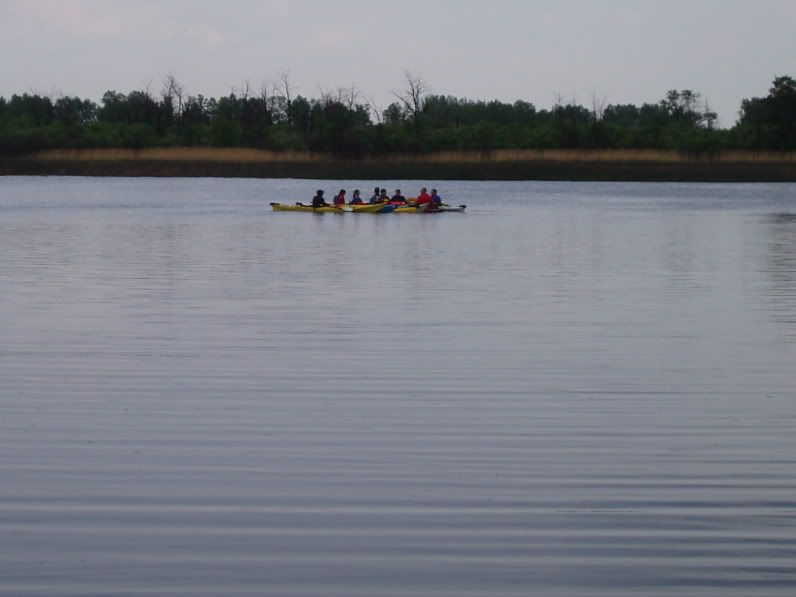 Viki and the others head back while the 4 guys paddle over to the families.
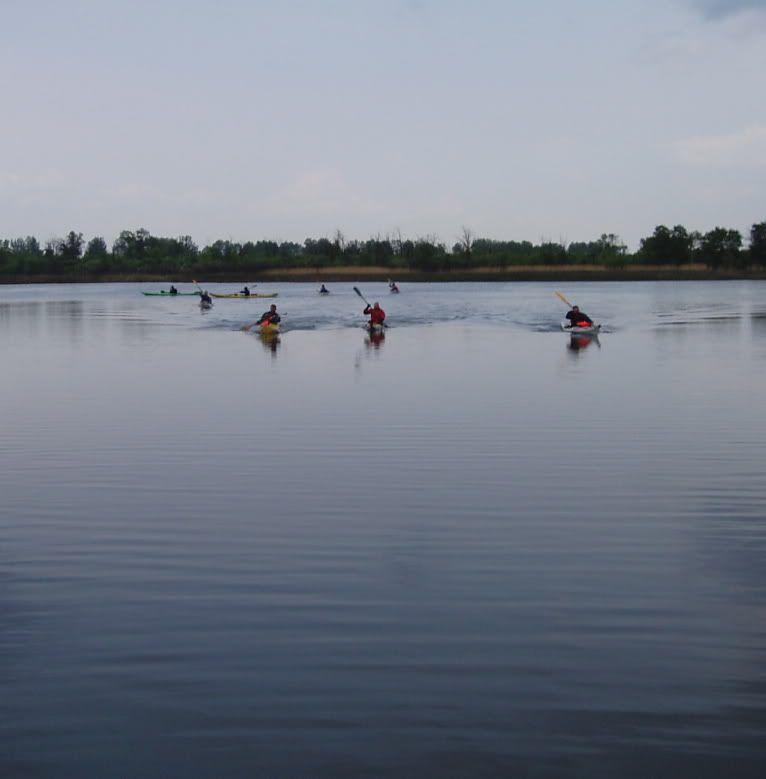 NorthStar Expeditions
 Using the water pumps to spray the kids.
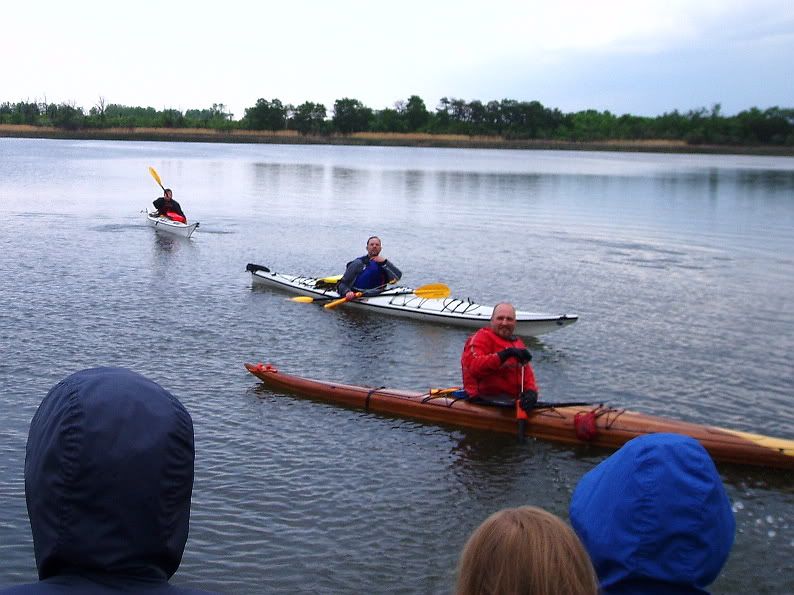 After the class we launched my daughters' new kayak. I still have to crop & upload the photos so that post will be added in the next couple of days.
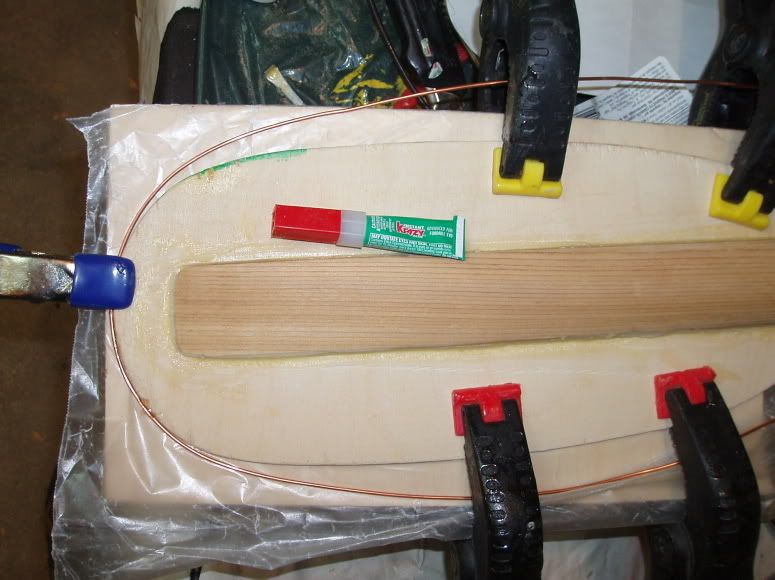 I worked progressively around the blade, starting at the tips and tacking the wire in place as I went. I would hold and/or clamp the wire in place then tack it in a couple of spots with glue then after a fwe seconds for the glue to take hold I could let go. I would give it a further few minutes for the glue to set before moving the clamps to tack the next series of spots. I only glued my fingers to the paddle a few times.
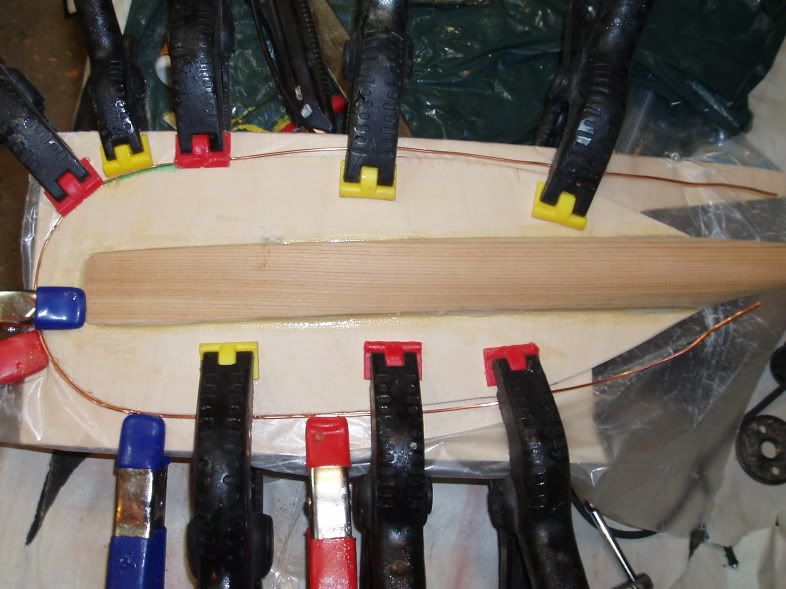 With the wire in place, the backing piece of plywood was removed and the glue residue seen below was cleaned up.
 After a bit more shaping of the shaft on the back of the blade, it was ready for fiberglass. I used 6 ounce cloth left over from the guillemot kayak. I could have used 4 ounce, but it wasn't quite as close at hand as this stuff. The photo below shows both blades with cloth pieces and ready for epoxy.
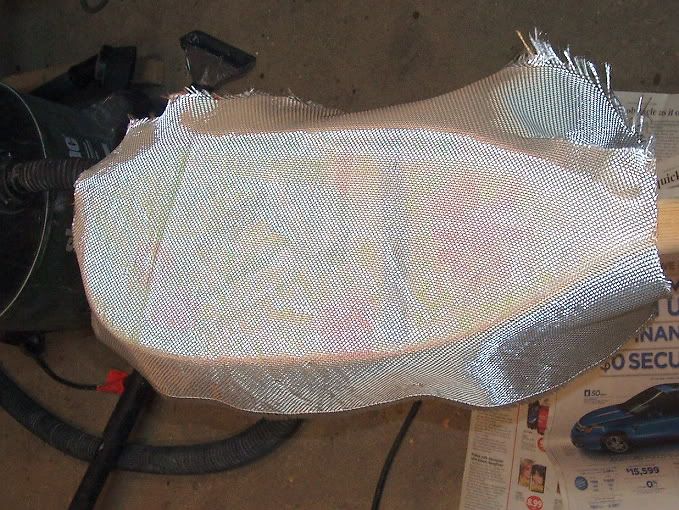 The silvery sheen of woven glass fibers turns clear as it wets out with epoxy.
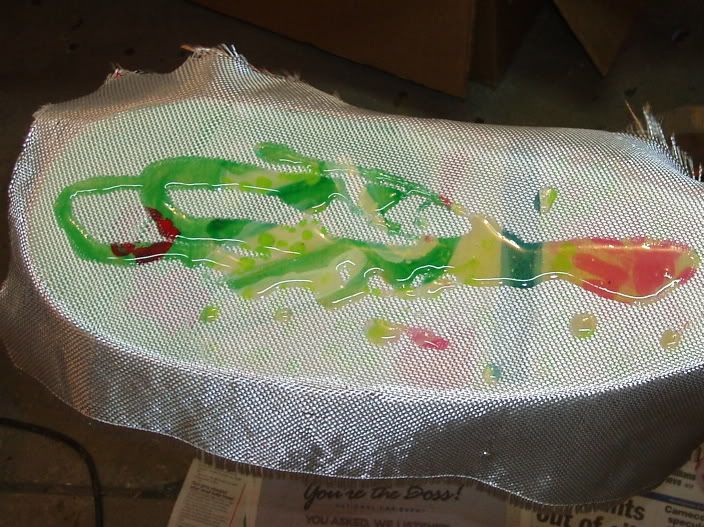 Below, the blade nearly fully wet-out.
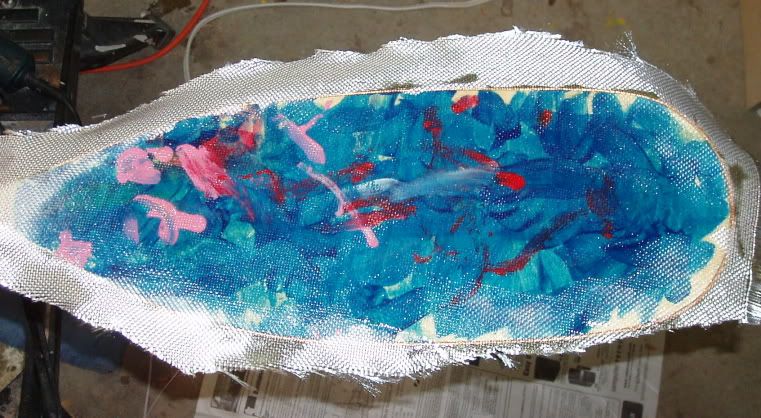
 The back of the blade after a coat of epoxy.
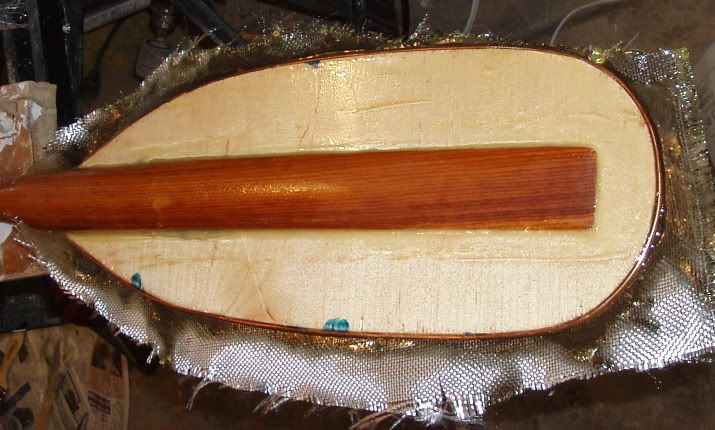 After the epoxy was partially cured to a green stage (somewhat rubbery, stiff but still flexible), the excess glass was trimmed with a sharp blade. The blades then received a fill coat of epoxy which was allowed to mostly cure before sanding and a third coat of epoxy was applied. The shaft also received a coat of epoxy along it's length.