Friday, August 17, 2007

Launched!

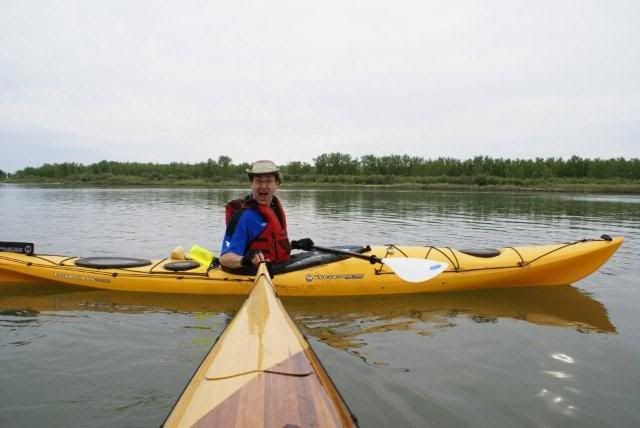
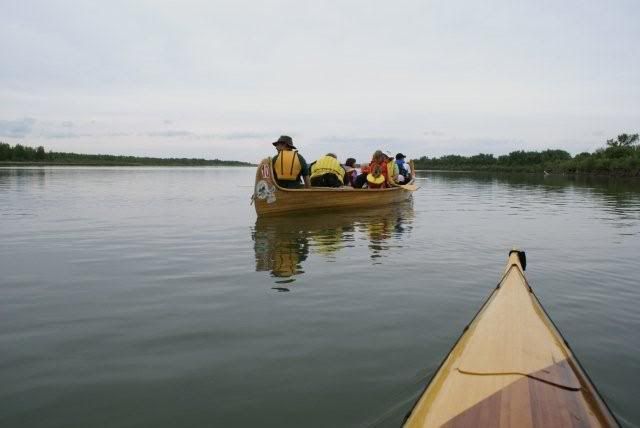
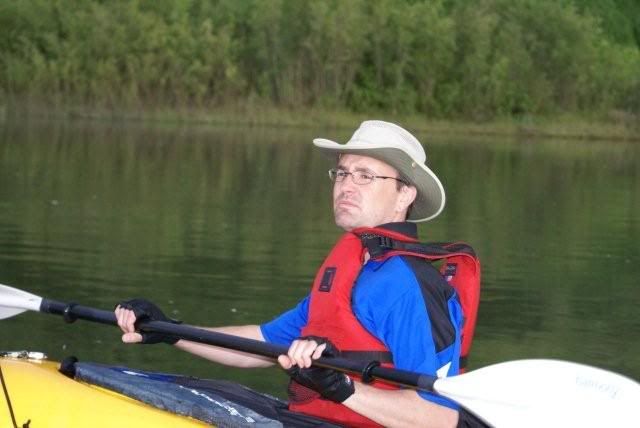
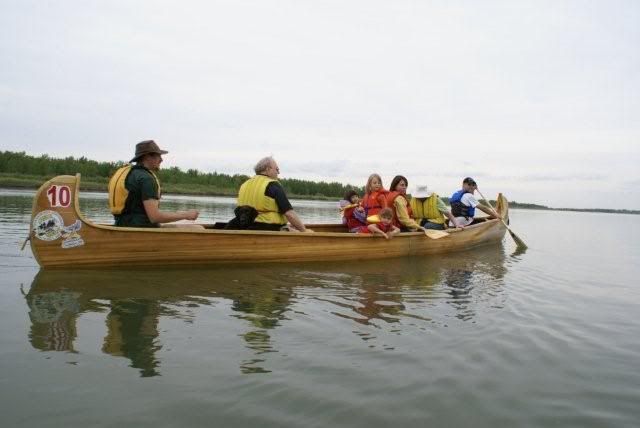
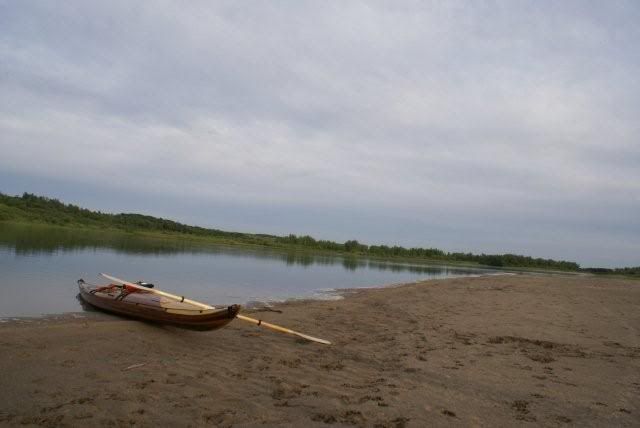
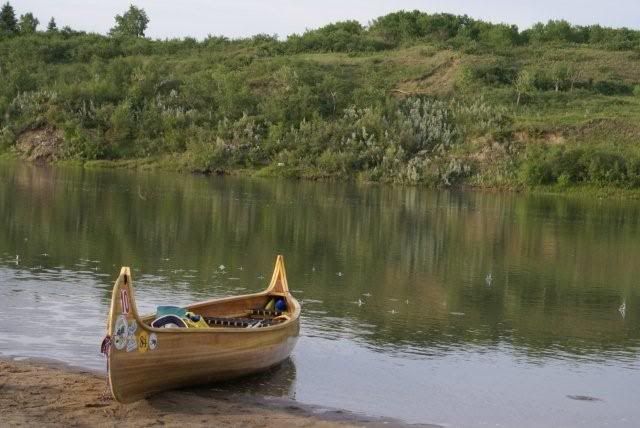
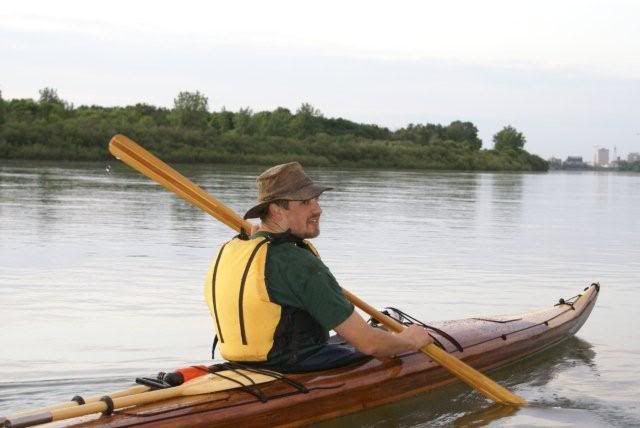
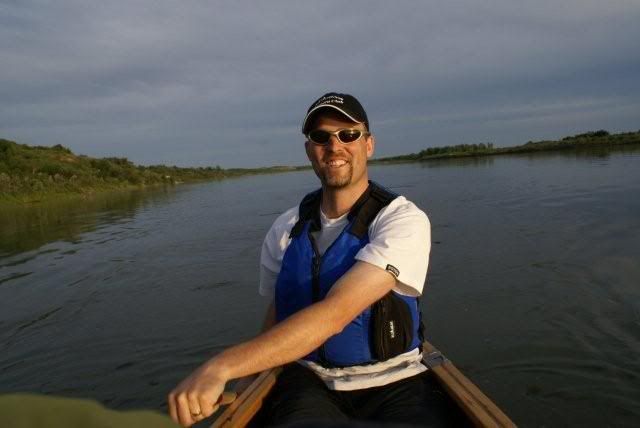
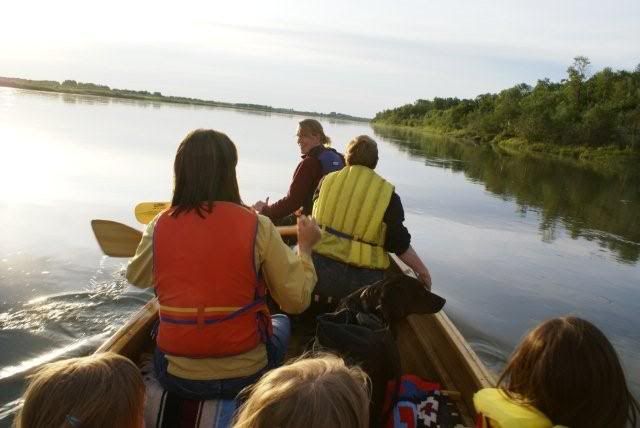
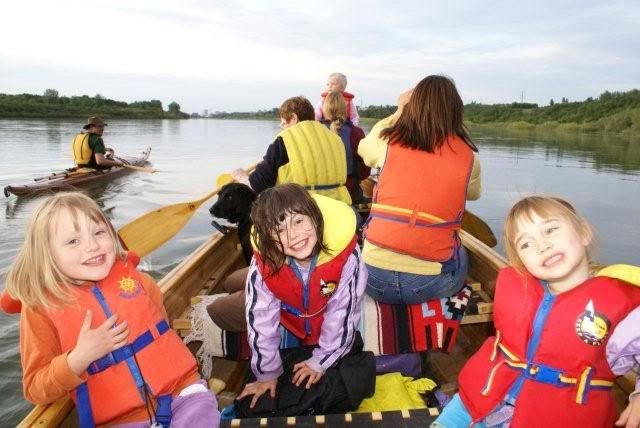
Back in June we had the "official" launch of my wife's new kayak. We borrowed a cedar-strip voyageur "Sainte Anne" canoe from Martin Bernardin for the occasion and had some friends & my in-laws join us. The kids really enjoyed the voyageur canoe, and my wife & I really enjoyed taking turns in the kayak. It was a beautiful Saturday evening for our paddle. Our original plan was to paddle on Sunday after having brunch at the Berry Barn. However as Sunday approached the forecast got steadily worse (the forecast was correct and we received 4" of rain in the ensuing storms). Thus, we scrambled a bit and left Saturday late-afternoon instead. We started from Fred Heal canoe launch on the South Saskatchewan River, about 20 km south of Saskatoon and paddled back to the city with a supper stop on a sandbar island along the way.

The photos below are all courtesy of Rick.
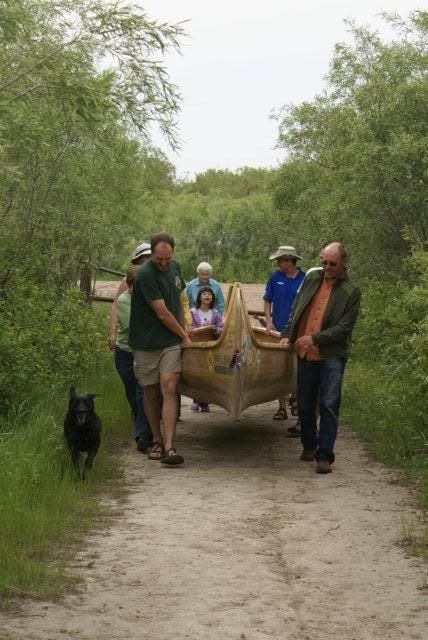

Many hands make light work.
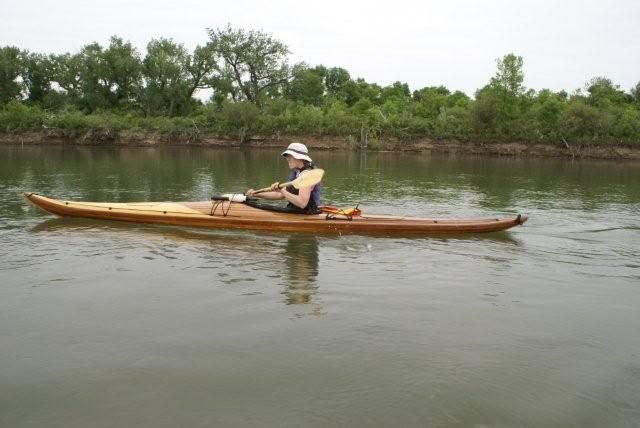
My wife takes the first turn in the kayak.
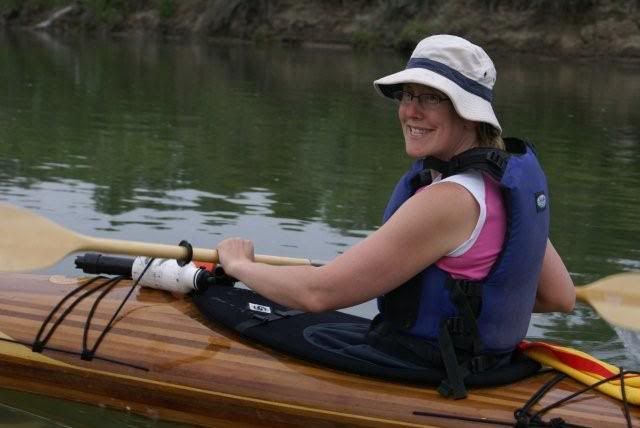


Kevin mugs for the camera.


Supper break.
My turn.

Rob took over duties in the stern while I took my turn in the kayak. The Sainte Anne canoe paddled beautifully. At 25' 10" long and a 51" maximum beam, we were expecting a bit more trouble. With an experienced paddler in the bow and stern it was very easy to control. We had some assistance from amidships but even without it, Rob & I had little trouble maintaining a good pace and maneuvering.
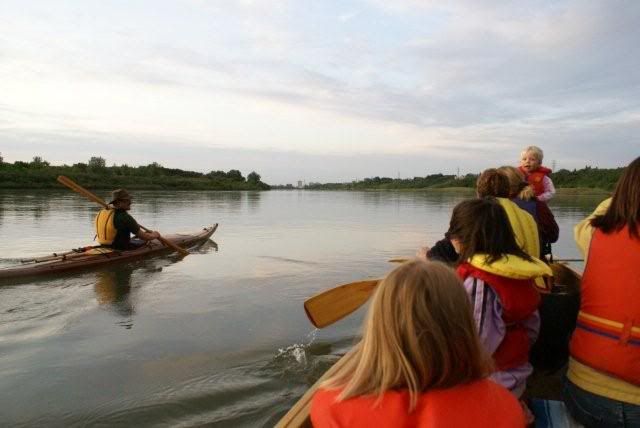
The girls certainly enjoyed themselves in the big canoe.
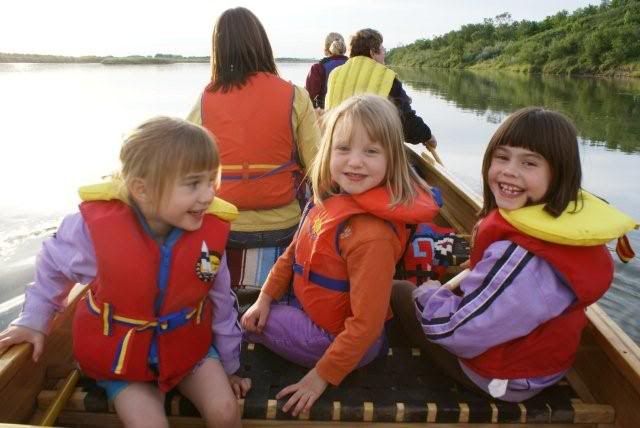
On the edge of town.

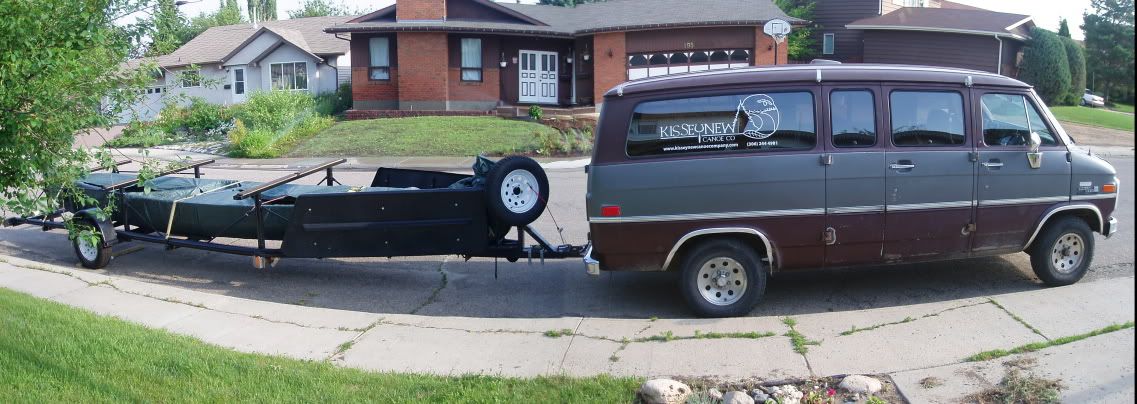
When I asked Martin about renting the canoe, I never gave the logistics of it much thought. I knew it had it's own trailer but I have no problems pulling a small trailer behind my car and thought this one would be the same. I was wrong. That is one heavy trailer (for Honda Accord anyway). In agreeing to loan me the canoe, Martin was also agreeing to loan the trailer and the van too! His only request of me was that the rig be made ready to go for his trip to the Yukon River Quest. Thanks Martin!

We've used the kayak a couple of times since the launch and are pretty happy but there are some bugs to work out, including a broken moby latch (there's a lot of power behind them so make 'em strong!) and some skill development.
As mentioned earlier in this post, we were had made plans to launch after a Father's Day brunch from the Berry Barn on Sunday. Originally I refused to alter the plan despite a bad forecast since the forecast is often wrong. However, as Sunday got closer, the forecast got worse. In our haste to change the plans to Saturday, I was unable to inform a fellow builder about the change. Thus, Andy (aka "Andy in SK") arrived at the Berry Barn despite the downpour. We had brought the kayak and our tandem canoe along because the weather didn't look too bad when we left home and don't mind paddling in a bit of rain, but the thunder and lightning followed by the torrential rain put a damper on those plans. At least I did get a chance to admire Andy's Razor Billed Auk. Like me, Andy built a guillemot first. Having established a list of things to differently on the next boat, he built the RBA designed by Nick Schade next. Wow, what a beauty. Loaded with features, it also sports an elaborate design in the wood. This long sleek boat looks like lightning just sitting on Andy's custom made cradles (a la Ross Leidy). After admiring the boat in a pounding downpour (the start of a 4"+ rain) we resolved to head out for a paddle together at a later date. We're running out of summer so we'll have to go for a paddle soon Andy!

p.s. I have a bit of a backlog of posts to add discussing certain aspects of the build including the carved inlay on the deck, the moby hatch latches, and the plywood coaming. The first of these (description of the carved inlay on the deck) should be ready to post within the week so check back once in a while.

Tuesday, July 03, 2007

They Did it Again! And Again!!

Way to go Kisseynew! Martin Bernardin & Kisseynew Canoe Company were again in the Yukon River Quest last week. The YRQ is a 740km race down the Yukon River from Whitehorse to Dawson City with 2 mandatory stops, one of 7 hrs and one of 3 hrs. Last year Martin Bernardin entered his strip-built voyageur canoe in the Yukon River Quest (see here for my post from a year ago) and team Kisseynew - Denesuline Dalutweh broke the record for voyageur canoes with a time of 42:56:13, came first in their class and second overall.

This year, Martin wanted to do better. He built a new canoe this winter for the race, the "Precipice". The new canoe is 28' long, 36" wide (built to the limits of the rules allowed in the current YRQ rules) and looks like a rocket. It was stripped with 1/8" thick cedar strips, glassed on the outside with carbon fiber cloth and on the inside with kevlar cloth. Inside a couple of kevlar stringers were added to stiffen the lightweight hull. Fitted with seats & footrests, the completed canoe weighs 150 lbs (I think) which is pretty light for something of that size.

A team of 6 was assembled and has been training hard. The older 25' 10" canoe, the Sainte Anne, was used as well with a second team of 6 (the 2006 team was 8), called Kisseynew Skookum Asphalt.

This year, Kisseynew bettered their time by nearly 45 minutes with a finish of 42:16:47 in the Precipice. The competition was tough though and the 8-member team Coureur des Bayou finished about an hour ahead of Kisseynew at 41:15:00 for the first place finish, the first time a voyageur canoe has taken top honours in the YRQ. Third place overall, out of a field of 85 teams and 200 paddlers, was Kisseynew Skookum Asphalt with a time of 45:08:11. It appears that the Kisseynew has played a large part in changing the voyageur class of the YRQ from something of a novelty to a seriously competitive class as evidenced by the fact that the top 4 finishes in the 2007 race are all Voyageur canoes. This year the Kisseynew boats took home $1000 and $500 for second and third place, respectively. First place in the voyageur class received $2500, an improvement from 2006 as last year Kisseynew won $1500 for their first place finish in the voyageur class, $100 less than their entry fee! Ryan Martin of the Kisseynew Skookum Asphalt team was the first Yukoner across the finish line for the second year running.

By the way, there were at least 2 other wood boats in the race. Ken Brunton, a regular over at the Kayakforum.com trips forum was in the race but unfortunately scratched part-way through. Dave & Lisa McGee finished midfield in their cedar-canvas canoe.

Congratulations guys and hat's off to all who completed the race!

p.s. The kayak is completed and has been officially launched. However, I'm behind in posting. I'll get some photos of the completed boat and the launch up sometime soon.

Sunday, May 27, 2007

Torch River


Last weekend we went north to canoe on the Torch River. We drove up Saturday and met Larry in Choiceland and Larry led us towards the campground on the south side of the Torch River where we intended to launch that day. However, it seems that our Honda Accord (or perhaps my driving skills) were no match for the rural roads which are soft after the spring (a wet fall followed by heavy snows this winter), and made much worse by the couple of inches of snow they received the day before (odd feeling, driving in to a canoe trip passing fields completely covered in snow). We got stuck but thankfully Larry's son's 4x4 truck easily pulled us out. Extricated from the muck, Larry suggested that there may be another route, but we decided to play it safe and stick to the main roads, particularly since my mother-in-law was getting worried about having to shuttle our car on muddy roads. Thus, we launched from the Love bridge instead, and paddled to the White Fox bridge.

Though shorter than originally intended, our paddle Saturday afternoon was excellent. Our weather was cool with a breeze, but very warm in the sun. The high riverbanks were completely white with snow wherever there was shade. Areas that received a bit more sun were often yellow with flowers. The rapids along that stretch seemed larger and more numerous than I remember from last year. Since we were a lone canoe and travelling with our daughter in cool weather, we ran the river quite conservatively. That meant we didn't do as much "playing" as originally intended, passing by many opportunities to surf or practice eddy turns and focusing instead on having a dry run. It was funny to see our 5 year old daughter focused on snacks and quite oblivious to the whitewater while mom & dad negotiated a path amongst the boulders and rode through the waves. She had a lot of fun on the Torch and so did we. We had intended to run the river again Monday but in the end did not due to the steady rain which eroded away our resolve (and didn't improve road conditions either).

Friday, May 18, 2007

Nice Weather for the Long Weekend


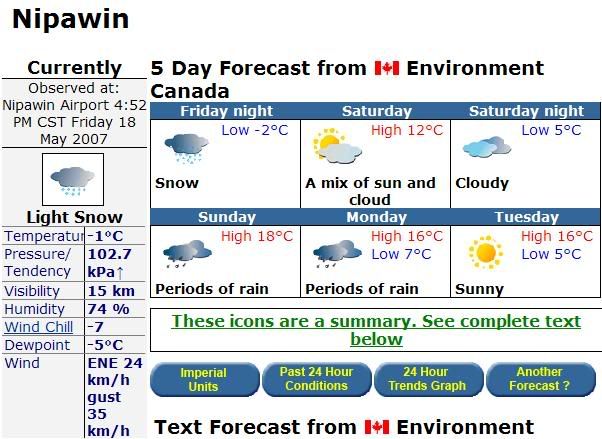
We're off to the Torch River again for three days of whitewater canoeing. "Whitewater" was intended to describe the frothy water through a rapids, not the frozen stuff falling from the sky! Actually, that forecast doesn't look half as bad as it did a few hours ago, even though rain figures more prominently than it did. 18C and some rain sounds pretty good!

Wish us luck!

Thursday, May 10, 2007

It Floats!!!!!!

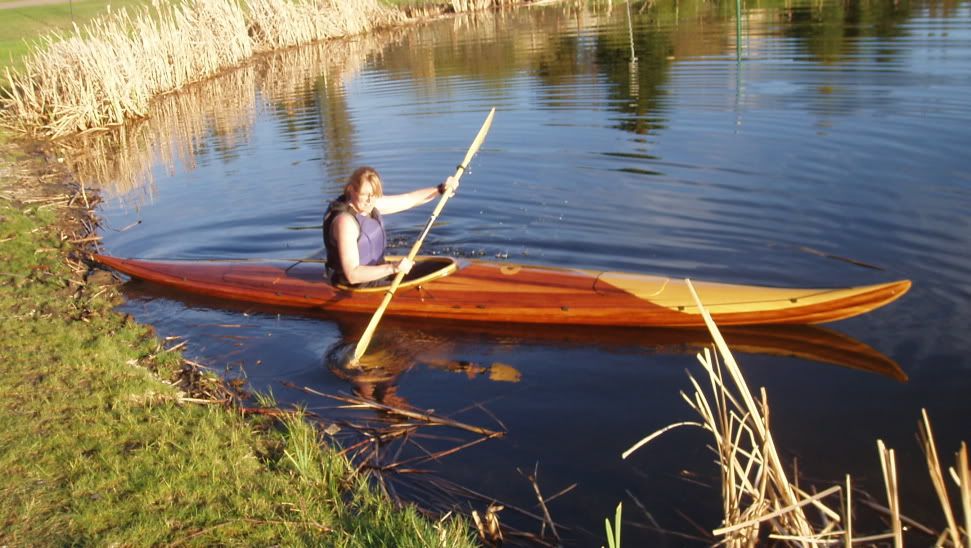
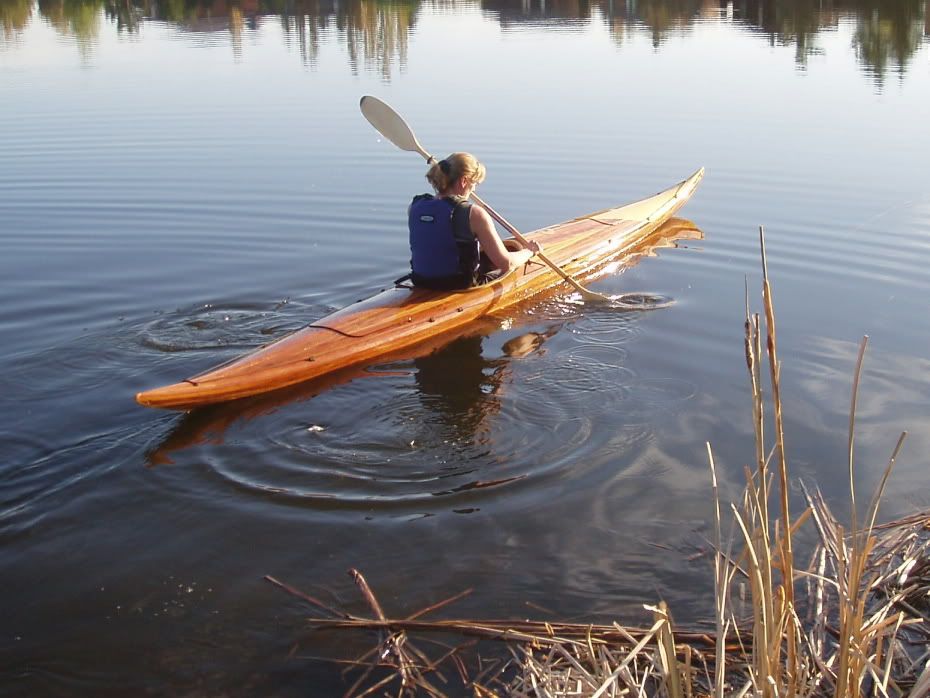
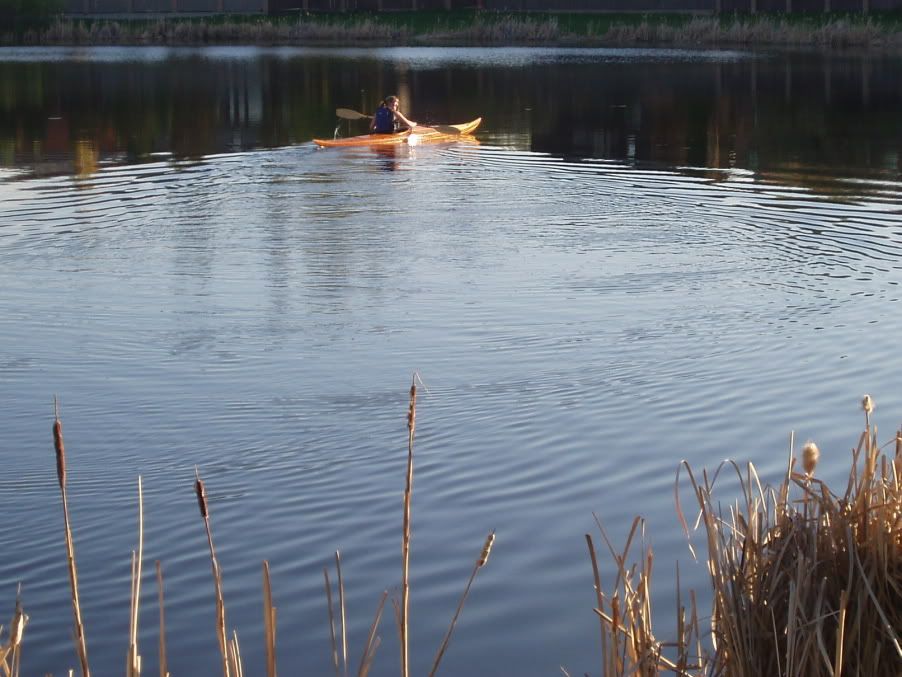
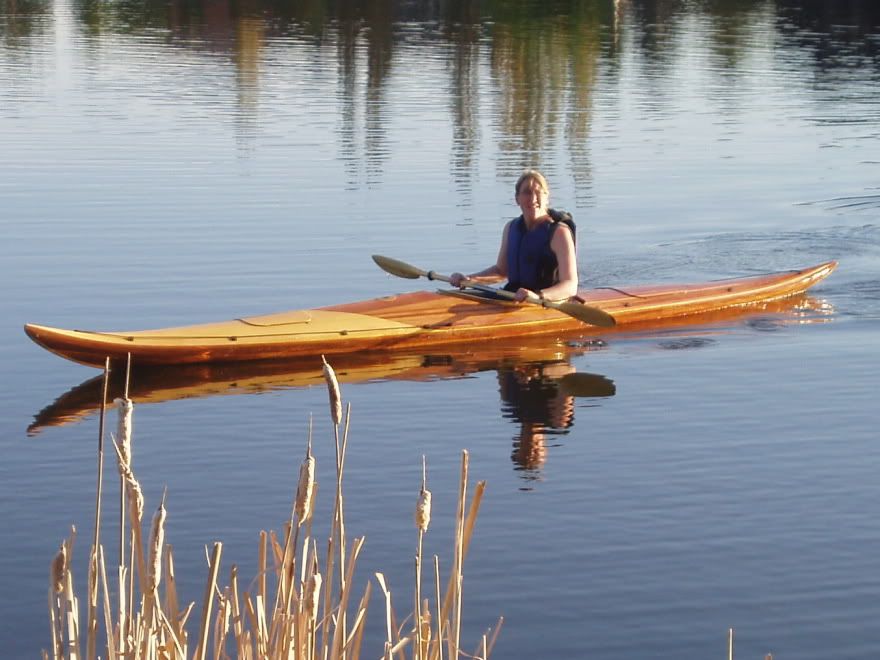
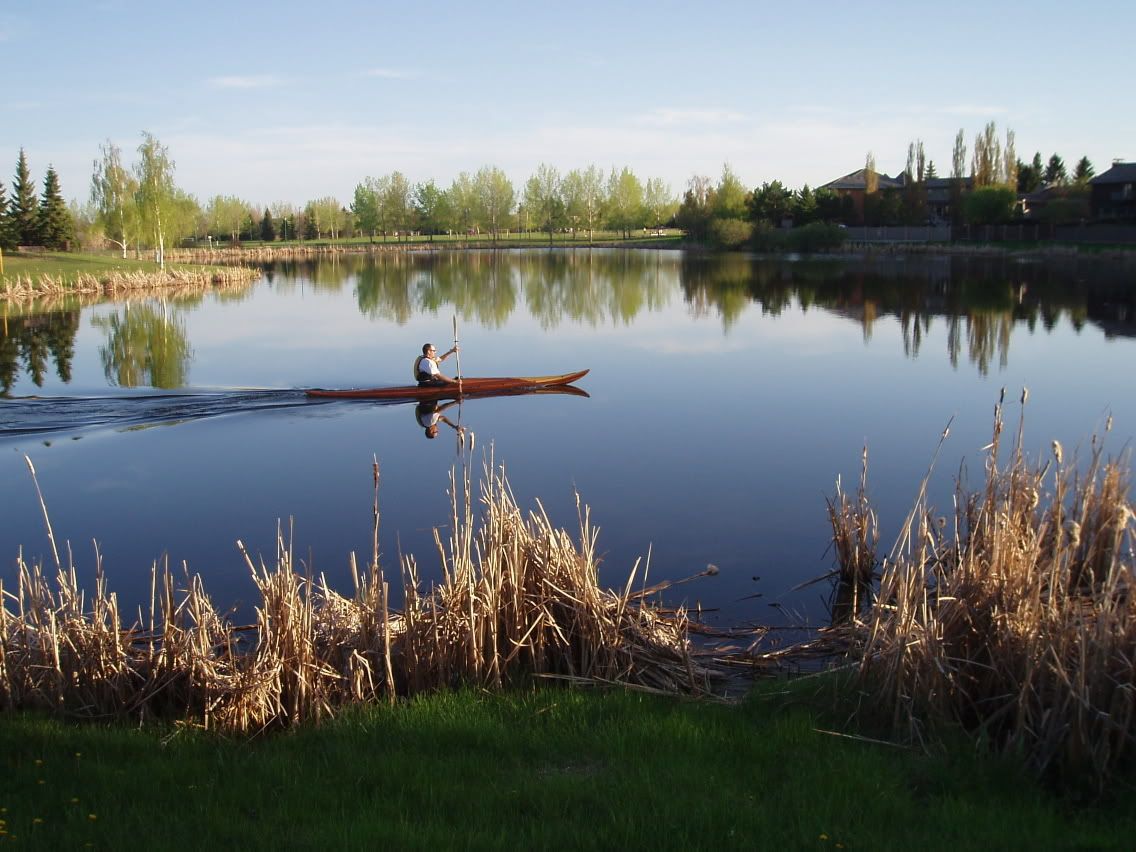
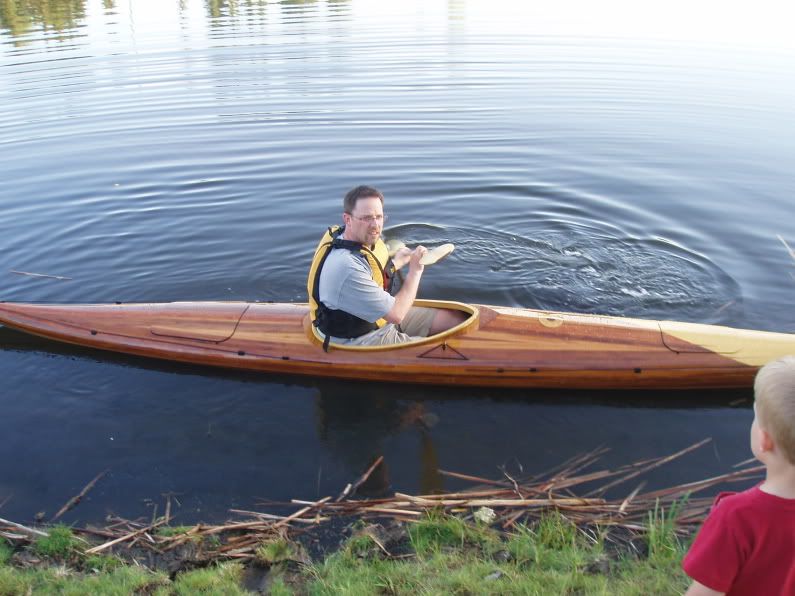
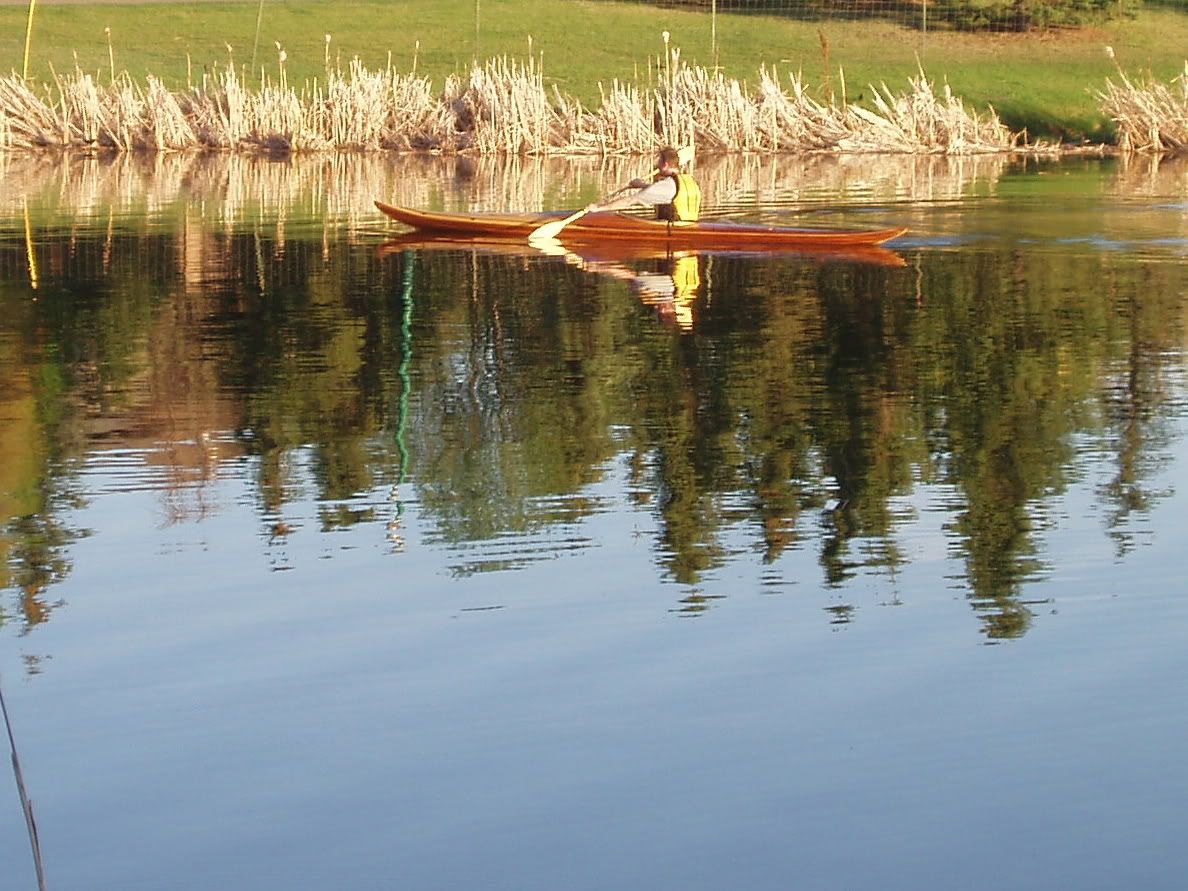
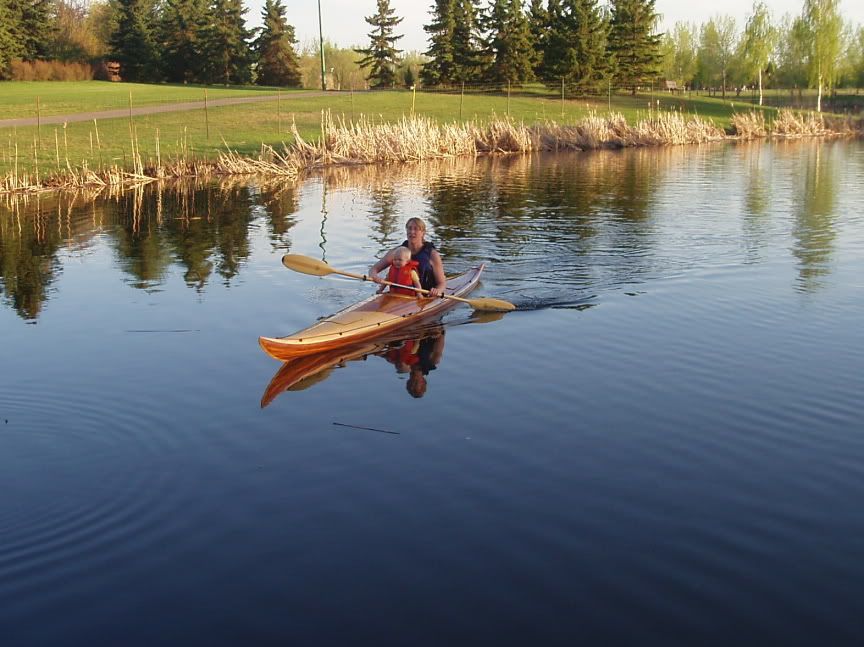
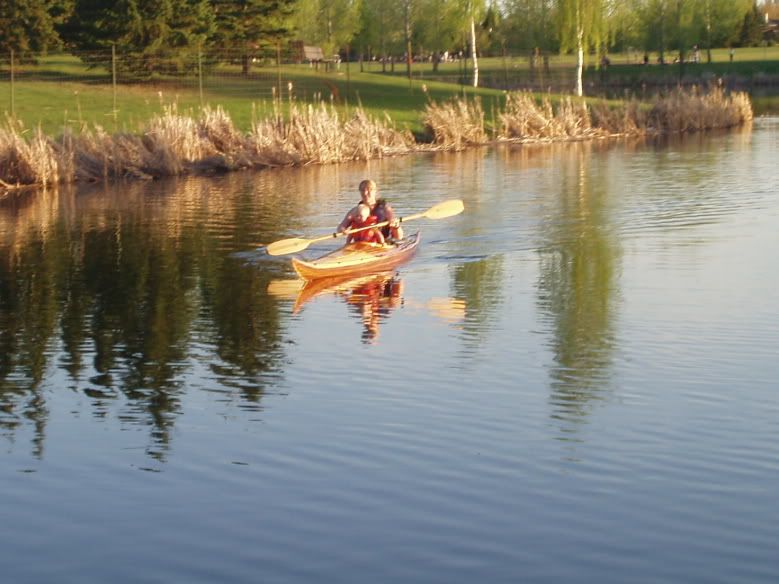
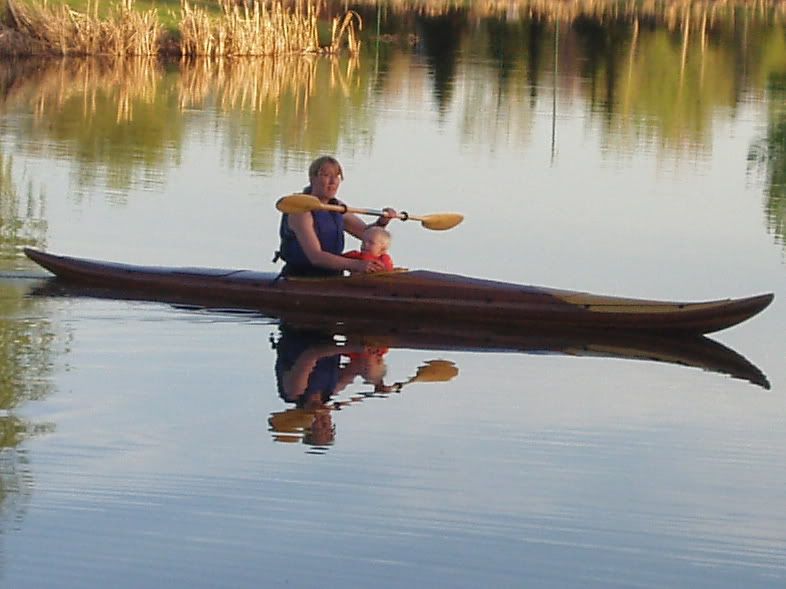
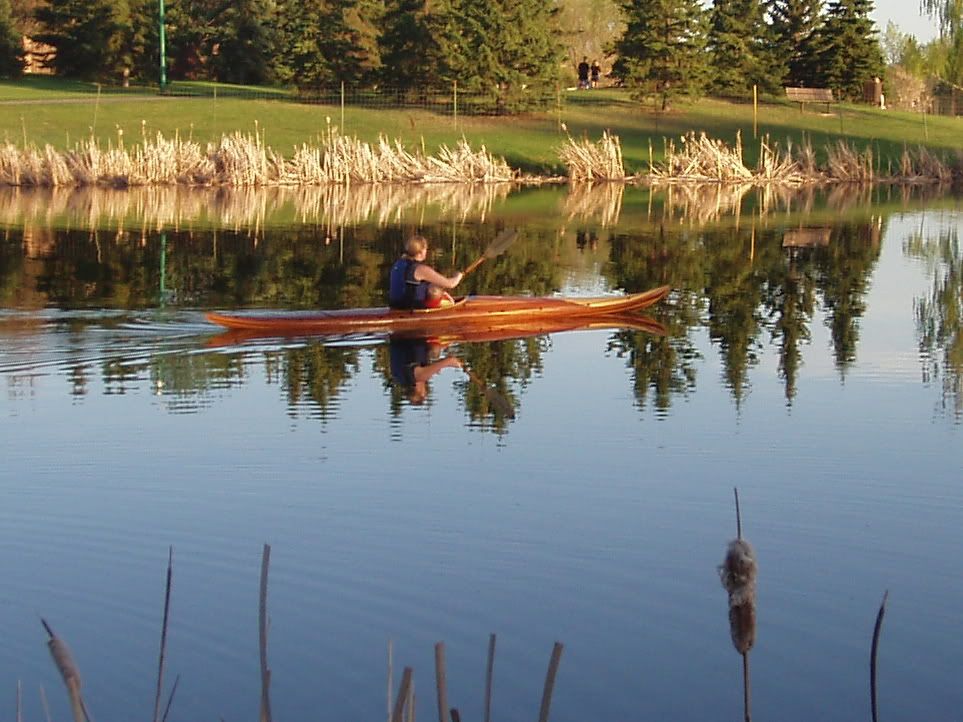
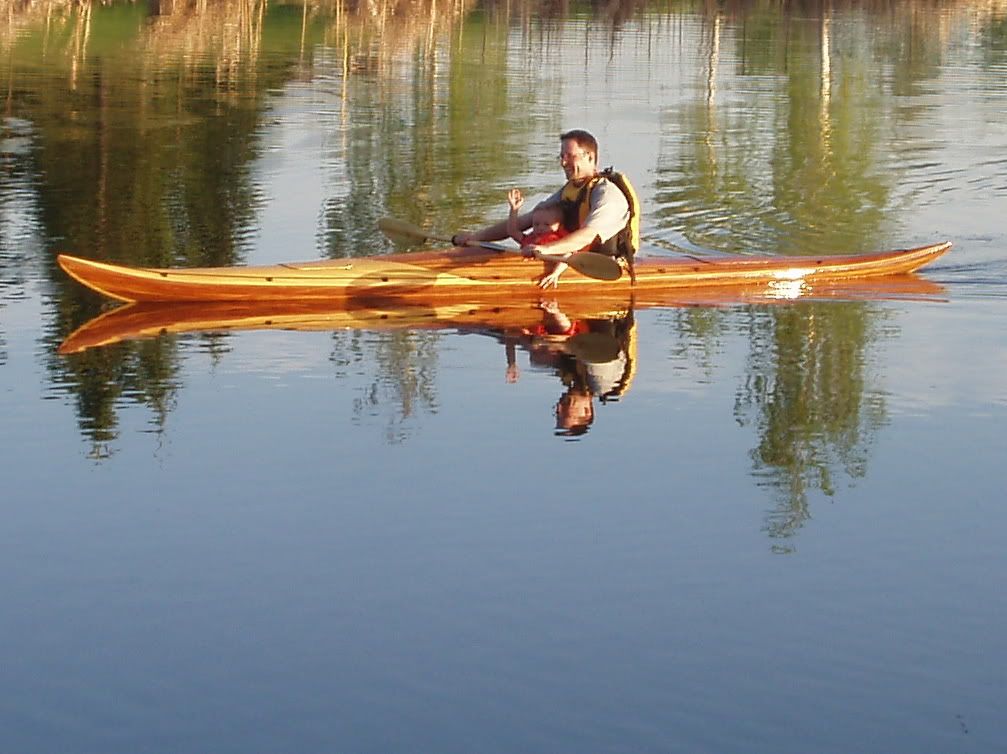
With the kayak nearly complete and a beautiful day that seemed perfect, we decided to try the new kayak on the water. After supper on Tuesday we loaded up the kayak and took it the 700 m to the local suburban park, a conservative location for our test paddle. Rob & Lynette and the kids came out for the unofficial launching.
My wife & I were very happy with how it paddled. We expected that it might feel a bit 'tender' as it is a boat that's a bit narrower from the kayaks we have experience in (poly boats such as the CD Storm and CD Squall), but it didn't. In fact, it seemed very stable. The conditions, being glass calm on a small pond, were not exactly conducive to testing the limits of a craft designed for use on the ocean open with a load of gear, but it was a starting point to gain confidence in a craft I am intimately familiar with, yet have only been introduced to. My wife reported that the kayak seemed fast to her. It was easy enough to keep going in the right direction and certainly turned quickly. Also the custom fit Snap Dragon spray skirt seemed to fit very well (tight to get on, but not difficult). The seat needs some fine tuning but seemed pretty comfy and the addition of a backband will certainly help.
Of course, we took a couple of photos (click photos for larger versions).

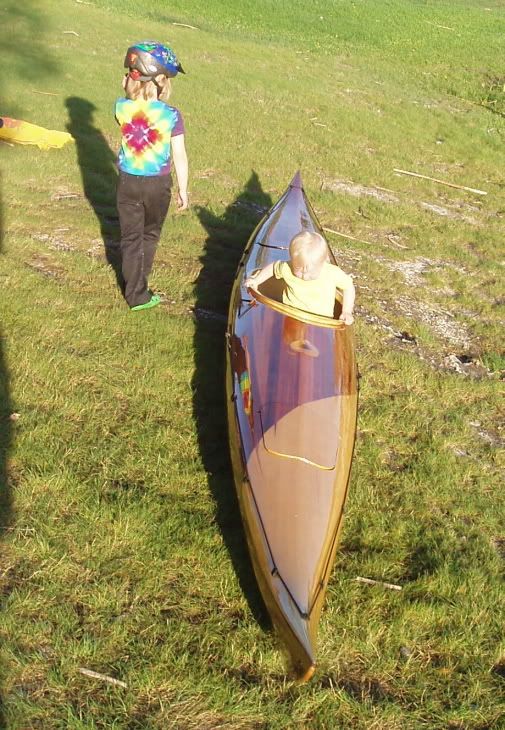
The girls check it out for fit:
My wife takes the honours of the first paddle:
My turn:
A bit closer up:
Rob's turn:
Now the kids go for a spin:


I took a couple of videos too. Video was taken using a point & shoot digital camera so don't expect high resolution, plus I lost some resolution when uploading it to photobucket. Clicking on the thumbnails should take you to the video.


My wife and daughter:
My wife & older daughter:Rob:
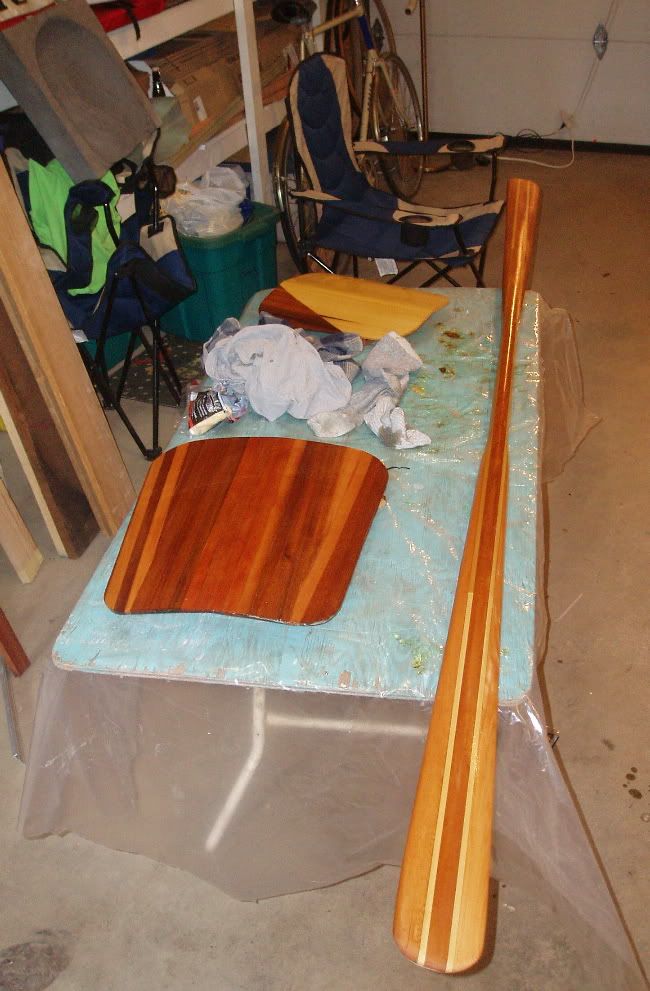
There are still a few things left to do before I can call the kayak complete:
  1. Finish the seat
  2. Finish the backband
  3. Build the bulkhead footbrace
  4. Install deck bungees
  5. Polish the dust out of the varnish.

Monday, May 07, 2007

See Andy, I Told You It Would Work!

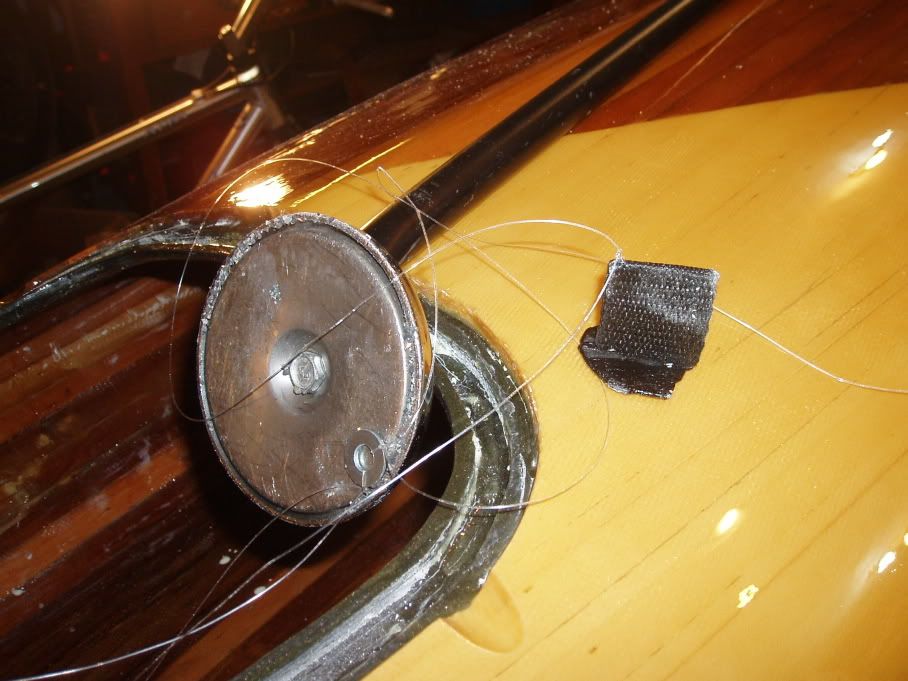
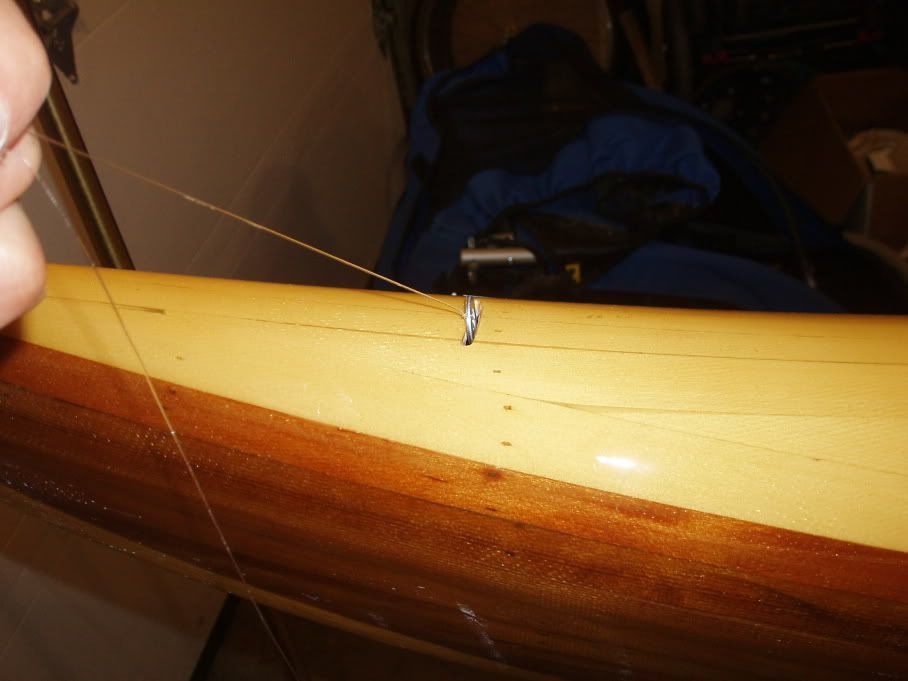
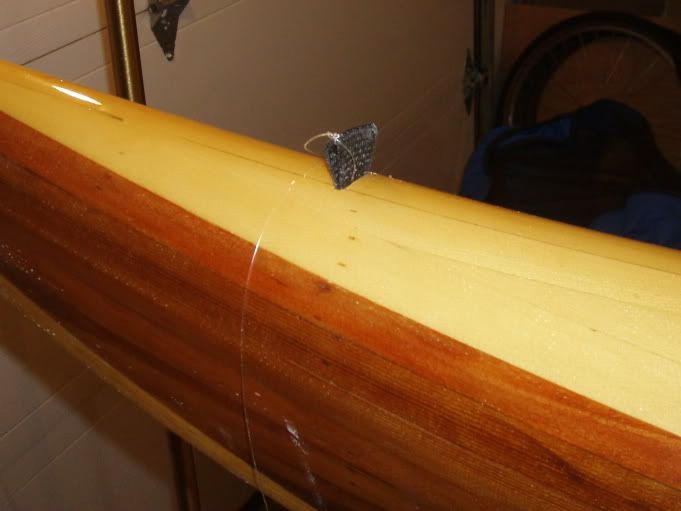
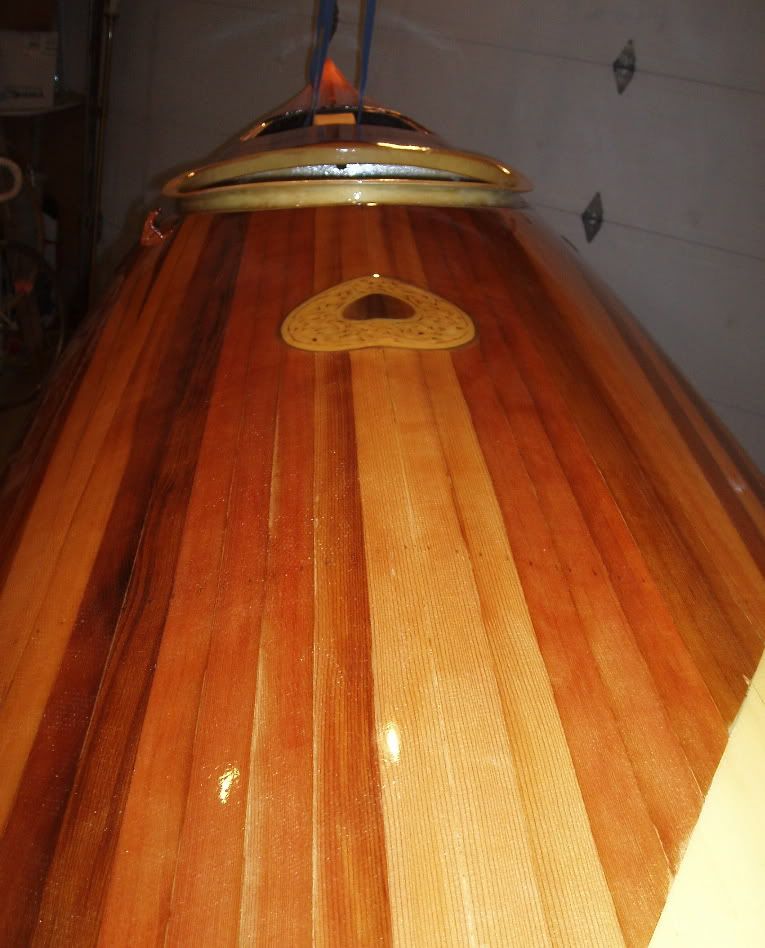
I installed the soft padyeyes this weekend without incident. The padeyes are made of a loop of weebing, with the ends melted to form a flat base. The webbing loops were then inserted through tight slots cut into the deck, allowing a place for the deck lines & bungee cords to be anchored. A couple of months ago at the boat building workshop I organised, Andy asked how I was going to manage to install the padeyes at bow & stern extremities. He seemed bemused when I told him I had some ideas and said to let him know how it went. As it turned out, it went very well. My method involved a small washer, some fishing line, a needle, and a magnet. I tied a length of fishing line and dropped it through the slot cut into the deck of the kayak near the tip of the bow. I then used the magnet on a pole to retrieve the washer and bring it to the hatch opening (I could have tipped the boat up to allow the washer to slide down, but the magnet proved handy). I tied a second length of fishing line to the washer, and used a needle to stitch the fishing line through the corner of the padeye. I then coated the base of the padeye with silicone in order to seal the hole once the padeye is in place to prevent water from leaking into the hatches. The fishing line, washer, and padeye were then pulled through the slot until the corner of the padeye could be gripped with a pliers and pulled into place. The whole process was very easy.


14/05/07 - Update: We noticed this weekend that a robin had incorporated my padeye installation system into it's nest. The length of fishing line & washer must have gotten caught on our shoes and dragged out into the yard. While sitting on our deck on Sunday we noticed that there was a length of fishing line hanging from a newly built robin's nest above our heads, complete with washer. I guess it has offically been recycled.

Saturday, April 28, 2007

The Ultimate Radiant Heater

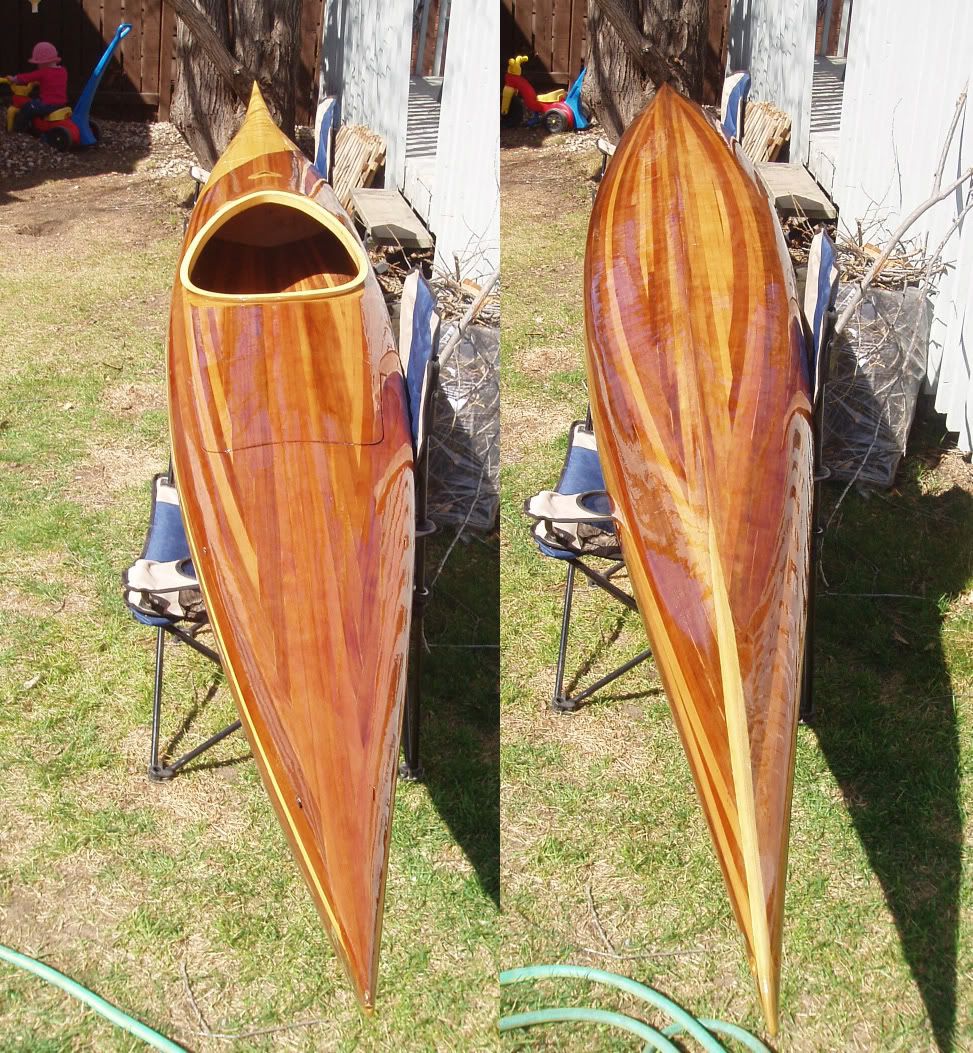
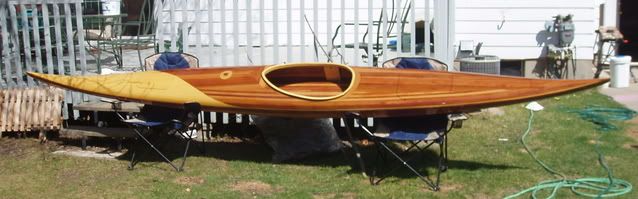
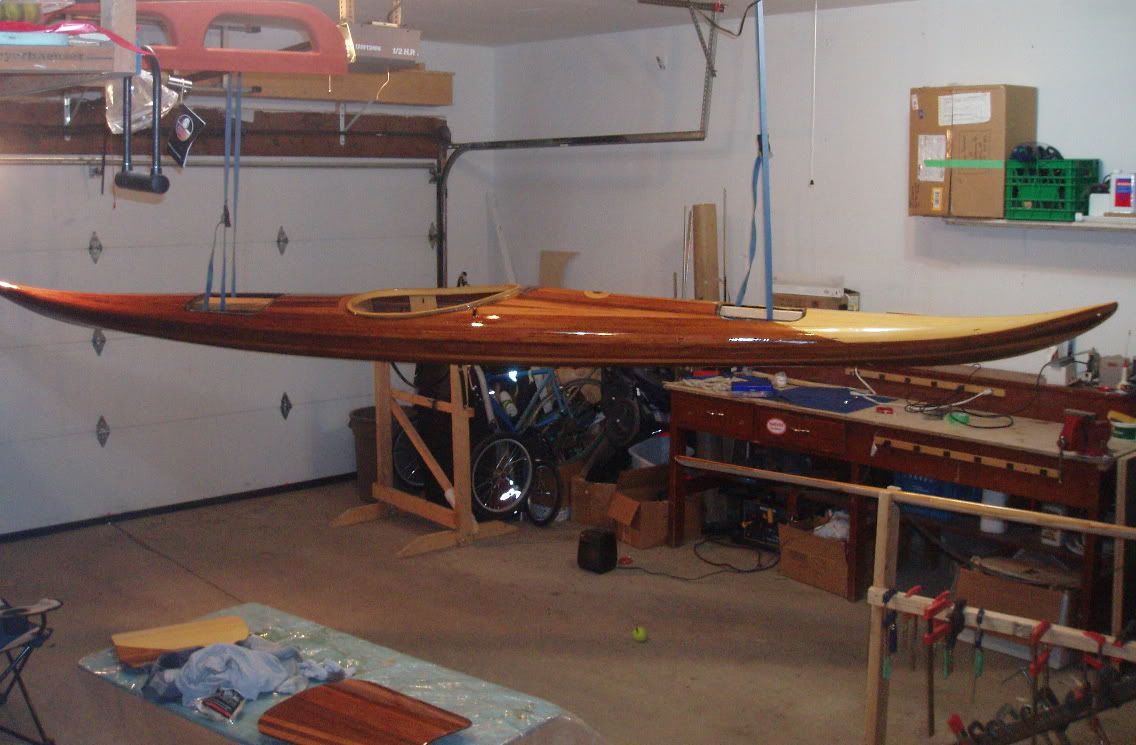
It was a beautiful sunny day today. I took the kayak outside and set it up in the sun so that the varnish could cure in the warmth of the sunlight after last night's final coat on the hull. Since I could finally take a couple of pictures in natural light, I did.


One more coat of varnish on the deck and I think that's it for varnishing.

Sunday, April 22, 2007

Coat 2.5

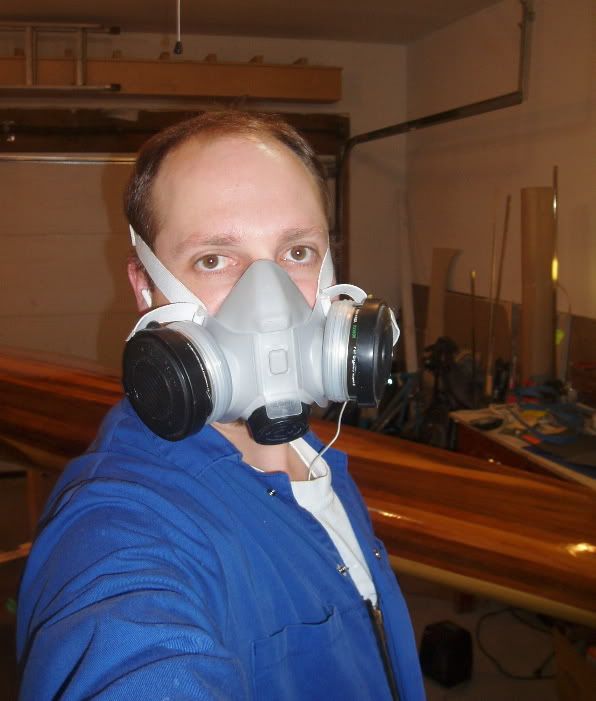
The 3rd coat was applied with the kayak on the sawhorses. I masked off the sheer line and varnished the deck. Then, after allowing the varnish to harden for a few hours, I flipped it over and did the same on the hull. In both cases the masking tape was removed within a few minutes of applying the varnish to each section. That way, the wet varnish could flow beyond the masked line without creating a dried varnish line. I called this post "Coat 2.5" because although I had 3 coats on the deck & 2 coats on the hull, I think it was really more like 1 1/2 on the hull because working on the underside I think I missed a few spots. I guess maybe I should have called it Coat 2.25 then.

A self portrait:

Saturday, April 21, 2007

2nd Coat

Because I applied the varnish on too thick and had some sags and runs, I had to let the varnish dry longer than I hoped, even with the garage quite warm at about 25C. The problem is that the things I needed to sand off, where the varnish was thickest, were still gummy and would not sand well until late this afternoon. Around 5pm, after 18 hours or so of drying, I wet-sanded the whole kayak with 120 grit wet-dry sandpaper. I also gave the whole thing a going over with a green scotch brite sanding pad and plenty of water. I then washed off all of the sanding residue with clean water, dried it off and left it over supper for the residual water to dry.

Refuelled with a BBQ'd burger & my homemade "Raven Ale," I began again the varnishing process. This time around I paid better heed to the instructions of Martin Step. While I cleaned up after supper, I filled the sink with hot tap water and let my container of varnish sit in there to warm up. With warmed varnish in hand, I headed back to the garage and began applying the second coat. Starting on the right side of the stern, I applied a brush-load of varnish in a horizontal stroke about a foot long. I spread this from deck peak to sheer with vertical brush strokes across the one foot section, then smoothed this out with gentle horizontal brush strokes. I then moved to the hull and did the same thing in a one foot section, then moved to the other side & repeated the process. I ensured that my brush strokes overlapped each section in order to blend the edges between sections. I used the station locations (conveniently indicated by the staple holes) to ensure that I did only 1 foot at a time and to keep track of where I was when moving side to side. I worked quickly and proceeded the length of the kayak in under an hour and a half. Another difference from last night is that I wore a mask with a carbon filter so I did not feel quite so overwhelmed by the fumes, though my eyes burned a bit by the end. Once complete, I left the garage and will not go back to avoid disturbing any dust until at least a couple of hours have passed as advised by Martin Step. Also, I went back to the house by an indirect route to minimize the amount of fumes that enter the house (which got to be quite a bit this morning when the door was being opened repeatedly).

The garage will be kept warmer overnight tonight, and hopefully there are fewer runs and sags, so I am hoping that I can sand then add a third coat in the morning. In the morning I should probably take the kayak down and flip it over on the cradles in order to see how good of a job I'm doing on the bottom. If it seems to be coming out OK, I'll hang it back up and do the whole boat again with it suspended from the ceiling like the last two coats. I suspect that this hanging method is more commonly used for spraying varnish rather than brushing.

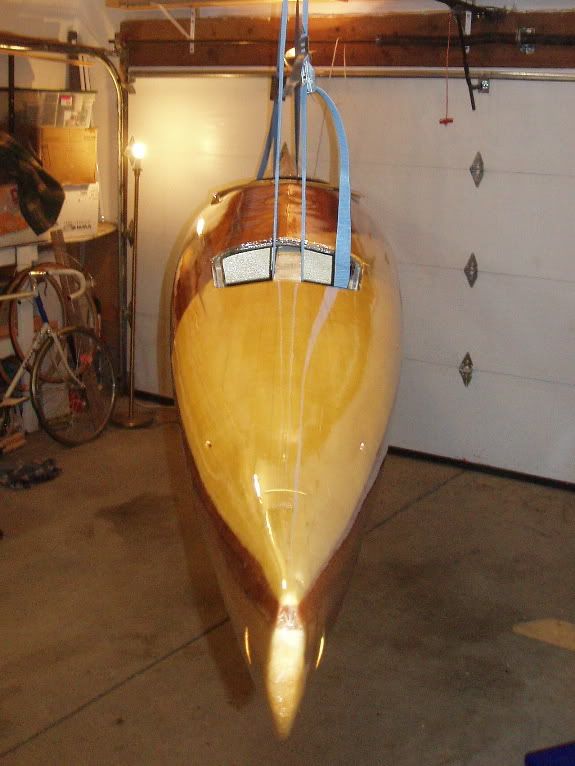
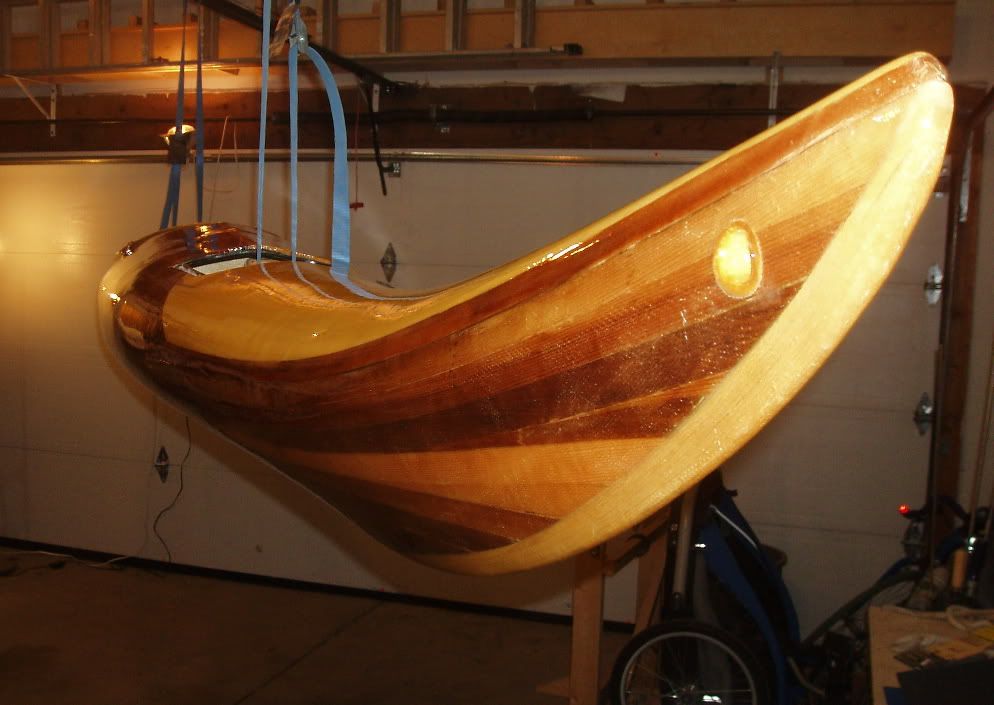
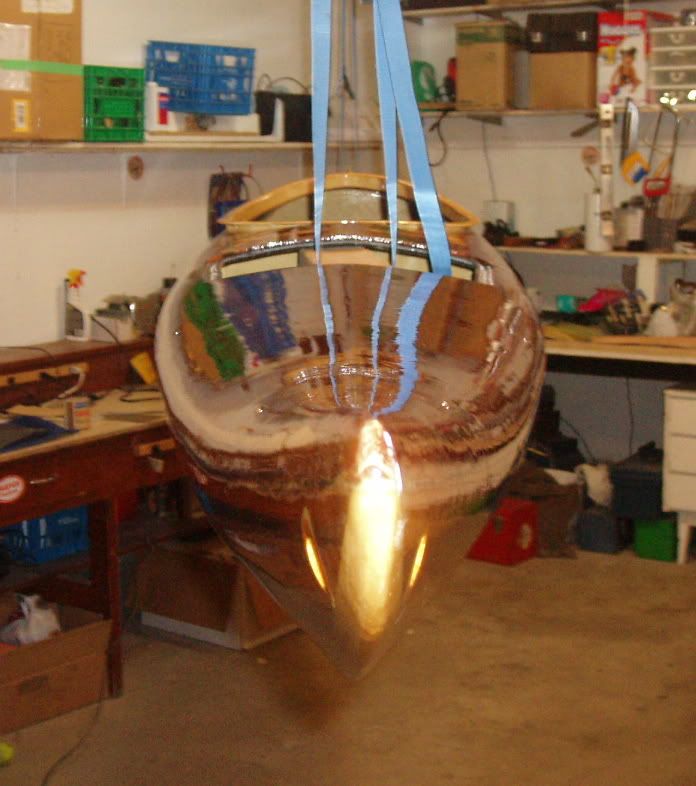
From the bow:

From the bow at the waterline:

From the stern:

A Coat of Varnish

Last weekend with Rob's help I got everything ready for varnishing. The kayak was wet sanded & washed with water with a bit of soap, then washed with clean water & dried. The garage was cleaned up thoroughly: everything was put away & tidied up, the floor was swept (using sweeping compound), the dust blown out of every nook and off every shelf (several times). Later, after the dust settled, the garage was swept again.

Last night I applied, again with Rob's help, the first coat of varnish. I suspended the kayak from the ceiling so that I would be able to get at all sides, top and bottom at the same time. The whole kayak was lightly wiped with a tack cloth, then varnishing started. I am using the Flagship Spar Varnish purchased through Kisseynew Canoe Company. Once the can was opened, we poured the gallon of varnish out into 3 collapsible bottles (to minimize airspace in the container) with the remainder going into a glass jar. The remaining air in the containers was displaced using Lee Valley Finish Preserve. The varnish was strained through a disposable varnish filter then we began brushing the varnish on using disposable foam brushes. Rob worked on one side while I worked on the other, doing both the deck and hull, maintaining a wet edge as we proceeded from stern to bow down the kayak.

It seems that I put the varnish on heavier than Rob did & my side has the sags and runs to show for it. This morning I reviewed the varnishing instructions in Canoecraft and The Strip Built Sea Kayak. Some tips I have to keep in mind are to NOT go back and attempt to touch up a spot after a few minutes have passed & not to try to put on to heavy a coat.

I'm not too sure about trying to get the underside done at the same time. It's hard to get a good coat underneath and to really see what you are doing. I think for the subsequent coats I'll focus on the deck then once that has dried, flip it over on stands and do the hull. Maybe.

I'll give the boat a couple more hours of drying time then wet sand with 220 grit to take off all the drips, runs, sags, and dust that are in the first coat.

Here are a couple of pictures from this morning.


Now while the varnish dries I'm going to re-read Martin Step's varnishing advice from Green Valley Boat Works.

Friday, April 13, 2007

Anybody Want To Go Together On a Spool of Deck Line?

Neocorp.com - These guys have cord with 3M Scothchlite woven into it. Their Neoflect®Reflective Cord 3/16" would make a good deckline for the kayak with the added benefit that when you shine a light on it , it should light up like a christmas tree (albeit one that is poorly decorated with tiny silver lights). However, the stuff only comes in 150' rolls. So, should I order a whole spool which amounts to a significant outlay of cash, especially with shipping from the US added on?

That amount of cord should be enough for several kayaks. Anybody want to go together on this, or buy a portion of the cord off of me to help defray the costs?

I suppose I'll probably head down to Eb's and see what they have in more standard black deck line. I'd prefer to buy locally anyway, but they don't carry the reflective stuff (at least not the last time I checked).