Friday, January 13, 2006

Deck Designs

It's time to start thinking about how I'm going to design the deck using the contrasting strips of wood that I have. Most of my wood is a dark brown in colour but I have ~100 feet worth of a uniform light coloured wood (yellow cedar). I have sketched out a few ideas that I think might work with the wood I have. Please submit your vote by leaving a comment below!

Some notes on the designs:
  • * I didn't take the time to fill in colours on all of the designs, you'll have to use your imagination for the others.
  • * I used the most powerful graphics tool I could lay my hands on for this - MS Word! So that will explain a lot when you view the designs. (I copied and pasted the kayak outline off the Guillemot site, cleaned it up and used that as my template to overlay my designs onto.)
  • * I have more of the dark brown cedar than the light brown. The designs are geared towards using less wood in the light colour.
  • * Ease of stripping is important.
  • * I may incorporate some sort of compass rose inlay into the deck. Pedro has an excellent example on his kayak.
  • * There will be a forward hatch and rear hatch in the deck, and I am going to attempt to do flush hatches.
  • * There is a spot shown just fore of the cockpit in these designs, that was to indicate the location of a paddle park. However, I think I may move it to the side of the cockpit instead like John did, but haven't decided (having it in front of the cockpit with the paddle perpendicular to the kayak may be easier and quicker to use and add a bit of stability?). It's a long time before I really have to consider this fully.

I am open to suggestions, etc. Perhaps somebody with stripping experience can point out the advantages or pitfalls of certain designs from the point of view of what's going to be easy or difficult to strip. The ultimate decision will be made when I start playing with the strips laying things out on the deck.


Theoretically you should be able to click on the picture above and have it open up a larger version. That doesn't seem to be working for me, so to see the full-sized version, click here where I have it uploaded to my main web site.

Thursday, January 12, 2006

Bottom's Up!

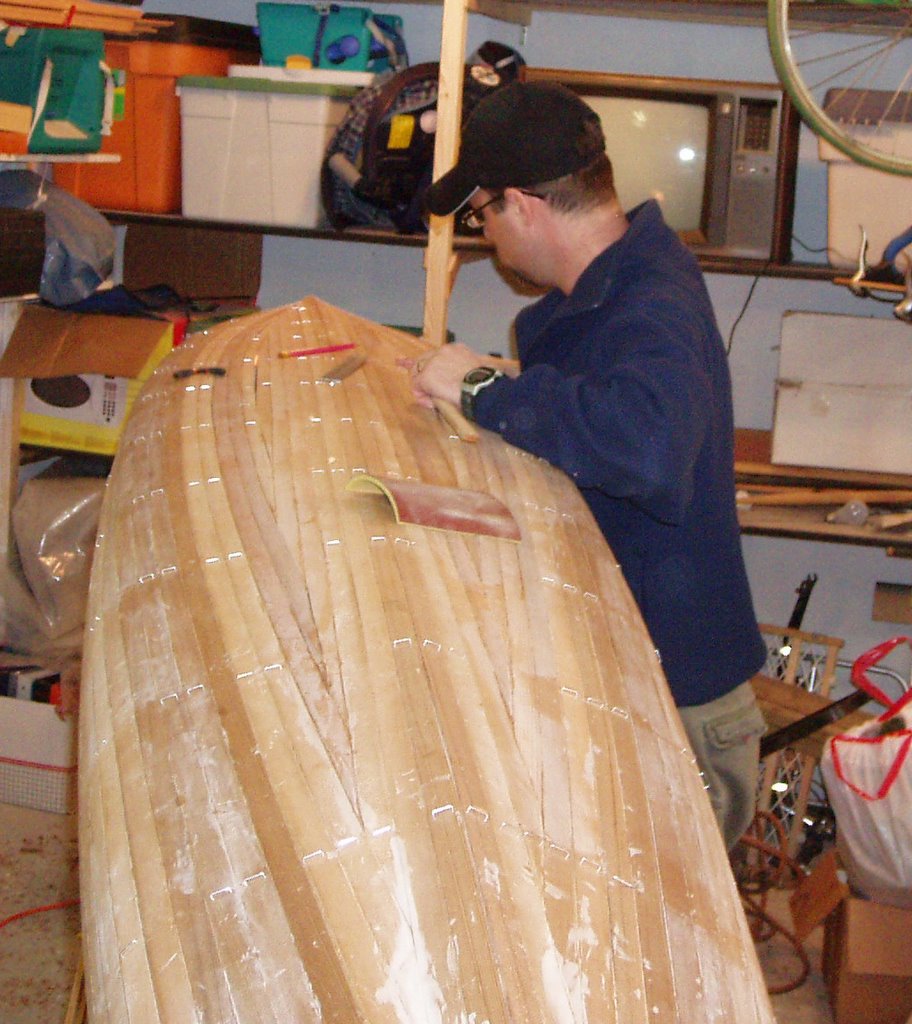
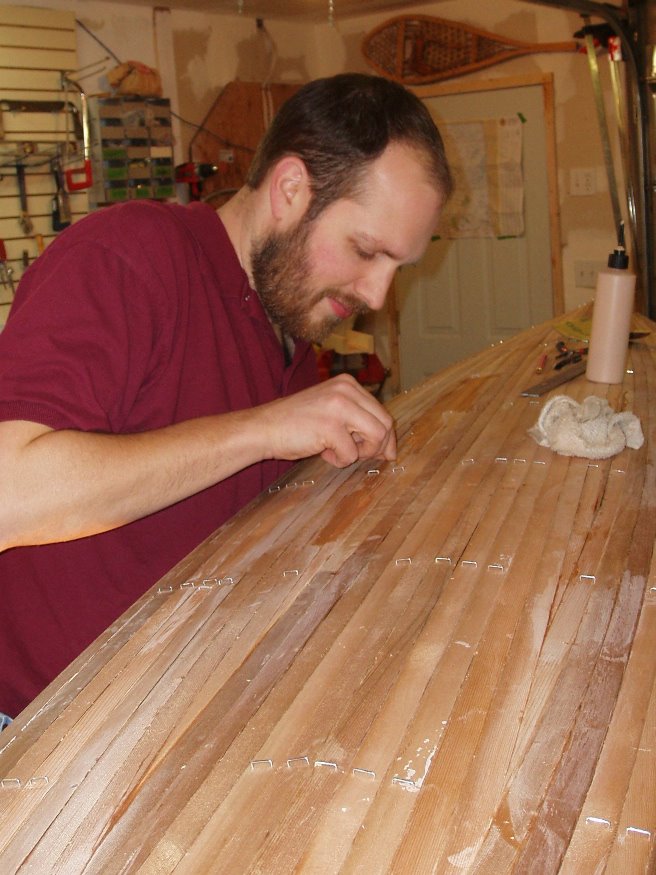
With help from my friend Rob, I finished the bottom tonight. Here he is hard at work.


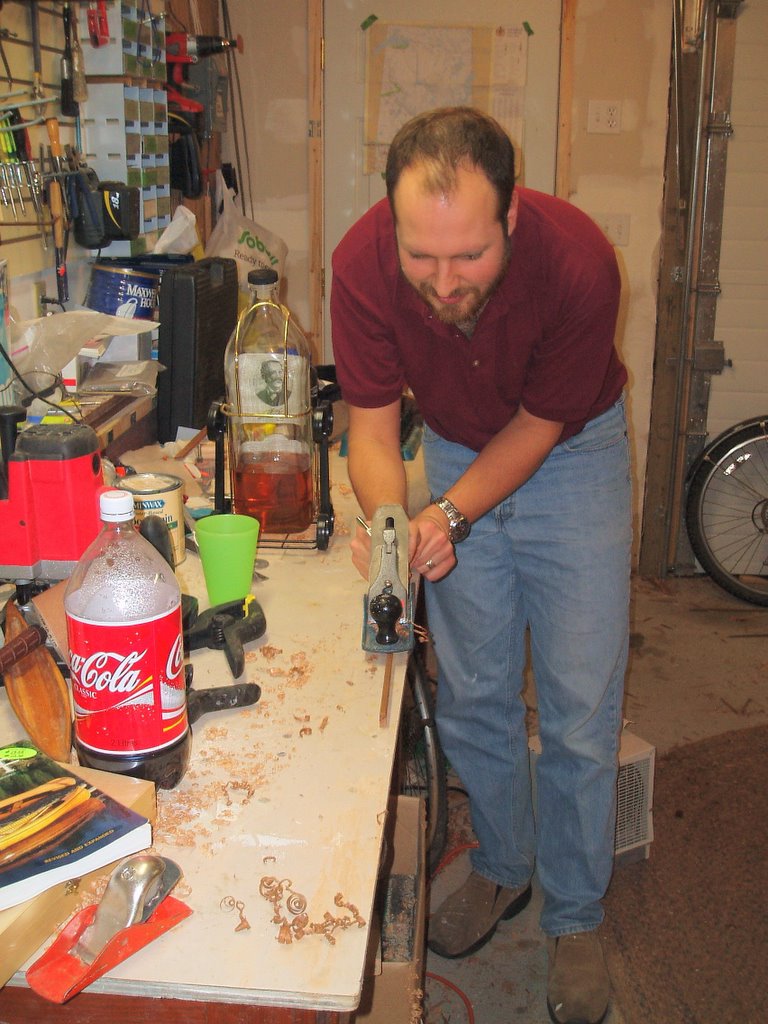
I did a bit too, see here's proof:
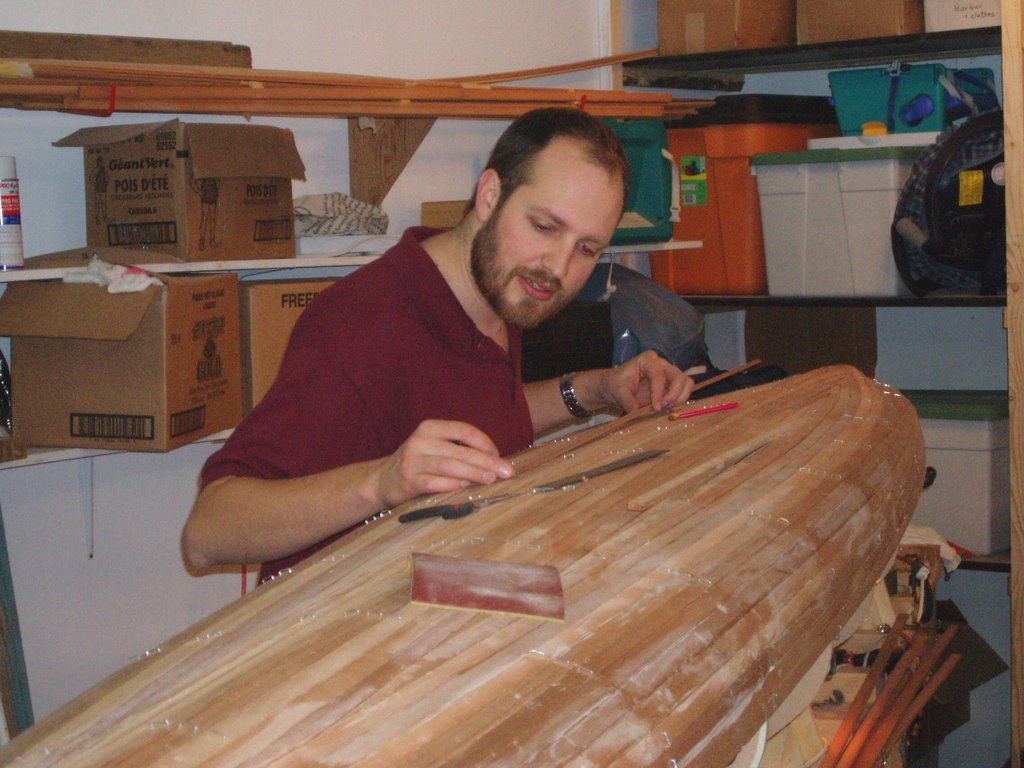
Here I am checking the second last strip for fit. It is really just a long thin sliver. I turned a strip on edge, then planed it down to the right thickness to fit it in. Thus, it's about three times taller than the gap it is to fill. I think this worked better for this thin strip, partly because it gave me more material to hold onto and also ensured that the sliver would sit flush when trimmed.
One more gap left to fill:
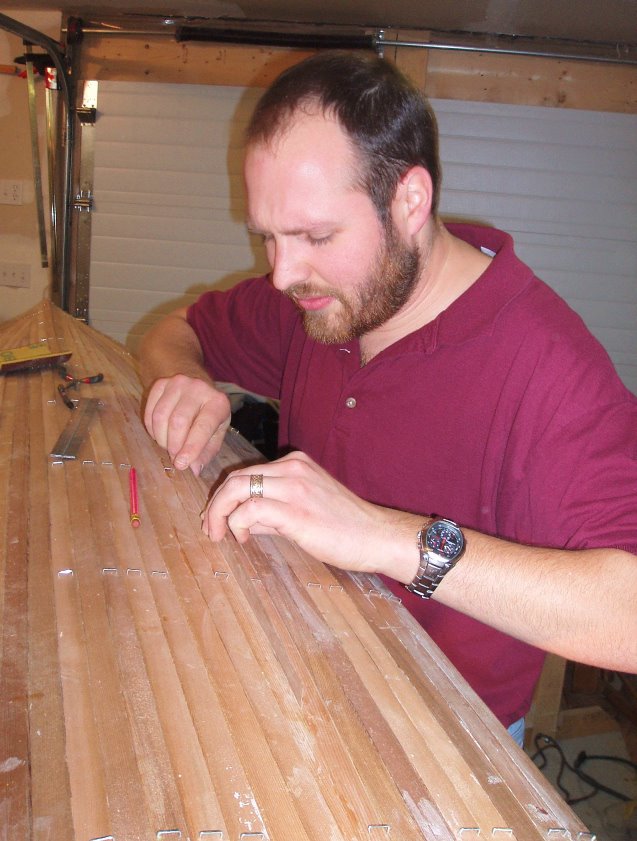
Here Rob checks to see if his carefully trimmed strip fits into place:You'd think with a pencil that colour that I wouldn't lose it so often.
Here I am gluing the final bottom strip into place after Rob's careful trimming:

Voila! It fits!

Work Bench View

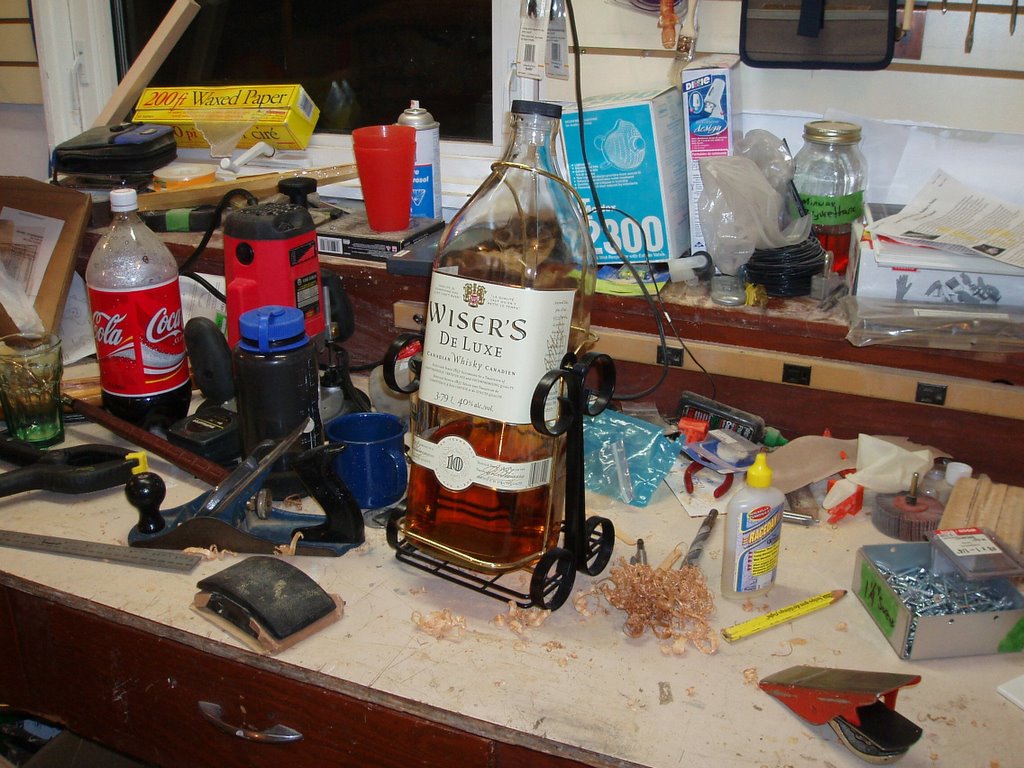
Just thought I'd post a picture of what a well organized work bench in a boat building shop should look like.

Wednesday, January 11, 2006

Tighter than a ......

With a less than 3 strip gap on each side of the keel, I got 3 more tight SOB strips in last night. Man oh man, my patience was being tested. First of all, I got the first strip tapered on end, then lined up and marked the taper on the other end. I then whittled the taper with a knife and tidied it up with the small block plane then tried it for fit - it seemed OK, just a tad long so a bit more with block plane and sand paper. The length was perfect, but the taper became concave due to the thin strip flexing away from the plane and so a big gap was left. So I decide to scrap that end and do it in two pieces so I cut it to have the joint line up with one of the forms. OK, get another piece - dang, that was pretty much my last piece of that particular shade of cedar so I won't find anything to match properly. More digging through the pile and I find one that's not too far off. So I put a new taper on the end - whittle, plane, plane, plane, sand, sand - voila! perfect fit. Great, now I just have to trim the other end so it makes a nice inconspicuous butt joint with the other piece. I marked the length with a pencil and take the strip out and cut it in a miter box, trimming it slightly long so that I can be assured of a tight fit. Back to the kayak, slip the tapered end in place and see how the other end lines up - Dang I'm an inch short. It seems there was another pencil mark on the strip from when I was lining things up previously before cutting the taper, and I cut to the wrong mark! At that point I was frustrated but in good humour so I decided to leave it, and cut a 1" piece to span the gap, thinking it might not look the best but most people wouldn't notice and if they did it would be a funny story we could all look back on and laugh at some day.
I then moved over to work on the other side of the keel line, where I thought perhaps I would have better karma. Again, I whittled & planed my taper onto one end, tested it for fit then moved to the other end to repeat the process. The strip being a tad too long, I planed another hair off of it and tested it again for fit and dang! It's too short! So, I cut the strip again at a form and then tapered a new strip to replace the end I cut off. This time when trimming the strip for length I made darn sure to not cut it too short and successfully managed to get it to fit without further incident. The second strip on that side (second last strip for that gap) was to fit into what by now amounts to a gap that is more tapered than straight. The problem is that in order to fit the strip into place you must fit it into the taper on one end so that the bead on the strip nests into the cove on the strip already in place (the cove has been cut off of the other strip it's tapered edge is mating against, and off of the strip being placed, but a cove still remains on the strip alongside the strip being placed), then bend the strip in the middle allowing it to bend mostly only in the untapered region and slip the second taper into place and see if it fits. Good luck. It was one heckuva fight to get that strip in place and I broke the cove quite a bit in my effort to do so. A second set of hands would have been very helpful. In my fight with the strip while gluing it in place, I broke the tip off of one of the tapers. This actually turned out to be a good thing. It was a 1.5" piece that broke off and it stayed nicely in place, at the tightest part of the taper which is the most difficult to slip into. I then had a much easier time dealing with the other 95% of the strip to slip it into place then mate the broken ends. I think on the other side I will try to do this second last strip in two halves, or ensure I have help (hint hint Rob), or probably both.

I was still a little troubled by that f*cked up piece on the other side so before calling it a night, I went back and cut a new piece to replace the too-short half of the strip. This went fairly well other than that I forgot to put a bead onto the taper so that it would fit into the cove of the piece it was butting against. Luckily, I realized it before I had trimmed the strip for length and was able to quickly plane a bead on and get it to fit.

So, my tally for the night was
  • 9 tapers cut to fit,
  • 6 tapers on 5 pieces of wood glued in place,
  • 3 tapered ends cut off & discarded,
  • 1 broken strip,
  • 2 strips left to go on the left side,
  • 1 strip left to go on the right side.
For future reference, next time I would start cutting the cove & bead off a bit earlier, with 4 or 5 strips left in each gap since trying to fit short tapered strips into a cove is a mighty PITA.

Monday, January 09, 2006

Instructables: step-by-step collaboration

Instructables: step-by-step collaboration
I haven't found anything there that has anything to do with boat building but dang it's a cool site. A little imagination and I'm sure you could find something to relate to boat-building, like the marshmallow gun to defend yourself against predatory otters, or maybe adapt the bike light system to ward off power boaters.

Sunday, January 08, 2006

Final Hull Strips

Only 6 strips left to go on the bottom, 3 on each side of the keel. The width of each gap now is about 2 1/3 strips wide. The 3rd last and 2nd last strips will have the cove planed off so that the final strip, with both bead and cove planed off and the strip cut to the right shape, will be able to drop into place (that's the theory anyway). I wasn't able to understand what to do as written in Nick's book so this is the method I'll use, as gleaned from the KBBB.

Friday, January 06, 2006

Blogger Photo Troubles

I realised today that some of the pics I inserted in the last post do not enlarge when you click on them. I was having troubles uploading photos yesterday. Blogger simply wouldn't do it for an hour or two, each time I tried it would start the upload and then tell me the server was unavailable, or something of the like. I kept re-trying and eventually it started working again. It now seems that each of those earlier attempts did upload the photos but it didn't link it into the post like it was supposed to so I had no way of knowing. It would also appear that there is a limit to the number of larger photos a post can contain and I exceeded that limit so it made all the other photos but the first two small versions. I can't find any further info on this so I'm only guessing. I am going to rename the picture files and try again for those 4 photos that didn't work. See the original post for the descriptions.


Aaaarghhh!!!!!!!!!! It simply aint working! I even tried to add the photos in the "large" size instead of the medium size I usually upload them as. Maybe I've used up all of my alloted space for photos? But that isn't supposed to happen with Blogger.

Thursday, January 05, 2006

Bottom Strips


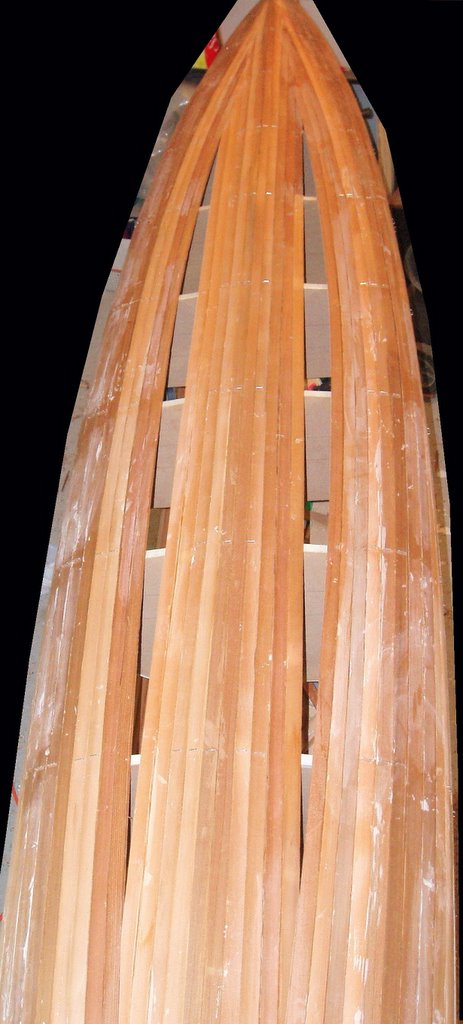
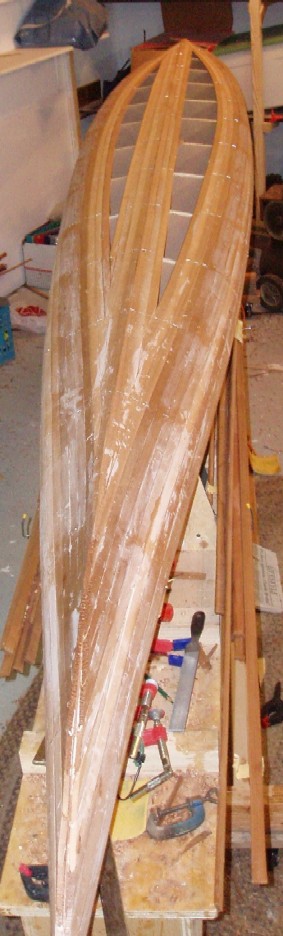
Last Monday night I finally got a bit more work done on the kayak. I am currently filling in the bottom of the boat as you can see from these photos. In the photos bright splotches appear over much of the boat. This is glue residue which remains after the excess has been wiped off. Something about the camera & flash are extremely adept at detecting this residue because it is barely visible by eye. Please believe me that it looks much better in person.

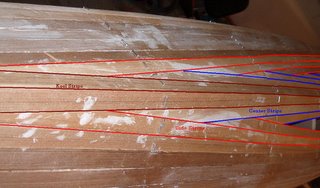
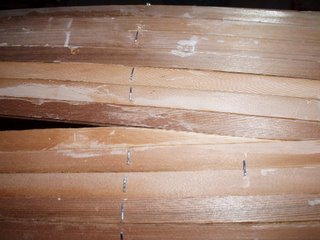
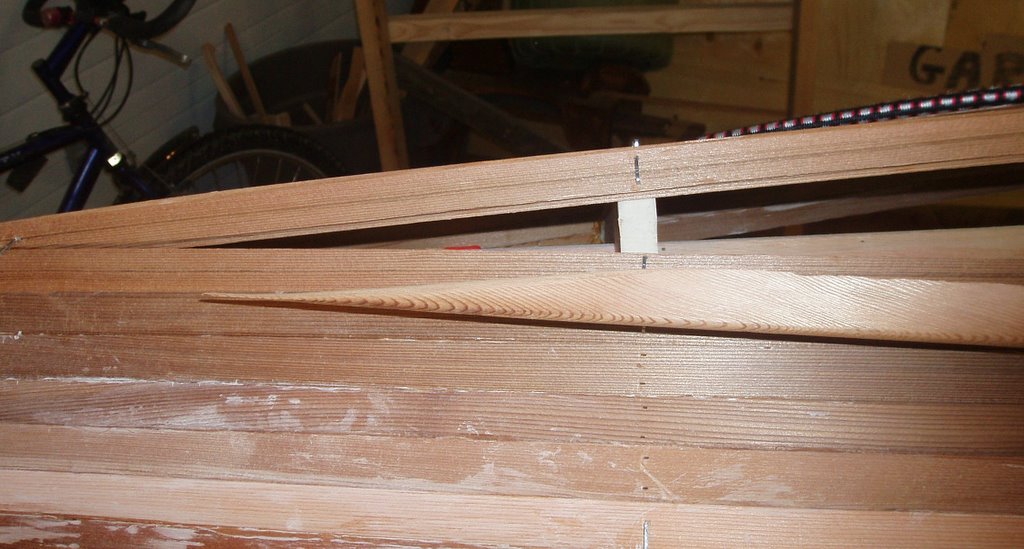
I have written previously about the joining of the tapered strips so I took a couple of photos to illustrate this, pasted in below. Click on the photos for a larger view.

In the above photo I have added lines in order to highlight the junction between strips. A herringbone pattern emerges on each side of the kayak as stripping proceeds. Below is a close-up of the joints illustrated above.

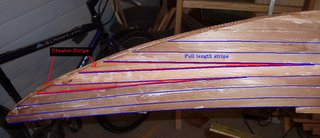
Previously, I have posted about the cheater strips which I used in order to reduce the bend of the strips at the bow and stern. While I was taking pictures and drawing pretty lines, I decided to add a couple of photos to illustrate this part of the construction. Again, click on the photos for a larger version.

In the photo above I highlighted the normal-length strips with blue. When the blue-outlined strips were put in place I left gaps 1 strip wide at the tip, to be filled in later. The gaps were then filled in with the cheater strips, outlined in red in the above photo.

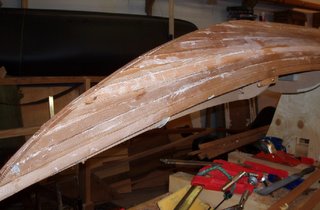
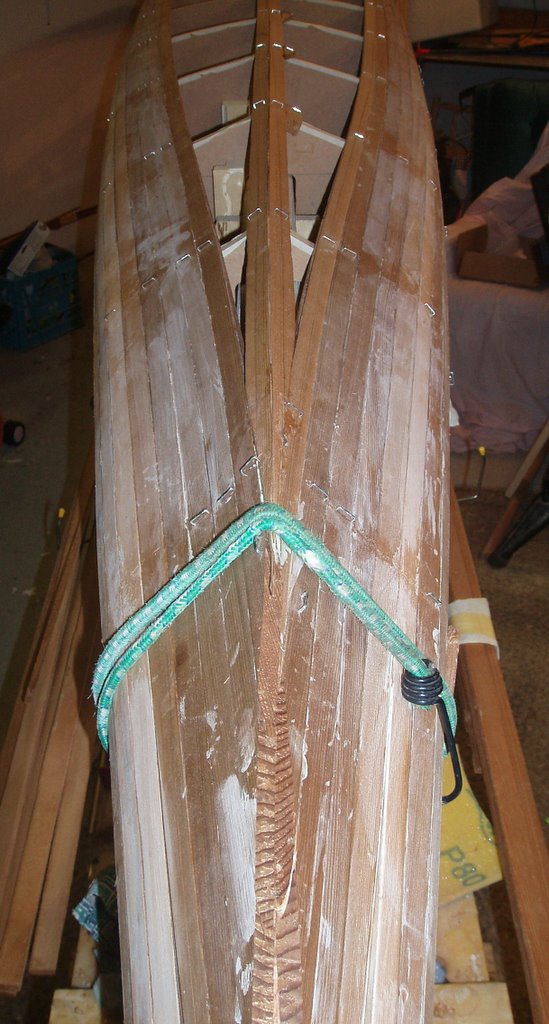
Here's a photo without any extra lines drawn on to show off that sexy bow. The ends of the strips where they overhang the bow were sawed off and things cleaned up a bit with a small block plane. Between the strips is a chunk of mahogany that forms the internal stem (see it nearly naked here), a 3/4"x ~1" curved piece of wood to which the ends of the strips are glued. Just a sliver of that piece of wood is starting to show here. Later, I'll plane things down farther until more of the stem is exposed then I'll glue on an external stem made out of some hardwood laminations (mahogany? ash? cherry? walnut? a combination?). To see what the external stem should look like see this one that Charles Leach did using a contrasting wood. There are also a couple of nice illustrative photos here. But anyway, that's all a long way off yet. Back to the hull .....

Thursday, December 29, 2005

Keel Strips

Well it's been pretty slow on the boat lately but just before heading out of town for Christmas I got the two strips on that run down the center of the bottom of the kayak forming the keel. These strips are regular bead and cove strips and they both face cove out. Thus, the bead had to be cut off of both strips (since I had my router set up as jointer I used that to take 1/8" off the bead) then the strips beveled such that they mated together flushly despite the changing angle of the keel. The bevel was cut with a small block plane. The angle is quite flat in the middle of the boat but gets increasingly sharp towards the bow and stern. The strips meet at a near 45 degree angle near the ends. The strips along the sides of the kayak eventually came to a point where they were meeting each other more on the side than on the ends. In other words, the strips being added to the side were more on the bottom than on the side. The strips added to the side are cove-side up and thus the strips along the keel line had to be rounded on a taper at the tips in order to fit into the cove.

With the keel strips in place, I have now started to add strips to fill in the two crescent shaped gaps on either side of the keel. Since I now have a cove facing towards the keel on the outermost strips, and a cove facing away from the keel on those strips adjacent to the keel, the strips being added not only need to be tapered but they also need to be rounded in order to fit into where the coves come together. The meeting of the two coves creates gap between the strips beyond what is seen. Thus the tapered strips must extend into this gap. Add to this the fact that I have to get it just right at both ends and it must be exactly the right length and it seems a bit daunting. Regarding the length, because the taper is on such an angle, removing a small amount from the taper can make a big difference in the length. Thus, I err on the side of having my strip too long and once both ends fit well, I plane or sand small amounts off until the strips snaps into place. The first couple of tapers were a bit tricky to get right but I think I'm getting the hang of it. In fact I went back this evening and re-did the first strip I did, tossing the old one (actually the taper fit perfectly as the next strip so I just had to cut it a bit shorter and put a new taper onto the other end). In the photo at right which shows the tapered strip fit into place you can notice a gap at the left of the photo at the tip of the tapered strip. This was my first attempt at fitting the taper and was the one I went back to fix.

The first two tapered strips filling the bottom go along the sides, one on each side of the keel. The next two strips have been fit to run adjacent to the keel strips. The subsequent strips will alternate fitting along the side or the keel. I now have 4 strips cut and tapered to fit, ready to be glued in. I'll wait with that for another day since I have to warm up the shop and keep it warm for a period so I want to be able to do as much as possible during that time.

Monday, December 05, 2005

The Journey of Wood

One thing I have yet to discuss in any detail is where the cedar wood came from. For quite some time now I have been thinking about building a boat and about a year ago my wife & I had settled on building a kayak. After viewing a number of kayaks built by local folks (thanks Gary, Morris, & Carl) we had decided to build one of the Waters Dancing kayaks, probably the Solace 17 or 16 EX. All we had to do was order the kit and I was just about ready to do so when I happened across a posting on the MEC OutdoorGearswap, a bulletin board for used outdoor gear. An ad was posted stating that the seller had "everything needed to build your own kayak" for an asking price of $450. The kayak in question was the 17' Guillemot, and although it really was not everything to build the kayak (no fiberglass or epoxy which are a substantial cost, nor varnish, closed cell foam, bungees, deck lines, nor any of the other items needed to finish the boat), it was enough to make it worth pursuing. For sale was enough pre-milled strips to build the kayak, and the forms, along with a copy of Nick Schade's book. It seems the seller (Piers) had them sitting in his apartment for some time and he had bought them off of a friend who had had them sitting around in his garage for some time. Where the original guy got the materials from was only identified as "a company" (or something to that effect). The problem was that the materials were in Vancouver while I am in Saskatoon (~1700 km, 1050 miles); however where there's a will, there's a way. A boatbuilder from the Vancouver area, Rod Tait of Orca Boats, hearing of my situation very generously volunteered to go have a look at the materials on my behalf. Here is what he had to say after viewing the strips:

Bryan,
I took a look at the strips and the forms. The forms are computer cut with center already cut out for internal strongback, all lines already on them and it appears that they have not been used. The strip are a nice chocolate brown and uniform in colour. The bead and cove is clean except for a few areas where there was some tear out during milling (perfectly normal). there seems to be enough to build a boat, but long lengths are limited. I am not sure if there is enough full lengths to build the hull and deck, so strips may need to be scarfed or butt joined, but not many if at all. The grain is tight with some knots which you can certainly work around. The wood will certainly look [good] ... with a few accents of a lighter wood such as yellow cedar or eastern white cedar.... I did take my camera, but the wood was in their house, so I politely declined to ask to take a pic. If you are interested, I think it is well worth the price. I think other builders will be envious of the nice wood.
Rod Tait.


After Rod's comments, how could I not buy it? I pursued it further and ended up purchasing the materials and Rod again came to my rescue by picking up the strips, forms and book, and bringing them back to his shop in Port Moody, a service for which he charged me his "consulting fee". From there, the only obstacle was figuring out how to get the pile of materials 1700 km to the East. That's where it's sometimes good to know a truck driver. My cousin Cory Richmond graciously agreed to pick up the strips the next time he was out that way with his truck and had both the room and the time to accommodate my extra load. It took a few weeks but in June when Cory was on his way home after dropping off/picking up a load on Vancouver Island, he stopped in at Orca Boats to load up my future boat. From there, the materials made their to Saskatchewan and into Cory's garage in Warman, about 1/2 hour drive from my house. (I still owe Cory.) I was then able to transport the strips (a bundle of 3/4" x 1/4" strips, some as long as 19') home by tying them to an extended ladder secured to the roof racks of our Honda Accord. From there they found their way onto the shelves of my garage where they could recover from their ordeal for the next few months until I began my project.

As Rod stated, the strips are mostly a dark brown in colour, with a few being a bit lighter. They were not quite long enough for full-length strips in the longest regions of the boat so about 12 strips had to be scarfed (just the 2 at the sheer) or butt jointed. I haven't touched the 19' long strips that Rod added to the pile; they will be incorporated in some fashion into the deck. The bead and cove on most of the strips is OK, but a few strips seem to be cut unevenly & or had the milling of the cove less than perfect (which may be normal). In all of the strips added thus far to the boat, I have seen only one knot (which I have left in place because I like the looks of it, but I hope it won't give me grief when it comes time to scrape/plane/sand the hull).

Well, there you go - now everybody knows where the wood came from, or at least now you know pretty much what I do about the subject.

Thursday, December 01, 2005

Up and Over

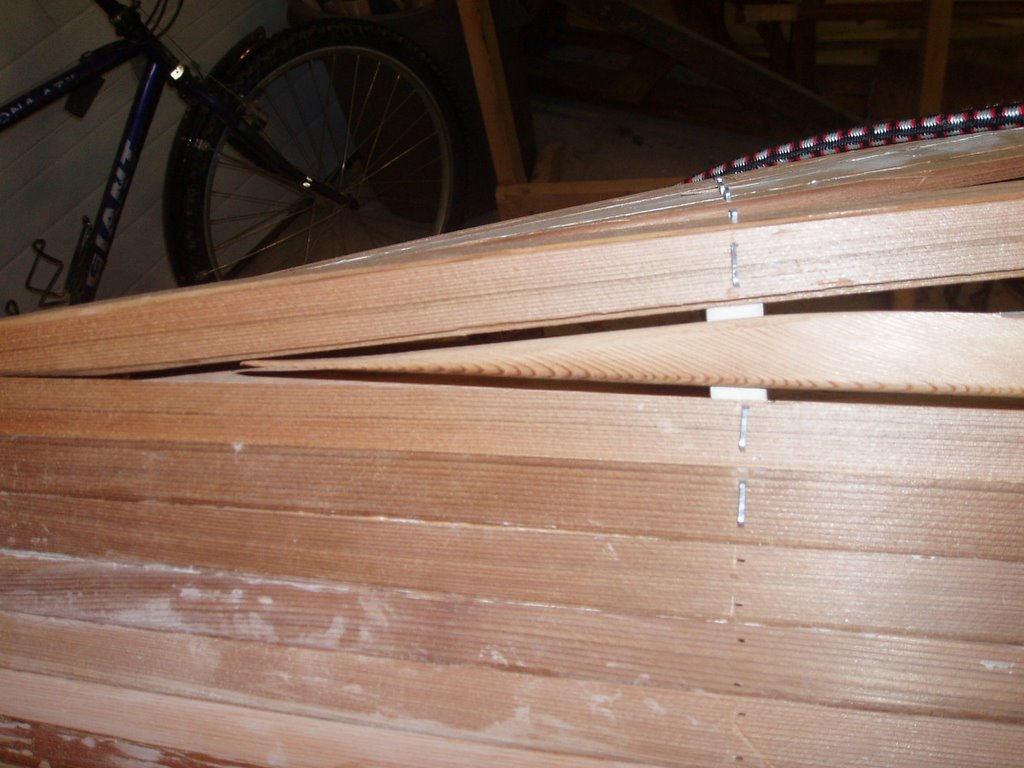
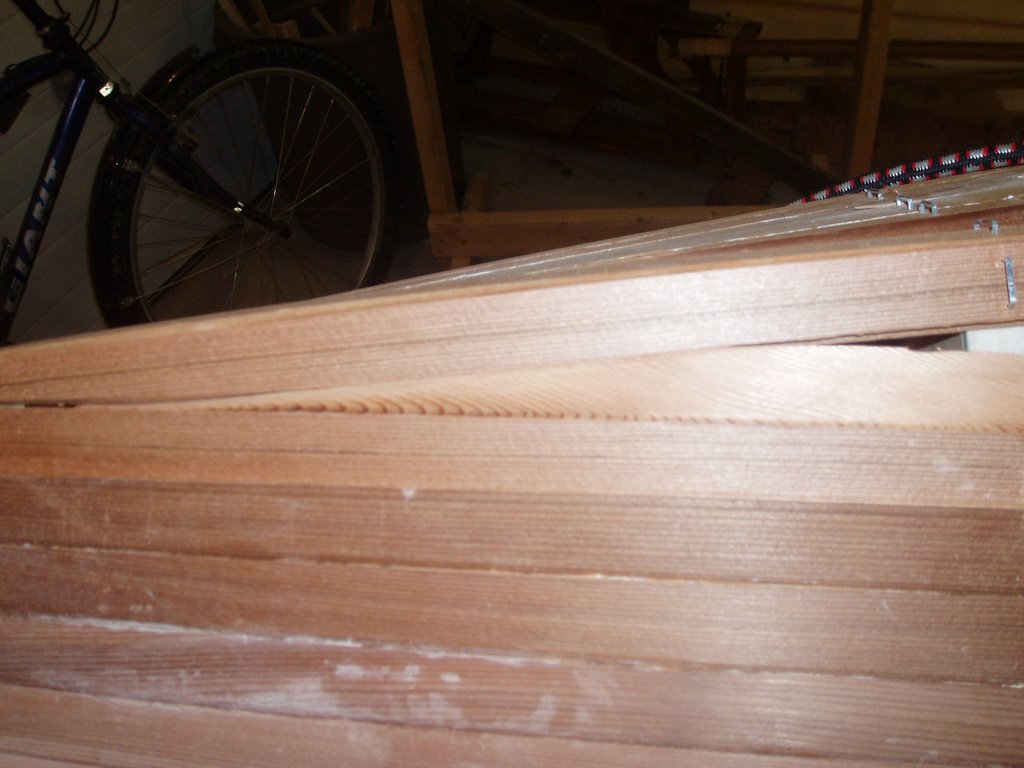
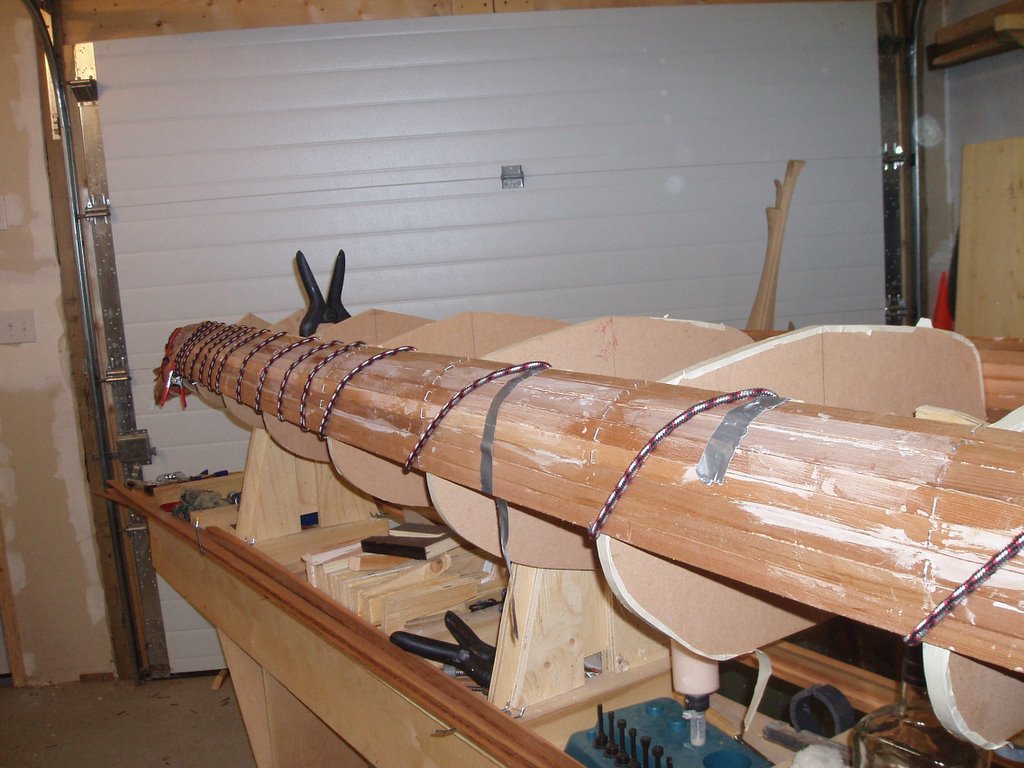
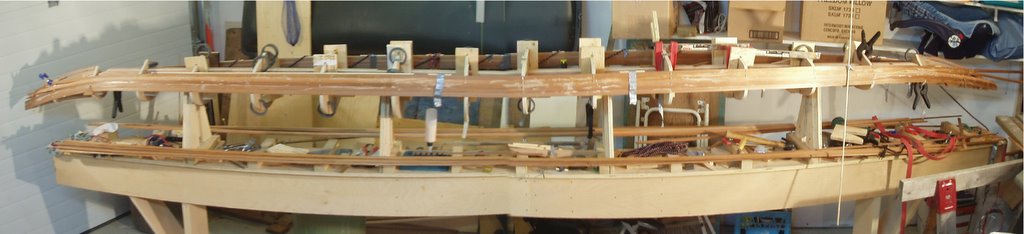
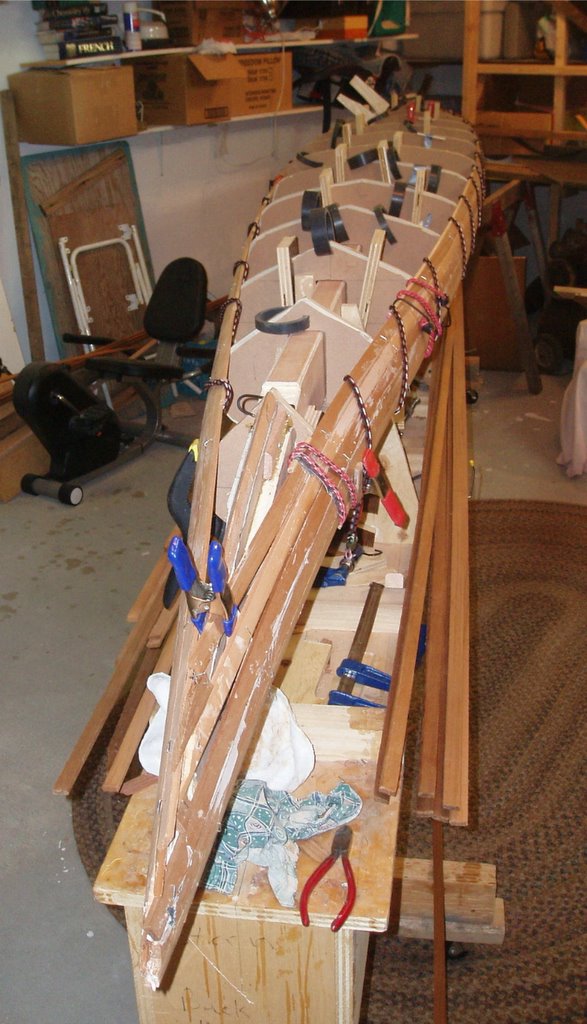
Well I'm now into the process of rounding the fairly sharp corner at the chine where the strips transition from the kayak side to the bottom. Here is the boat as it looked after adding another two strips to this side this evening. Some of the other photos below are taken prior to this addition. The ~15' long bungee cord is my attempt to minimise gaps between strips in the region between forms. The glue residue that shows up bright white in the photo is not quite as bad as it appears here.
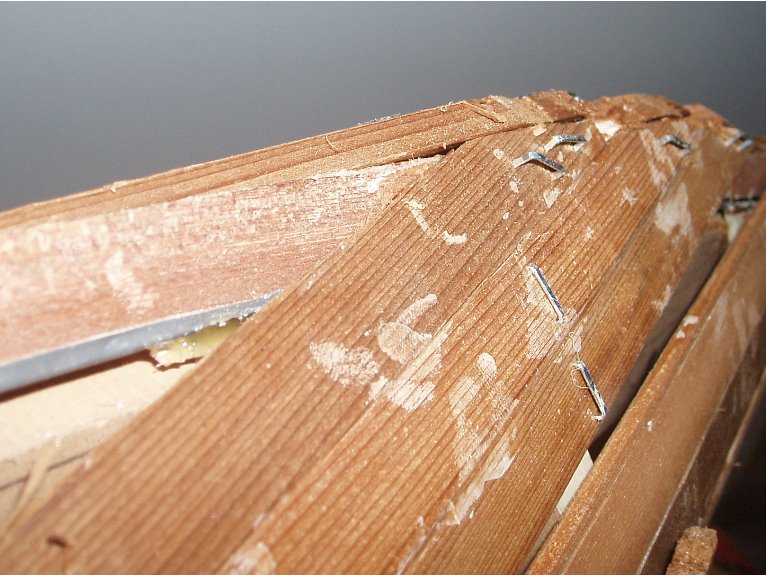
The prominent gap seen in the photo above to allow for the insertion of a cheater strip as described in an earlier post was filled this evening. It was actually fairly easy to get a strip planed down to fit. Now I just have 5 more cheater strips to get into place.

The photo below shows the kayak side after 6 strips per side, bringing the strips in this region right to the point where I have to make the sharp curve to the kayak bottom.
I may have a problem developing at the stern. Where the strips meet it is apparent that the strips on one side of the kayak are ~3/16" higher than on the other, illustrated in the next 2 photos (same spot, different angle). I'm not sure if this is really a problem or not; I fear that it may cause problems down the road when I'm trying to fill in the bottom and have things look even.

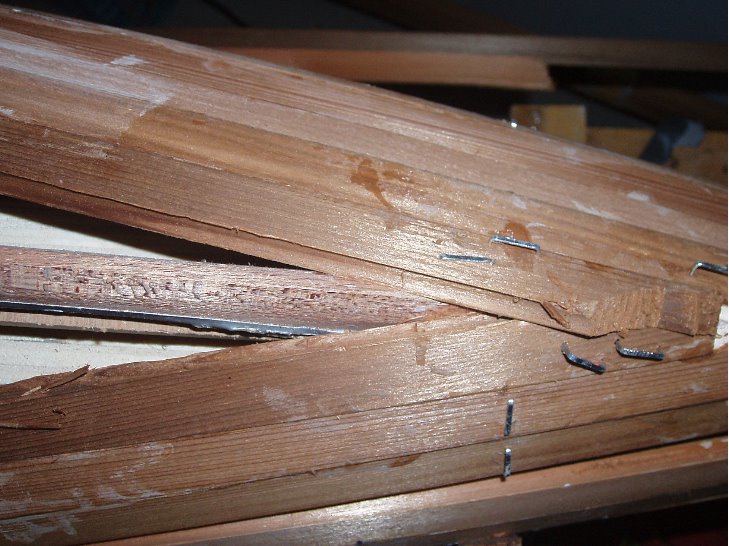
Rounding the chine while maintaining a tight joint without gaps is giving me some troubles. Since the bead and cove on these 1/4" thick strips were cut with a 1/4" router bit, the strips really only fit together perfectly if there is little angle in the joint. (For more on bead & cove of strips, go here.) The more angle there is, the more that the inside portion of the cove gets in the way. Some strip manufacturers and commercial builders use a slightly larger radius (5/16") bead & cove which allows the strips to better fit together around a tight curve. Recently 5/16" radius bead & cove bits became available to the home builder and after my experience the last couple of nights, I think that this would be pretty helpful in areas where the curve is tight.

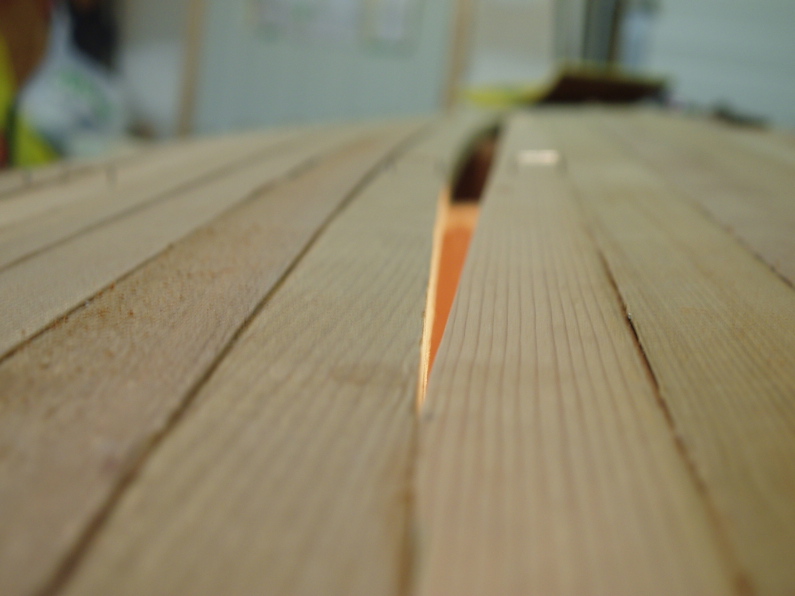
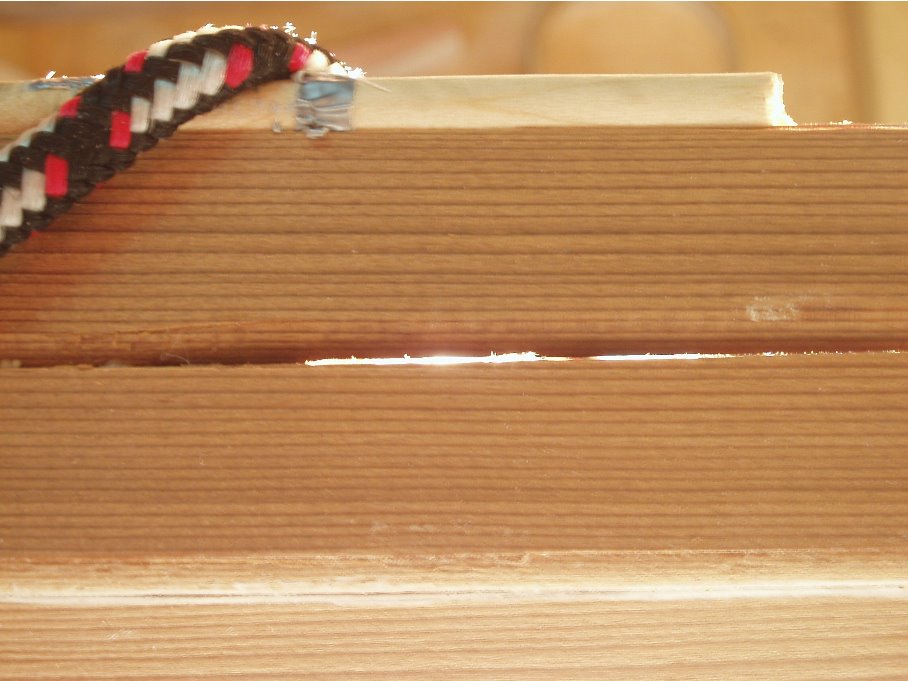
Since my strips are now more horizontal than vertical, my bungee cord is no longer really pulling the strip down tight against the previous strip. This is in a way confounding the problem described above. Thus, some small gaps have formed as seen in the photo below (taken with a light shining behind the strips to better show the gap). Part of the problem might be that the cove on some of these strips was really shallow. I used a round rasp to put a better cove in, but it may not be enough. This won't affect the function of the kayak but it will probably soak up a bit more resin and anyone who chooses to stick their head inside the boat and wear it like a hat will see some sunlight. I'll probably fill the gaps with a mixture of sawdust & epoxy to make them a little less evident, but it'll still add a couple of grams to the boat (an issue if there are lots of gaps).

Sunday, November 27, 2005

A Few Good Strips

Things have progressed rather slowly lately. We were out of town 2 weekends in a row, and our kids have been sick for the last week. Last night was the first time working on the boat in about 1 1/2 weeks and I now have 9 strips on the kayak.

Below is a close-up of the bow and another photo of the kayak taken from the bow end. In these photos you can see gaps in the strips at the tip of the bow, each one strip wide. These gaps will be filled by "cheater strips" and allow curve of the subsequent strips to be reduced. I am using two cheater strips at the bow and one at the stern (which has less curve than the bow).

Things look pretty rough in these photos with the smeared glue looking white on the cedar wood. I expect that this residue will easily scrape/sand/plane off when I am smoothing things out later. The glue I am using is the Lee Valley 2002 GF glue, reported to blend well with the darker shades of cedar. I have been using a dry rag to wipe away the squeeze out. Now as I write this I am wondering if I shouldn't maybe be using a damp rag to clean away more of the residue. If you know if this is important or not, please let me know.

To this point I have been using strips that are less than the full length of the boat, joining two shorter strips with a butt joint somewhere towards the middle of the boat. (For more on butt joints and the strip length go here.) Now that I've come far enough up the side of the boat, the strips no longer need be quite so long and I should be able to use full length strips for the rest of the boat with the possible exception of a few deck strips (which will depend on the pattern I choose to strip the deck with). Actually, this was the major reason I eventually changed my mind & decided to use the cheater strips. (I was initially put off by the daunting task of trying to cut & insert the thin wedge-shaped pieces but this was overridden by my desire to decrease the amount of bend and to reach the point where I can start using full-length strips and not do the butt joints.) Without the cheater strips, I would need quite a few more strips longer than those I have.

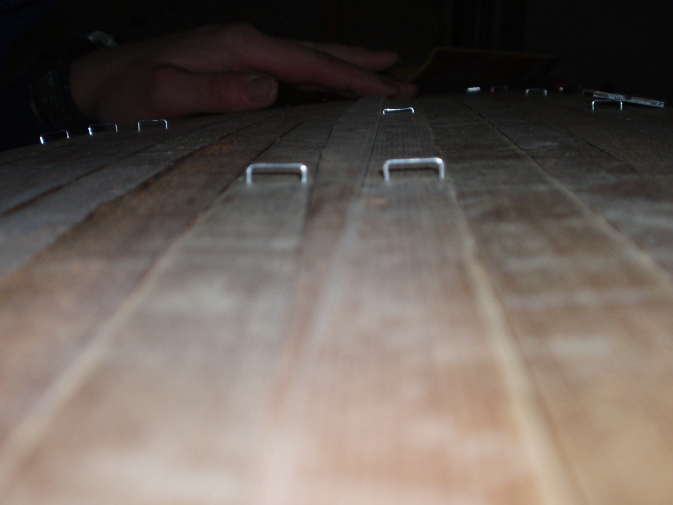
Those that look closely may notice that there are a few more staples than would be expected after reading what I've written in earlier posts. Two weeks ago I had a visit from Martin Bernardin, canoe builder extraordinaire and proprietor of Kisseynew Canoe Company. He watched me screw around with all of the clamps and clamping jigs while I carefully put in place 1 or two strips. He was not impressed and commented that using staples he'd have "half the boat done by now". This certainly eroded my resolve to try to go without making too many staple holes in the boat. The next strips were done using a few staples and by the time I added the most recent strips I had abandoned the clamps in favour of staples, choosing instead to try to do a decent job with the staples and ensure I had tight joints. To this latter end, I am wrapping the strips with a long bungee cord in order to close the gaps that sometimes occur between the forms. The cove is protected by pieces of 1/4" dowel. The dark wood will liekly help to hide the staple holes on the finished boat and I will not likely try to hide them by filling them with sawdust & epoxy. Things did seem to go a fair bit more quickly than with the clamps but the process is still not fast.

That's it for today.

Friday, November 18, 2005

Tallies

Strips: 6 (3/side)
Staples: 26
Finishing Nails: 2
Hours: Best not to count

Thursday, November 10, 2005

Bryan Strips!

Well I got the first 2 strips on over the last couple of nights - one on each side of the boat along the sheer line. The bend at the bow and stern is tight and across the width of the strip so a heat gun was used to encourage the strips to bend. This worked well enough but it didn't exactly turn the strips into a wet noodle. The strips are held in place with a few staples here and there, packing tape, hot glue (at every station), and a few clamps. I am not really going staple-less but am trying to minimize the staple holes that I introduce. I consider the staple to be just another one of the tools I have available and I will use them when needed, along with tape, clamps, bungee cords, super glue, 4" screws, or whatever. Actually, I was not impressed with how easily the staples pulled out of the mdf forms and they did not do as well as I expected at holding the the strip in place on the forms close to the bow & stern where it twists as the strip curves downward, inward and becomes angled. The tips of the strips have been glued and clamped to the internal stem pieces carved earlier.

n.b. If you are scarfing together strips to make full-length pieces for the sheer strips, piece together two medium to short strips rather than tacking a couple of feet onto one that's almost long enough. Although it doesn't appear to have caused a problem, I realised last night that my scarf joints are right in the area that's bending and twisting the most and under the most stress. It would have been much better to have had this joint in the gently curving section towards the middle of the boat. The potential problem is that the jointed area of strip may not be quite as inclined to bend, or may not bend the same as the non-jointed regions on either side. Plus, the scarf would probably be less noticeable somewhere other than the bow & stern where the eye will be drawn.

After putting the first strip on, aligned with the sheer marked on each form, one of the forms appeared to sit slightly lower than the others. This was evident because the strip on that side dipped slightly at that spot. I put the strip onto the other side and that side seemed straight & fair. With the sheer strips attached to the forms, loosening the screws allowed the strips to shift the form into exactly the right spot, and remain there when the screws were re-tightened. Everything appears to be in good alignment now.

I can now start adding strips up the sides of the hull, using my sheer strips as a base.

Staple Tally: 8

Sunday, November 06, 2005

Almost ready to start

Well it's taking me a heckuva long time, but I think I'm almost ready to begin building this boat. Over the last week I have ..... ummm, I don't know, but it sure took a long time to do it.

1) I have made up about 30 c-shaped jigs that will be used to hold the strips in place while the glue dries.

2) I have cut a bunch of wedges out of scrap that will be used together with the jigs mentioned above. I still need to make more of these.

3) I found a use for the crappy peg board hooks that I was told would fit my slot wall in the garage but didn't even though I kept trying to use them to hold stuff on the wall and they kept falling off but I would curse and valiantly try to put them back up where they would stay until bumped slightly. [My advice - get slot wall hooks for your slot wall, don't try to "make do". And don't buy the hooks at the hardware store either, go to a place that sells store fixtures and pick up a bunch of used ones for cheap.] Now, what was I talking about? Oh yeah ... I drilled holes into the external strongback that the pegs of these hooks would fit into and voila, instant strip holders. I bent the end of some of the pegboard hooks in order to keep the strips from falling off. As a result, I now have a handy place to keep a small pile of strips on either side of the boat.

4) I put a strip-gluing holder onto the external strongback so that it will hold 3 strips at a time, cove side up, while I add the glue in preparation for their being placed on the forms.

5) I put masking tape on the edge of all of the forms so that the strips will not end up glued permanently to the forms.

6) I knocked the internal stems off of the bow and stern end forms (they were hot glued on) and then taped the end forms & sparingly re-hot glued the stem pieces in place. The way I had originally done it, the glue joint would have been too strong and I would have run into troubles trying to remove the forms from the kayak. As it is now I am hoping that the glue is strong enough to keep the stems in place during stripping, but weak enough to separate easily when the time comes to pull the hull off of the forms.

7.1) I scarfed some 16' pieces of cedar together with short pieces to make 4 strips about 18 feet long. The first strips that go on the boat are aligned with the "sheer" line - the line that defines where the deck and hull meet. On the guillemot kayak the sheer starts at the tip of the bow and curves down along the toward the middle, then back up towards the tip of the stern. According to the book, it is best to use full-length strips for this first strip since it is the one to which all others are aligned. My first attempt at scarfing strips "across the thickness" did not go well despite the able assistance of my uncle-in-law Barry. The trouble was that I am trying to do the cuts (on a steep angle of 1:7 or thereabouts) using a handsaw. The aforementioned book describes a method using a belt sander, which I do not have. My method was to clamp all the pieces together in a stack (8 pieces - two for each strip), and cut them on an angle (no mitre box) all at the same time with a japanese pull saw. Theoretically, this should mean that the strips end up cut with the same angle and should mate together nicely. I was wrong. Without a jig to keep the saw straight, the angle cut was not precise. I glued together the strips but after the glue dried I was unsatisfied with the results and cut them apart and started over. Part of the problem was also that the strips seem to have shifted after being clamped, something that was bound to happen since the strips were clamped on the bench but extended well beyond the bench and may have been bumped by the door when it was opened or by me as I worked in the shop.

7.2) On my second attempt to cut a decent scarf, I chose to cut across the width which proved to be a bit more manageable. I also did not set them up to glue until the very end of my work night in the shop so that I could not inadvertently bump them while I worked. This second attempt was somewhat more successful and produced a satisfactory (not great but it'll be OK) scarf on 2 out of 4 strips. That should give me the material I need to put on those first 2 strips (one each side) along the sheer line. If I'm gonna have to do this again, I really should build some sort of mitre box.

8) I have started to plane the bead off of the 2 strips that will be the first ones to go along the sheer line. Once that's finished (a few minutes?) I'll have to bevel the edge so that it is parallel to the floor when installed. This allows the deck and hull to meet flush without any gaps (theoretically). Once that's done, I'll have to fix that sheer strip in place (hot glue, staples, clamps) and I will at that point have officially begun to strip the kayak. Finally.