Showing posts with label guillemot. Show all posts

Wednesday, April 04, 2012

Out Practising What I Preach

Last Saturday we had gorgeous weather for the last day of March. Sunny, calm and warm with a high of 14°C. It was a great day for a paddle and with the kids at the grandparents my wife & I donned our paddling gear and got out in the kayaks for a couple of hours on the South Saskatchewan River. The river is still mostly frozen, but through the city it is open and most of it is available to paddlers.

I mention that we donned our paddling gear and that is a large aspect of what I wanted to write about. We dressed not just for the weather conditions, but for the water conditions. We dressed for immersion.

I was wearing my dry suit (Barrier suit from Level 6) with long underwear (wool top, polypro bottoms) and a fleece vest underneath. On my hands I wore neoprene gloves (2mm), and on my head I wore a thin neoprene (1mm?) cap. On my feet I wore my new (used) Chota mukluks for the second time but the first time where I was in the water.

K wore a wetsuit with long underwear underneath, and a fleece sweater and softshell jacket over top. Although K declined to test her immersion gear, if she had ended up in the water she would absolutely have been cold, but likely would have been able to function well for a period of time. She had neoprene paddling gloves at hand, but chose not to wear them.

I'll add my observations and lessons learned at the end. In the meantime here are some pictures from the outing, and a couple of videos of me in action (and getting rather wet).

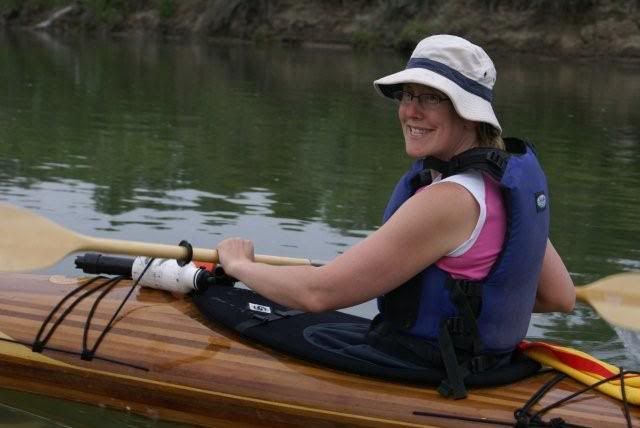
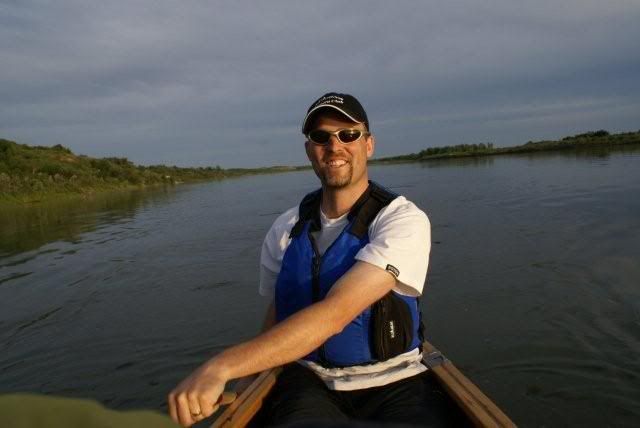
Us.
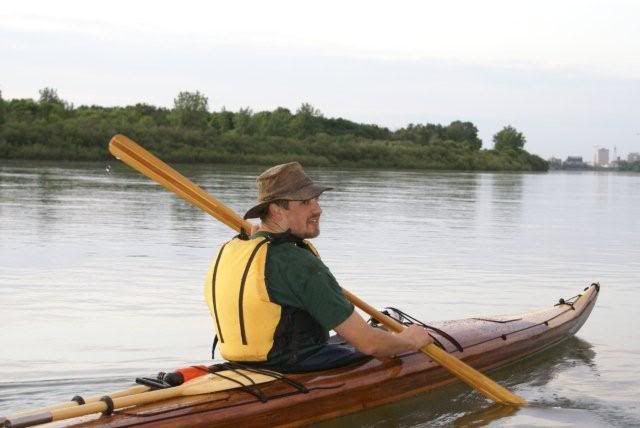
Me.
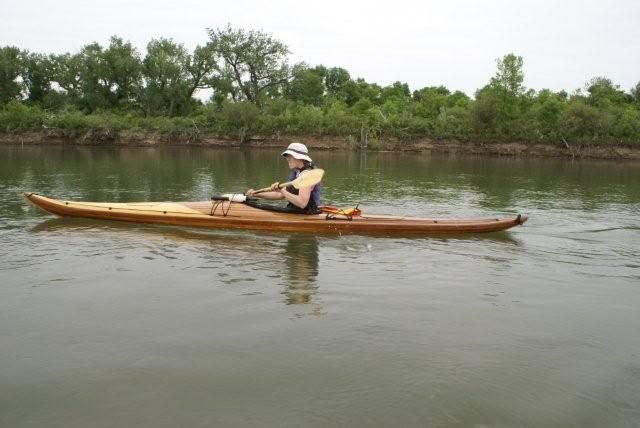
K paddling the cedarstrip guillemot I built for her (and documented in detail in this blog).

Heading south, away from the boathouse and downtown Saskatoon.

The west side of the river was clear of ice but a strip ranging from a few feet wide to half the width of the river was present on the east side. 
Some of the marathon paddlers from the Saskatoon Canoe Club were also out taking advantage of the fine weather. 


We saw their sterns mostly. 
They are building a new freeway bridge south of the city. 
The geese don't mind the ice. 

Heading back toward the boathouse. 
Paddling among the drifting ice.


With the neoprene cap on, I'm ready to practice my rolls and rescues. 

A video of one of my rolls in this ccccooooolllllddd water. I only did a few! (Note that at 5 seconds in my head is high, my head reaching away from the water. That is why I needed to finish the roll with a forward scull to get a little extra lift.)


A short segment of me practising my scramble rescue in conditions that were less ideal than the pool I had practised in a few weeks earlier. Things were much harder this time.


So, after getting into that cold water and practising, I can say I learned a few things (good, because that was the whole point).
  • Things are harder in cold water.
  • Things are harder when you are wearing a bunch of stuff.
  • Water that is at or just above freezing is really, really cold. (Shocking news, I know.)
  • The dry suit works well. I was mostly comfortable in the water except for those parts not inside the suit (hands and head). 
  • There was a cold spot at my lower back and that would quickly sap heat if you were in the water for a prolonged period. Perhaps my vest & long underwear top rode up?
    • A one-piece insulation suit (such as this or this) would prevent that from happening. 
  • 2mm neoprene gloves make it very difficult to grab deck lines even if they are not overly tight. The bulk of the neoprene made grabbing a 4mm rope from the smooth surface of the hull very difficult.
  • My fingertips quickly became numb when I was in the water.This made the dexterity issue mentioned above worse and it happened in only a couple of minutes. Had I been in the water for more than a few minutes, my hands would have been like using 2x4s.
  • The thin neoprene cap did not help much. Rather, it seemed to trap and hold the cold water against my skull and after rolling I had to loosen the strap to drain the water away. I think in a real world situation where the head is mostly out of the water (though with waves crashing over) it would be a net benefit.
  • Holy hell that water was cold.
  • The bulk of the suit and what I was wearing under it made the scramble rescue much more difficult. 
  • I need to calm down and slow down my roll. Also need to calm down and think about what I am doing for the rescues. This may have been the real reason my scramble rescue failed, it wasn't only the bulk of the suit. 
  • My new Chota Mukluks do not stay on when swimming. Anyone want to buy a pair of gently used paddling muks? I think they are a little large for me, which can't help. 
  • The filtrate discharged from the water treatment plant just upriver of the boathouse is a muck that looks like and has the consistency of baby sh!t. 
So, in conclusion I need to:
  • Keep practising.
  • Consider a different neoprene cap (like this or these).
  • Get pogies.
  • Calm down in the water.
  • Add beads to the deck lines to make them easier to grab. 
  • Sell the Chota Mukluks and go back to something that I'm sure will stay on when swimming.
  • Ask my wife to stop laughing at me on video.
The take home lesson of the day: Find a safe way to practice your rescues in less optimal conditions because that's where you'll need them. 


Tuesday, November 22, 2011

What A Great Stripper!

I found this today via Twitter on Water Fun Cartoons.  It's a web site with a weekly paddling cartoon so go check them out. This one's for the boatbuilders:


Thursday, June 04, 2009

The Mobies Are Coming! The Mobies Are Coming!

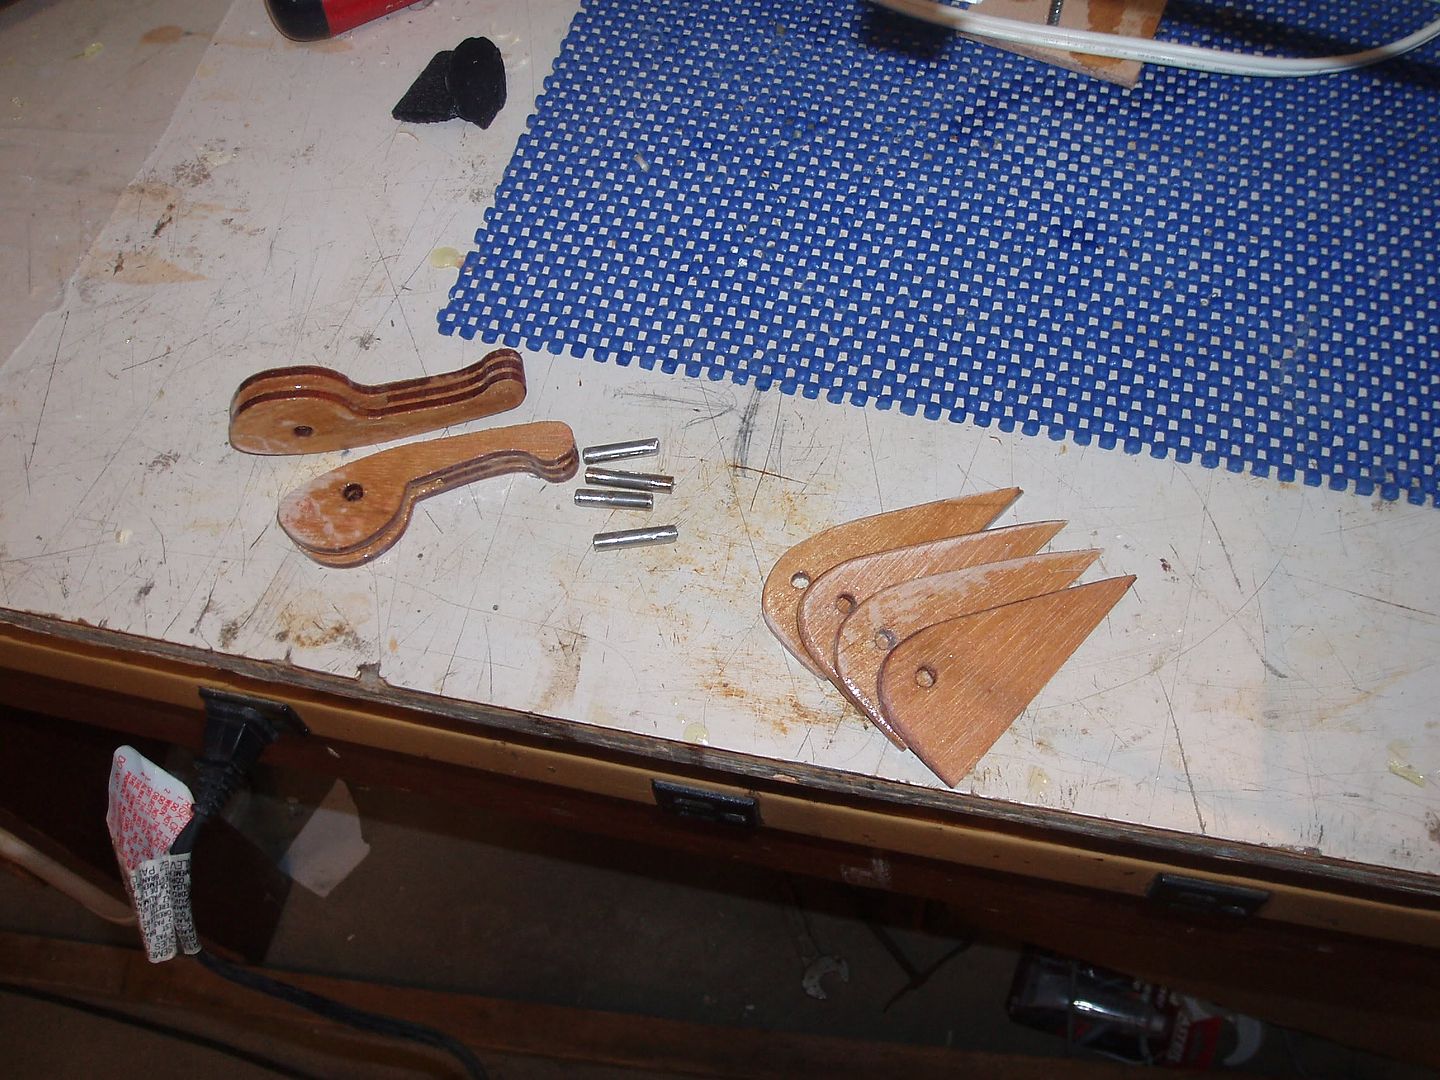
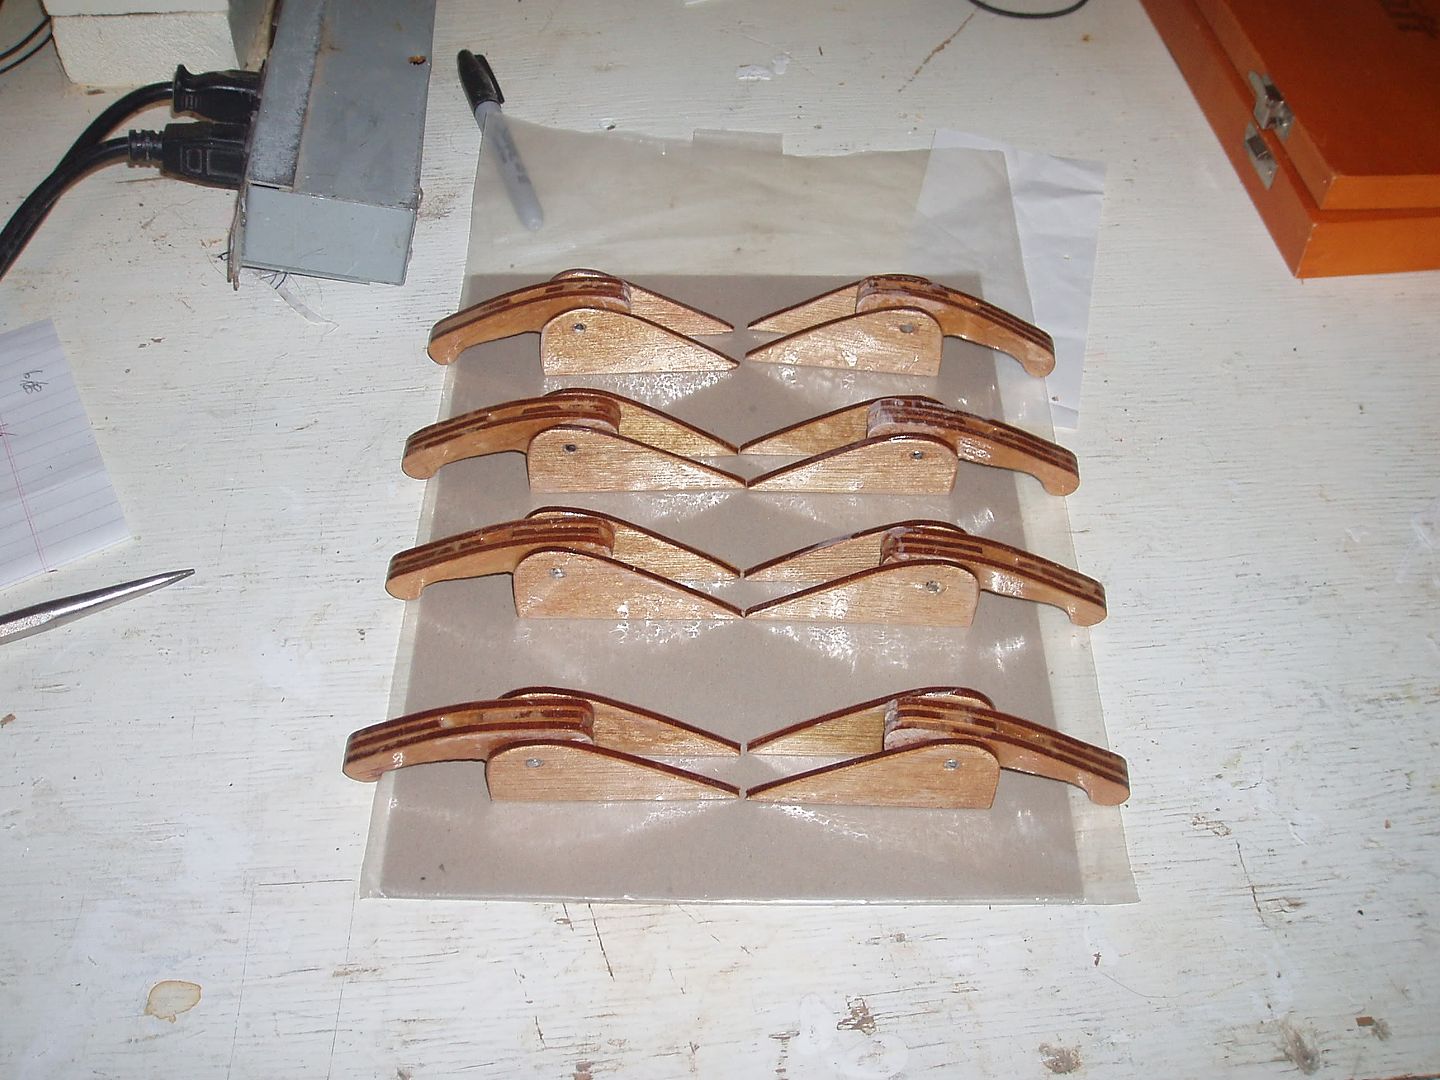
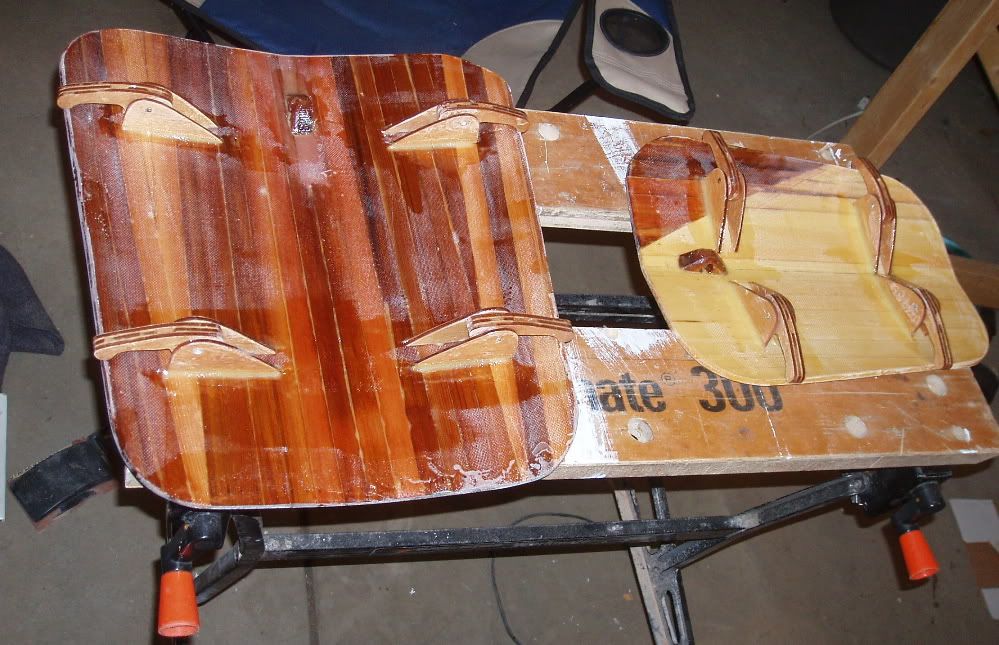
So, "what's a moby" you might ask. A moby (plural, mobies) is a hidden latch mechanism for the purpose of keeping the hatch of a kayak closed. The moby, is a lever attached to the underside of the hatch cover that under the tension of bungie cords presses against the underside of the kayak deck and holds the hatch securely closed. I added mobies to the kayak when I built the kayak 2 years ago, but I built them using 1/8" recycled mahogany plywood. That proved too weak and 2 of 8 of them have broken. So, I am rebuilding the mobies. This time I have made them much beefier. They are being constructed of 1/4" poplar wood, with the grain in the direction of required strength. The poplar was reinforced before cutting out the pieces by adding a layer of fiberglass on each side. They are also larger in every dimension than the older version, which will make them stronger again.

This post was just intended to be a quick update. I have been taking pictures along the way in preparation for a future comprehensive Moby post, perhaps a "how to". So far, I have fiberglass-reinforced 1/4" poplar, drawn a new and enlarged moby template, cut out all the pieces, and cut off the old mobies and cleaned up the hatch lids. This evening, I glued the mobie components together with thickened epoxy and added another layer of glass to the underside of the hatch lids.

In the meantime, here are a couple of pictures from when I made the Mobies, Mark I.

Partially assembled pieces.
A pod of mobies ready for installation.
Mobies on hatches.

Thursday, June 26, 2008

Launch of the Sea Flea

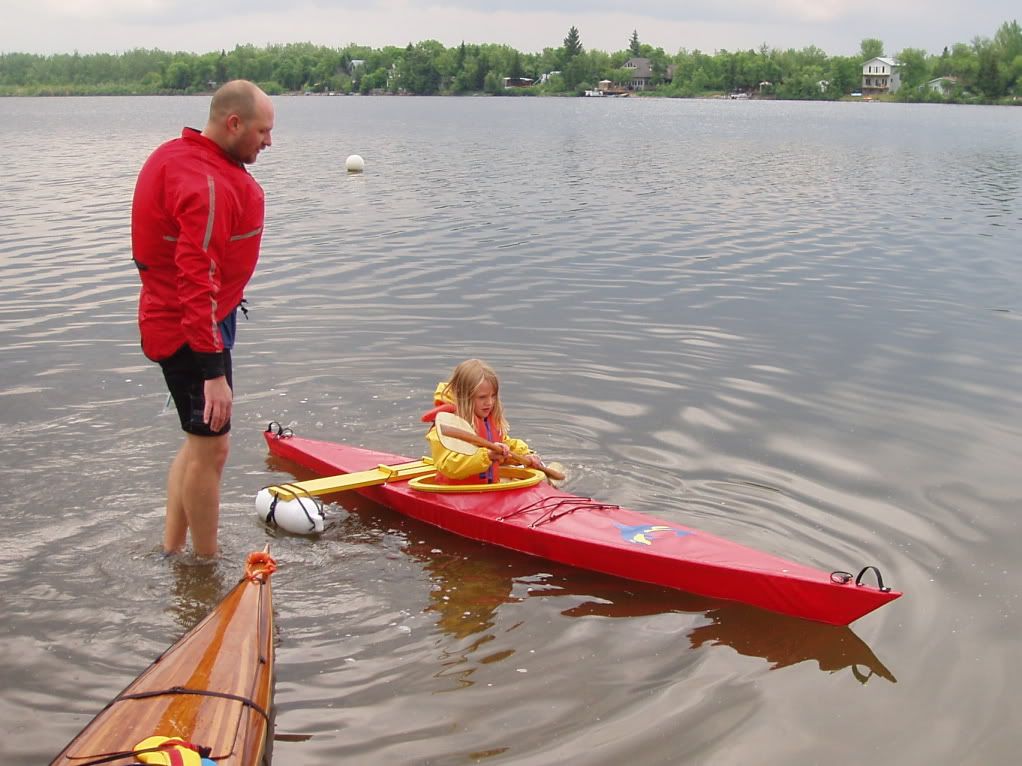
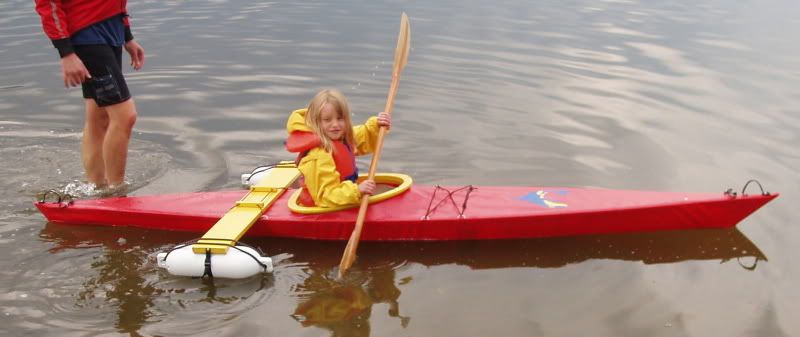
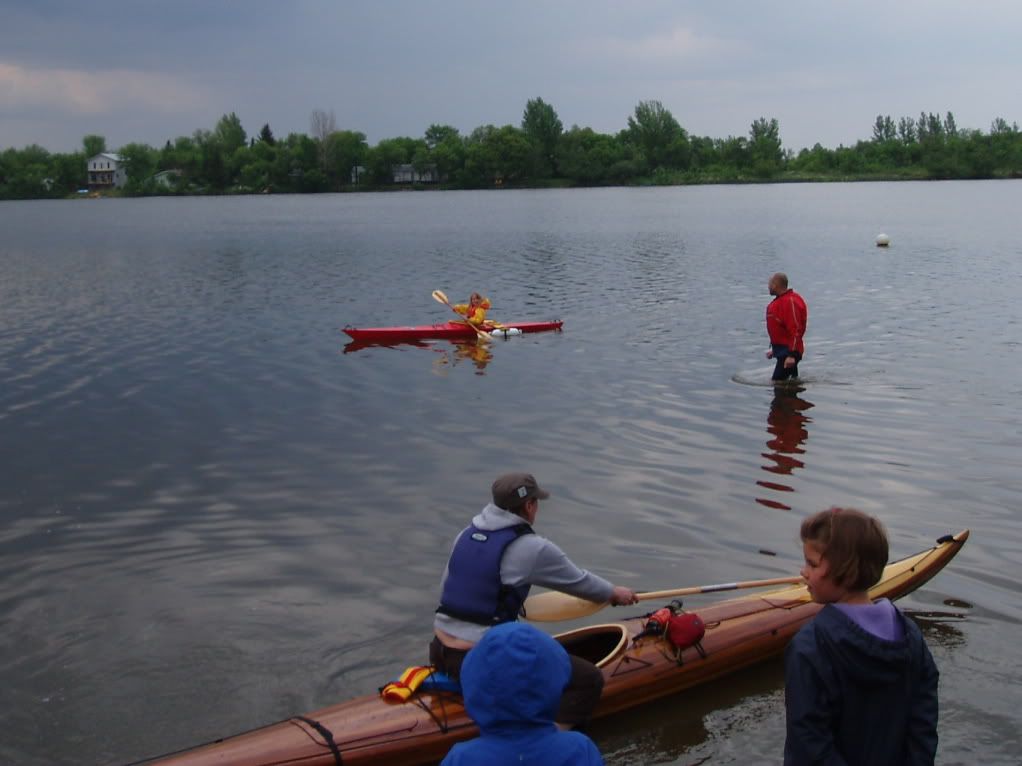
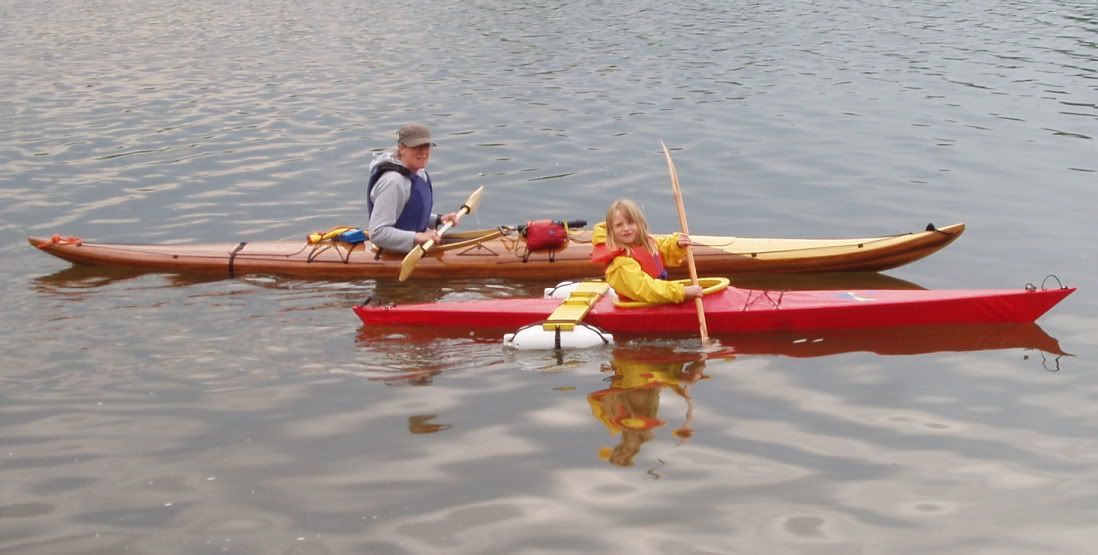
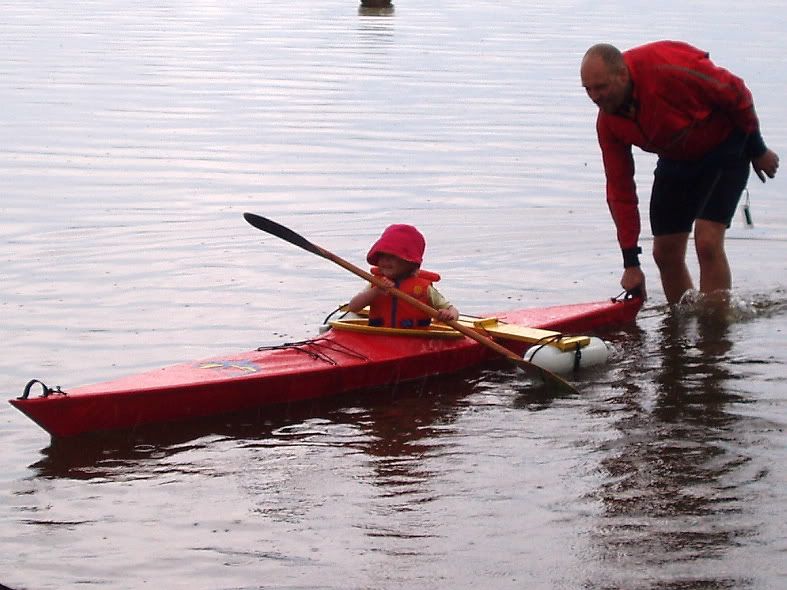
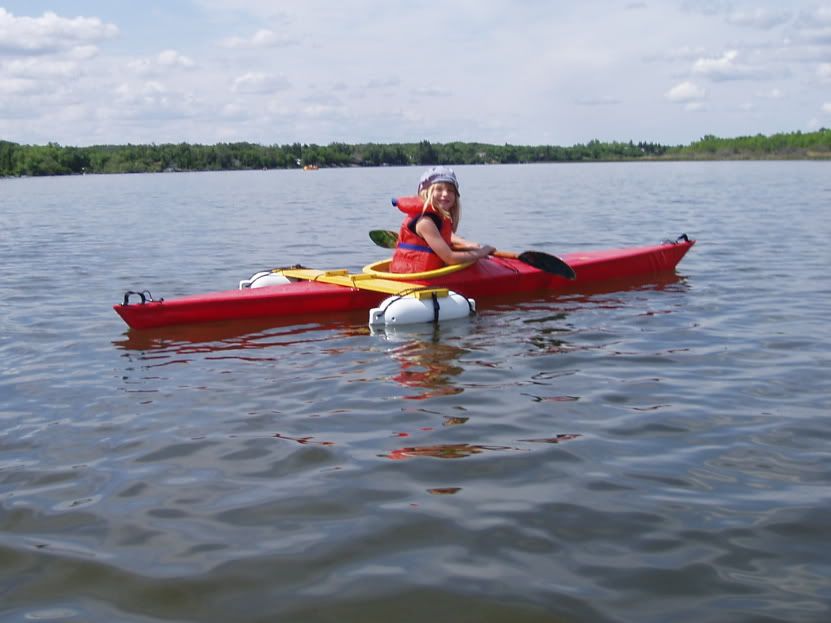
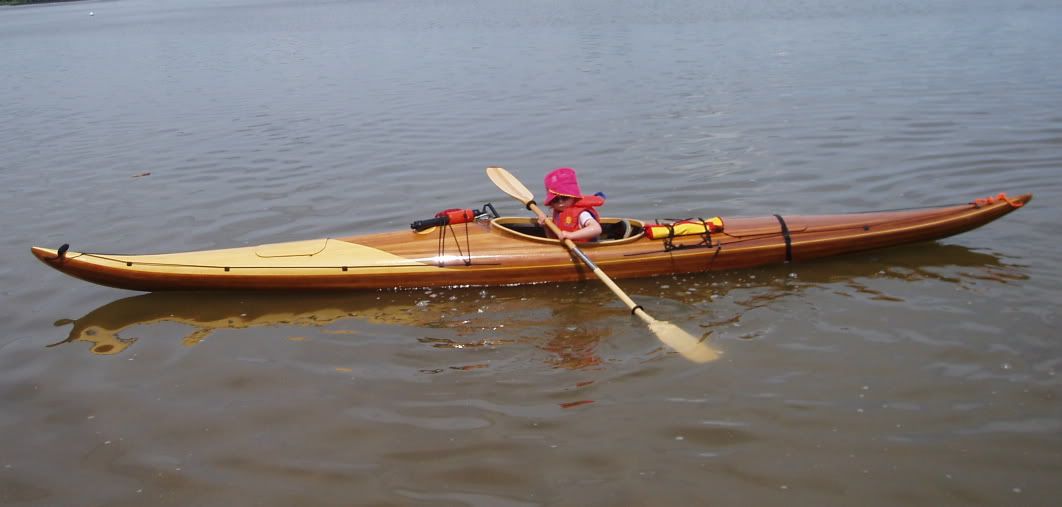
We launched the kid's Yost Sea Flea 11 a couple of weekends ago at Pike Lake, a small oxbow lake in a local provincial park. The launch was a bit hurried due to some incoming weather and the start of a rain shower (I had just finished a day of kayak lessons), but within a few minutes our older daughter had figured out how to make her kayak go forward, backward, and turn.The outriggers are very similar to that described in the Chris Cunningham book, Building the Greenland Kayak. In my version the boat bumpers (the floats) are held onto the crosspiece by a bungee and a webbing strap. It seemed to work quite well and breaks down easily for transport or storage. The outrigger is secured to the kayak using a deck rigging slider which works quite well. Mom heads out too.
My wife is paddling her guillemot kayak, launched exactly one year earlier (the Saturday prior to Father's Day).
Our younger daughter gets her turn too, just as the rain started.
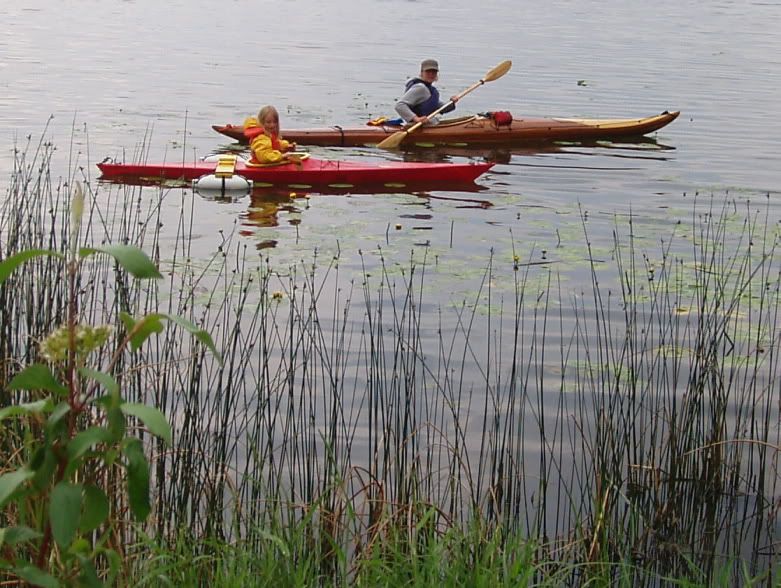
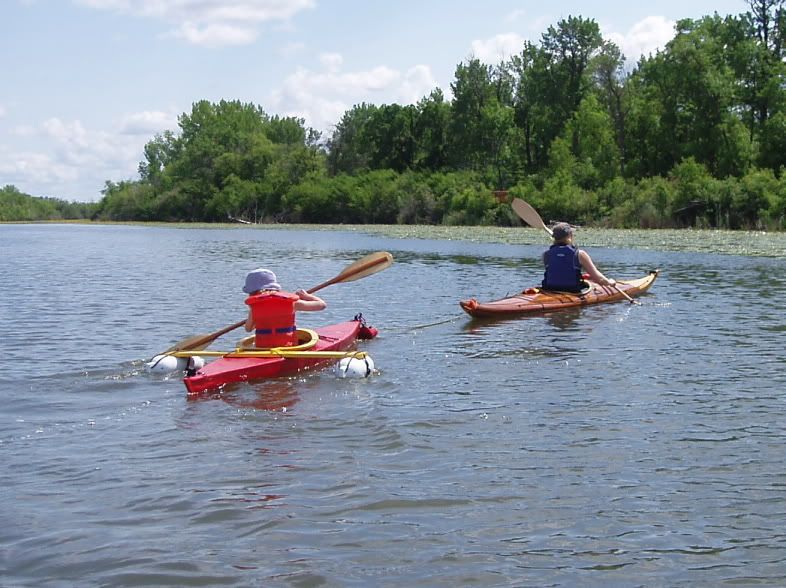
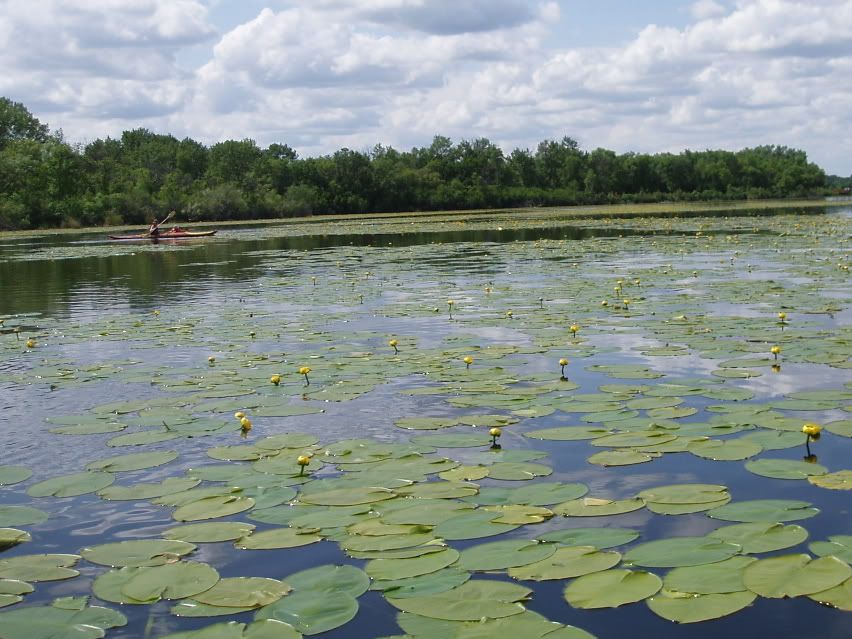
The next day (Father's Day Sunday) we took another tour. This time we had beautiful sunny skies and warm weather. We launched at the main beach and paddled through the lily pads and visited one of the large beaver lodges. The younger girl & I paddled the canoe while Mom and our other daughter were in the kayaks. After a while, my wife gave a tow. She reported that the Sea Flea towed very easily, offering little resistance (until our daugther learned to use her paddle to increase the drag!). While being towed, she made a game of paddling hard to overtake and pass Mom.
Unfortunately, we never did try the kayak without the outriggers. I wish we had at least tried it without them while we were playing at the beach.
Our little girl played in Mom's kayak by the beach. For more posts about the Sea Flea and the build, click here or click on the label "kid kayak."

Friday, August 24, 2007

Carving on Deck

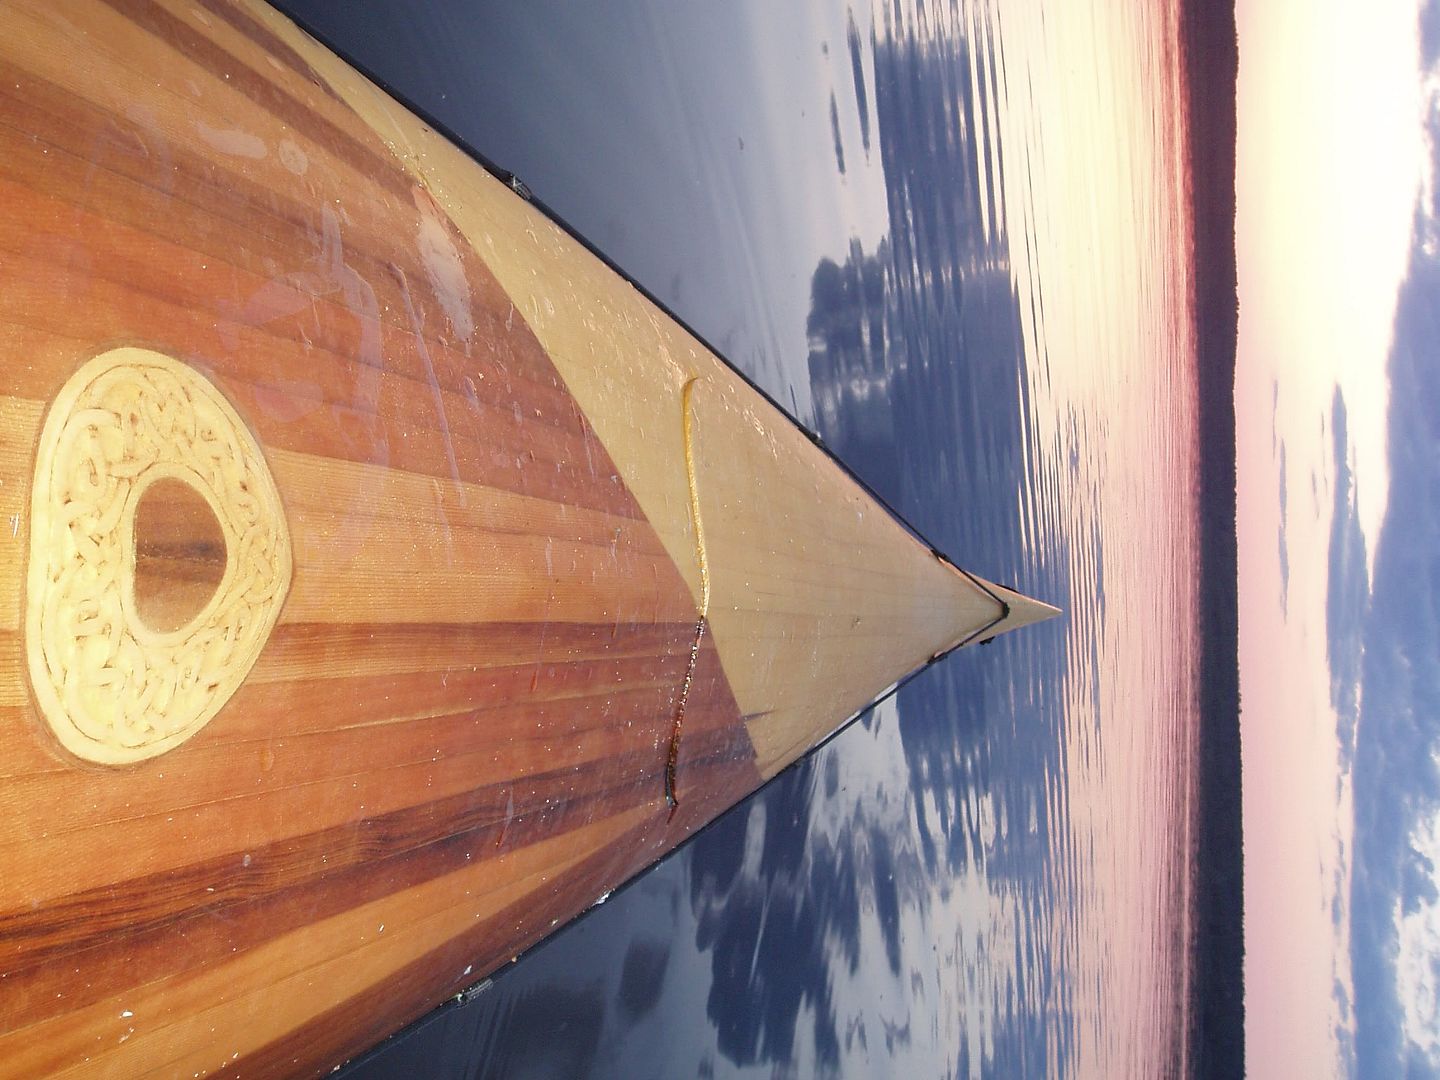
A long, long time ago I proposed to my wife. She wasn't really into engagement rings, so I promised to get her a kayak instead. Well, that never really happened like we planned and the money went towards other things. So, when I built this kayak which was to be primarily for her use, I decided to do something different on the deck. When we got married we had a set of wedding bands custom-made by local goldsmith Ken Paulson. The pattern used was picked from a book of patterns and had no particular significance at the time. When thinking of a personalized touch to add to the kayak deck, I had the idea of turning the celtic knot pattern used on our wedding bands into a carving.

The only problems were I didn't know how to carve or even how to draw such a thing. Well I managed to figure out both challenges and eventually carved into a block of basswood a modified celtic knot in the same pattern as what's on our wedding bands. The first step was to come up with a drawing. For that I employed a bit of software. It took a lot of manipulation and playing with the software, but eventually it churned out something that was in generally the right pattern. Although it wasn't perfect, that software-produced drawing gave me the layout and showed me how the lines had to cross in order to work and be a complete circle. I then decided what diameter the inner and outer portions should be and with some trial and error, eventually drew something that looked acceptable and with proportions I was happy with. In fact I only drew just over a quarter of the circular pattern as it could be rotated 1/4 turn and the pattern repeated.

With a template pattern in hand, I then turned to wood. I had purchased some basswood and some simple carving tools, and began by practicing in a block of wood. Once I thought I had the general gist of how it works, I turned my attention to what was to become the real thing. I cut a piece of the bass about 6" x 6"x 2" thick, a bit over-sized to fit my pattern. I then determined where in the deck the carving was destined to reside. I used the adjacent form from the kayak to trace a profile of the deck onto my 2" thick block of wood. With a block plane I planed the block down to match the profile of the peak of the deck. The bottom of the block I left alone for the time being.

I drew reference lines onto the block and used a pin to mark the center through the template. I then used graphite paper to trace the pattern onto the shaped block, rotating the pattern for each quarter of the circle. I then began using the carving tools to remove all material that did not belong. I gave the pattern some relief where the lines of the knots go over and under each other, and made the background space deeper. Thankfully, the act of carving proved to be not overly difficult (I have a new found love of bass wood). Once I had a carving that I was happy with, I used wood burning to add further depth to the appearance of the carving, creating a bit of shadow where one line goes under another, and a stippling effect for the background spaces. After a few hours work, most of which was completed at the dining room table while my wife was at work, I had something that I thought wasn't too bad.

With the carving complete, I then prepared for insertion in the deck of the kayak. The bottom of the block of wood was planed down (bass is so nice to work with) until the overall thickness was just over 1/4". The carved disc was then cut from the block using a circle cutting jig on my Dremel. The center was also cut out of the carved disc (I may have used a hole saw for that one).
To this point, if things had not worked out or I made a major slip up, I could have started over on the carving or given up and nobody would ever have known about it. The next step required a much greater degree of commitment to proceed. I cut the matching hole in the deck of the kayak, again using the circle cutting jig on the Dremel.

If it all went wrong, I might have had a water bottle holder instead.


Using the jig and Dremel to cut the hole worked OK, but the resulting hole was a slight oval due to the peak of the deck.

Initially, I was going to use a center disc of cedar cut from the deck but this proved not to work very well. Instead I used a piece of walnut to fill the center. Thin strips of walnut were also used to fill the gap around the outside of the carving as the hole in the deck was cut slightly oversize. This was done on purpose since the carved disc did not perfectly match the deck hole. If left as shown in the above photo, the imperfections would have been very obvious. Instead, I removed material in order to make a fairly even gap all the way around. As it is, it now looks like a design feature of a contrasting walnut border edging the carving, which goes well with the walnut center.

The carving was glued into place, supported from underneath by temporary supports (ie sticks) hot-glued to the underside of the deck. The edges were eased and the carving gently sanded along with the rest of the deck in preparation for fiberglass. The carving received a pre-coat of epoxy in order to fill in some of the relief of the carving and then was glassed along with the rest of the deck. During the fiberglass wet-out, some bubbles were still trapped in the relief but their effect was minor. Prior to the fiberglassing the underside of the deck, the bottom of the carving was planed & sanded flush with the rest of the deck. Two or three extra layers of 4 ounce glass cloth were applied to the underside of the carving and the immediate area just to strengthen & protect this spot. The end result was an inlaid carving that is slightly raised above the deck but cannot even be felt from underneath.

In the above photo, the carving along with the rest of the deck has been fiberglassed and the fiberglass sanded to a dull finish. The photos below were taken after another fill coat of epoxy was applied to the deck.

Finally, below is the finished product, dubbed the "engagement kayak."

Tuesday, August 21, 2007

Facts & Figures

  • Kayak Design: Guillemot
  • Kayak Designer: Nick Schade
  • Length: 17'
  • Beam: 21"
  • Waterline Length: 14.7'
  • Build Start: October 2005 - setting up strongback and forms.
  • First Strips On Forms: ~Nov 8, 2005.
  • Point I Thought I Was Practically Done: June 29, 2006 after joining the deck and hull from the outside.
  • Point I Realised I was Nowhere Near Done: December, 2006
  • Completion: June 2007.
  • Official Launch Date:June 16, 2007
  • Total Time: 20 months with some interruptions.
  • Woods Used: Western Red Cedar (hull & deck), Alaskan Yellow Cedar (bow of deck), Ash (stems), Walnut (accents on carved deck insert), Basswood (carved insert on deck), mahogany (hook for paddle park and inner stems), Pine dowel (grab loop holes), Birch plywood (bulkheads, cheek plates, coaming), unknown plywood that looks like mahogany (moby latches).
  • Finished Weight: 42lbs fully fitted out, according to the bathroom scale.
  • Amount of Epoxy Used: 1.5 gallons (approx.) West Systems
  • Biggest Challenge: Taping inside seams then getting them smooth all the way to the stems after the epoxy had fully cured.
  • Pleasant Surprise:Working with Alaskan Yellow cedar is very easy, and it smells nice too.
  • Things To Do Differently Next Time:
  1. Build internal and external stems a la Ted Moores
  2. Move the front bulkhead aft at least 4" to increase hatch volume and decrease cockpit volume & wasted space.
  3. Mill my own strips, or ensure the quality of the milling.
  4. Don't use duct tape on the edges of the forms to keep the strips from sticking to the forms (it doesn't)
  5. Don't use the waxed masking paper to prevent epoxy from sticking where you don't want it to (it doesn't).
  6. Use fiberglass tape for the inside seam rather than strips cut from the regular cloth.
  7. Make the moby latches stronger, there's a surprising amount of force on them when they snap closed.
  • Things I'd Do Again:
  1. Plywood coaming & riser. I wasn't sure the conventional method was best so I came up with a method using 1/8" birch ply that worked well for me.
  2. Create a design on the deck &/or the hull that breaks up the stripping a bit, reducing the number of finely tapered joints and making things easier in the long run.
  3. Carve an insert or inlay. I had never done it before and it turned out to be fairly easy & makes the boat totally unique.
  4. Use the internal strongback, mounted on an external strongback with wheels. Gives a secure and stable set-up. and creates a long narrow table which is a great place to keep tools handy.
  • Atypical Features: Carved deck feature in the same pattern as our wedding bands, birch plywood coaming, "swoop" pattern of light wood across the bow & pin stripe down port side, moby hatch lid hold-downs, built on a "schade-style" internal strongback, supported on a "Moore's-style" external strongback.
  • Tools Purchased For Kayak Building: Honing guide, glue bottle/spreader, saddle square, cornering tool, cabinet scrapers & case, carving knife, carving tool set, carver's saw (for cutting the cockpit hole, but a jigsaw with good blades worked better), fine cut jigsaw blades, rasp & blades (worked well), collapsible bottles for varnish, HEPA filter for shop vac (a very worthwhile purchase), latex gloves (turns out I might be allergic to latex now), many disposable brushes, radiant heater.
  • Best Cheap Tool: A tie - the paint scraper and a $2 stamped metal small plane bought at a garage sale. Once sharpened properly, the paint scraper worked wonderfully for removing high spots, bumps, drips, runs, edges and excess glass/epoxy. The little hand plane just fits so nicely in the palm of my hand and it works very well for trimming strips and all sorts of other things while stripping. If I had lots of money, I'd upgrade to a Veritas apron plane. The microplane rasp gets an honourable mention.
  • Tools To Buy Next: Better sharpening stones, dust collector with cyclone (but I probably won't). I'm sure I'll think of lots more when I start the next one.
  • Money Spent: Not sure. About $1200 for wood, forms, fiberglass cloth, epoxy, varnish, glue, staples, cordage, etc. An uncertain amount went to electricity to heat the shop, tools, sandpaper, and other incidentals. Plus there was the paddle float, paddle, cradles for the roof rack, etc.
  • People That Were a Big Help: Rob, Martin, my wife, Andy, Rod Tait (without whom I wouldn't have gotten the wood or the forms), Cory (my cousin that brought the lumber & forms from B.C. for me), and of course my daughters. Plus, everyone over at the Kayak Building Bulletin Board and the Bear Mountain Boats Forum for all the ideas, motivation, advice, feedback and problem solving.

Friday, August 17, 2007

Launched!

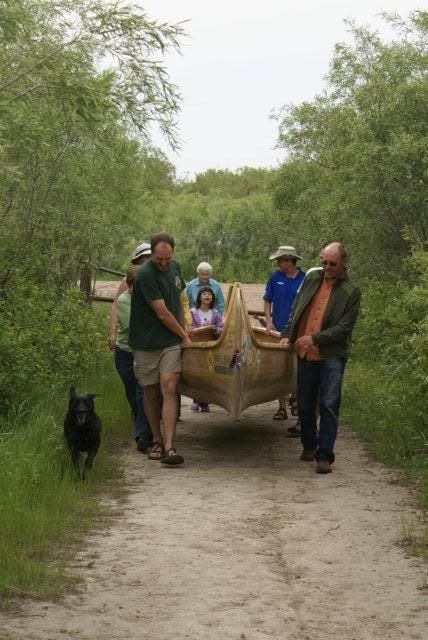
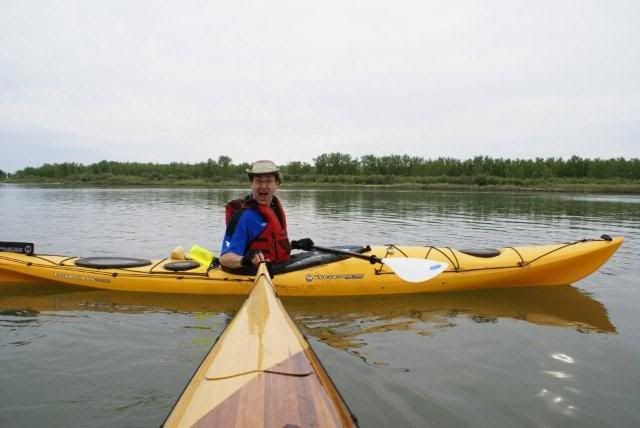
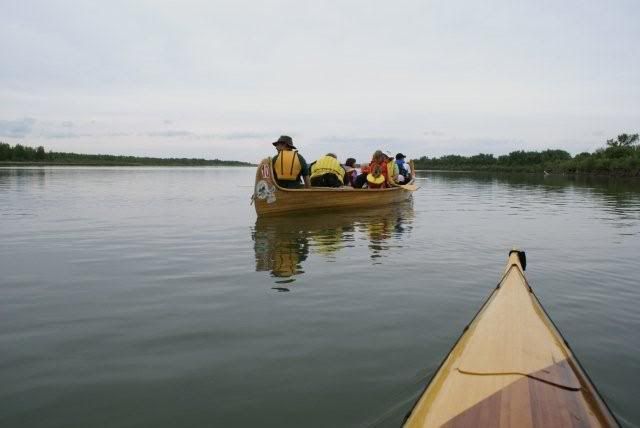
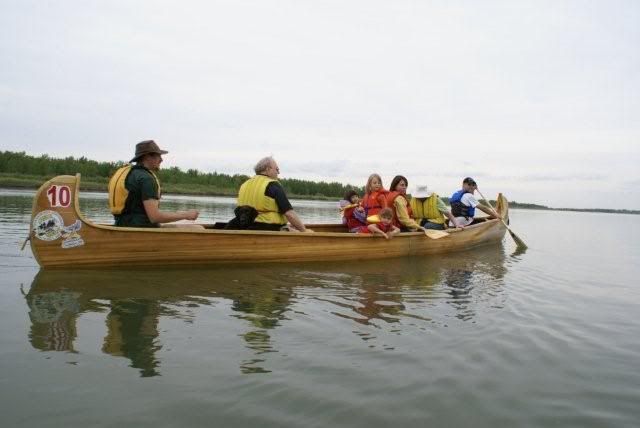
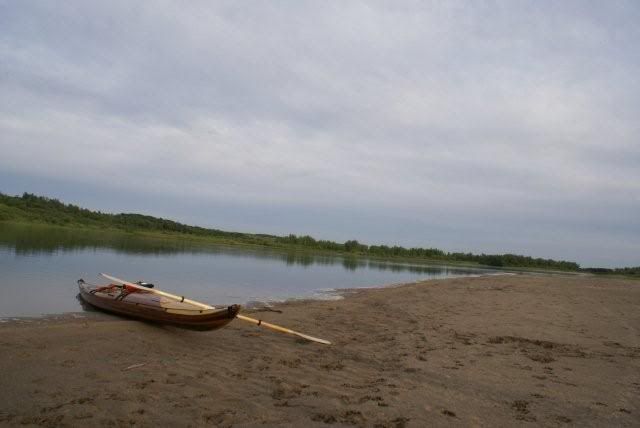
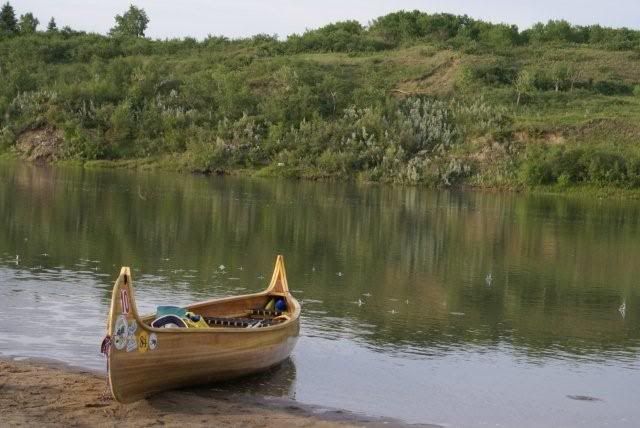
Back in June we had the "official" launch of my wife's new kayak. We borrowed a cedar-strip voyageur "Sainte Anne" canoe from Martin Bernardin for the occasion and had some friends & my in-laws join us. The kids really enjoyed the voyageur canoe, and my wife & I really enjoyed taking turns in the kayak. It was a beautiful Saturday evening for our paddle. Our original plan was to paddle on Sunday after having brunch at the Berry Barn. However as Sunday approached the forecast got steadily worse (the forecast was correct and we received 4" of rain in the ensuing storms). Thus, we scrambled a bit and left Saturday late-afternoon instead. We started from Fred Heal canoe launch on the South Saskatchewan River, about 20 km south of Saskatoon and paddled back to the city with a supper stop on a sandbar island along the way.

The photos below are all courtesy of Rick.


Many hands make light work.

My wife takes the first turn in the kayak.


Kevin mugs for the camera.


Supper break.
My turn.

Rob took over duties in the stern while I took my turn in the kayak. The Sainte Anne canoe paddled beautifully. At 25' 10" long and a 51" maximum beam, we were expecting a bit more trouble. With an experienced paddler in the bow and stern it was very easy to control. We had some assistance from amidships but even without it, Rob & I had little trouble maintaining a good pace and maneuvering.
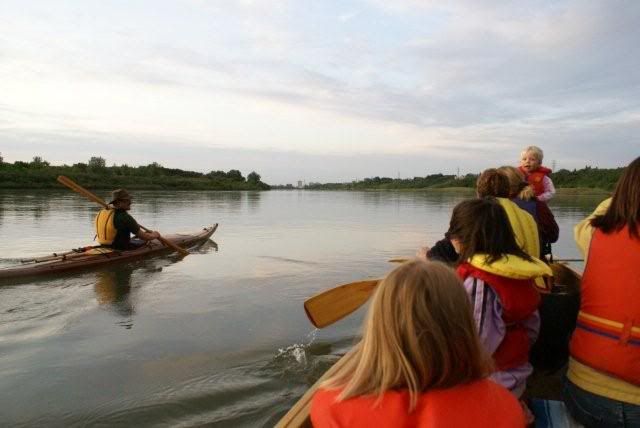
The girls certainly enjoyed themselves in the big canoe.

On the edge of town.

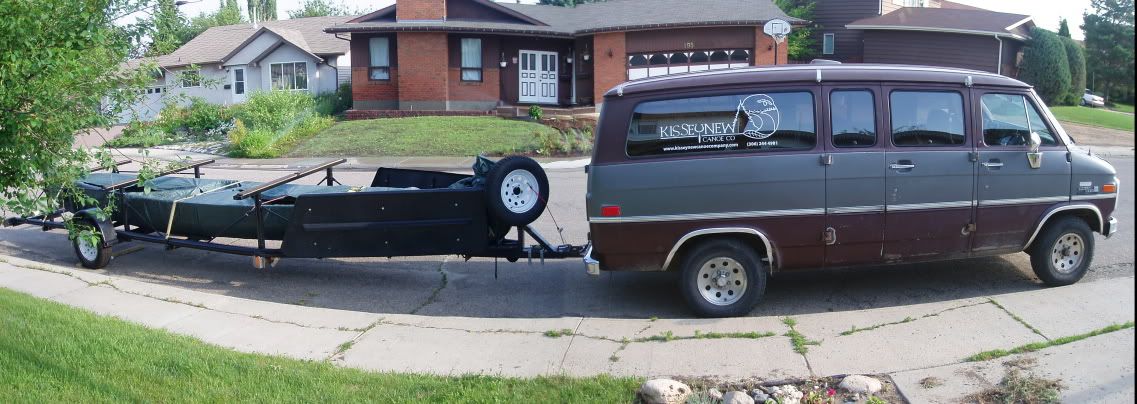
When I asked Martin about renting the canoe, I never gave the logistics of it much thought. I knew it had it's own trailer but I have no problems pulling a small trailer behind my car and thought this one would be the same. I was wrong. That is one heavy trailer (for Honda Accord anyway). In agreeing to loan me the canoe, Martin was also agreeing to loan the trailer and the van too! His only request of me was that the rig be made ready to go for his trip to the Yukon River Quest. Thanks Martin!

We've used the kayak a couple of times since the launch and are pretty happy but there are some bugs to work out, including a broken moby latch (there's a lot of power behind them so make 'em strong!) and some skill development.
As mentioned earlier in this post, we were had made plans to launch after a Father's Day brunch from the Berry Barn on Sunday. Originally I refused to alter the plan despite a bad forecast since the forecast is often wrong. However, as Sunday got closer, the forecast got worse. In our haste to change the plans to Saturday, I was unable to inform a fellow builder about the change. Thus, Andy (aka "Andy in SK") arrived at the Berry Barn despite the downpour. We had brought the kayak and our tandem canoe along because the weather didn't look too bad when we left home and don't mind paddling in a bit of rain, but the thunder and lightning followed by the torrential rain put a damper on those plans. At least I did get a chance to admire Andy's Razor Billed Auk. Like me, Andy built a guillemot first. Having established a list of things to differently on the next boat, he built the RBA designed by Nick Schade next. Wow, what a beauty. Loaded with features, it also sports an elaborate design in the wood. This long sleek boat looks like lightning just sitting on Andy's custom made cradles (a la Ross Leidy). After admiring the boat in a pounding downpour (the start of a 4"+ rain) we resolved to head out for a paddle together at a later date. We're running out of summer so we'll have to go for a paddle soon Andy!

p.s. I have a bit of a backlog of posts to add discussing certain aspects of the build including the carved inlay on the deck, the moby hatch latches, and the plywood coaming. The first of these (description of the carved inlay on the deck) should be ready to post within the week so check back once in a while.