Thursday, May 29, 2008

Paddle For A Flea

The girls need a paddle to go along with their new kayak, so we started to build one. First, I drew a paper template based largely on what just looked right. I used mom's Grey Owl kayak paddle as a point of reference for blade size, and made the template about 2/3 of the adult paddle. Unlike the adult paddle, the kid's paddle is symmetrical so that there is no right or left side to it, simplifying it's use. The paper template was folded in half (to ensure symmetry) and cut out, then the shape drawn onto some 1/8" birch plywood I had left over from the cockpit coaming of the guillemot. The blades were then cut out using the band saw, and sanded to the line. Once the blades were ready, the girls took over, each putting her unique artistic style on one of the blades.


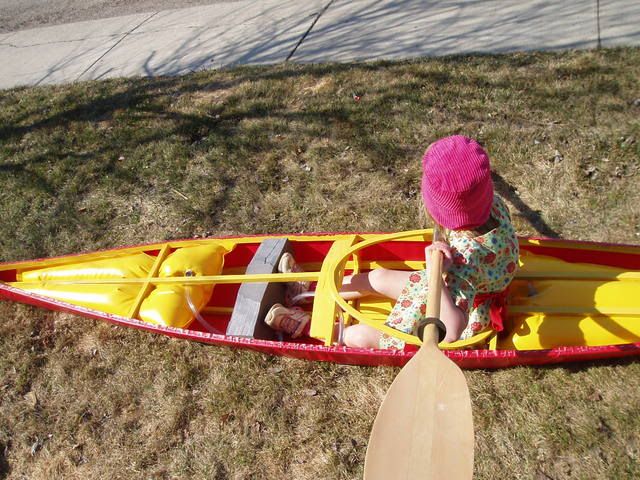
I used some leftover cedar from building the frame of the Sea Flea for the shaft of the paddle. The piece was 1.5" x 1.5" and I cut it down to 150 cm long (Grey Owl sells a kids paddle that is 150 cm long). Using a bandsaw, I cut a curve into the end 15" of the paddle shaft blank to give the blades a curved shape, and cut the shaft so that it is 1" in the height dimension and 1 1/8" in width dimension. The full 1.5" height of the shaft blank was maintained at the paddle blades but the thickness tapers to a point at the ends. I should have taken some pictures of the paddle blank as it was being shaped but I didn't.

Prior to attaching the blades I also rounded the shaft. First, I marked the shaft as described in Warren & Gidmark's paddle building book using an easily constructed spar gauge (also described in the book). I then, with help from my daughter, planed down the four corners to give an octagon in cross section. We then took down those eight corners to give a 16-sided shaft which was sanded smooth to oval. On Wednesday evening I glued the blades onto the paddle blank using colloidal silica-thickened epoxy and I have since begun to shape the part of the shaft that backs the blade. Ideally, there will be no corners, just smooth flowing lines. The paddle shaft will flow into a thickened backing of the blade. In reality, I'm not sure how achievable this is as the shaft backing the blade is only 1.5" wide, much narrower than the rest of the blade which is 1/8" thick.

After the shaping is completed, the blades will be glassed with 4-ounce cloth on the front, and possibly on the back as well. The glass on the front will strengthen the paddle as well as protect the artwork. I am considering adding some aluminum or copper wire to the edge in order to add a degree of protection since it's certain the paddle will see hard use and the blade edges will take the brunt of that. It's ironic that due to their lesser strength, the paddle must be as light as possible, yet due to their lesser coordination, the paddle must also be as tough as possible.

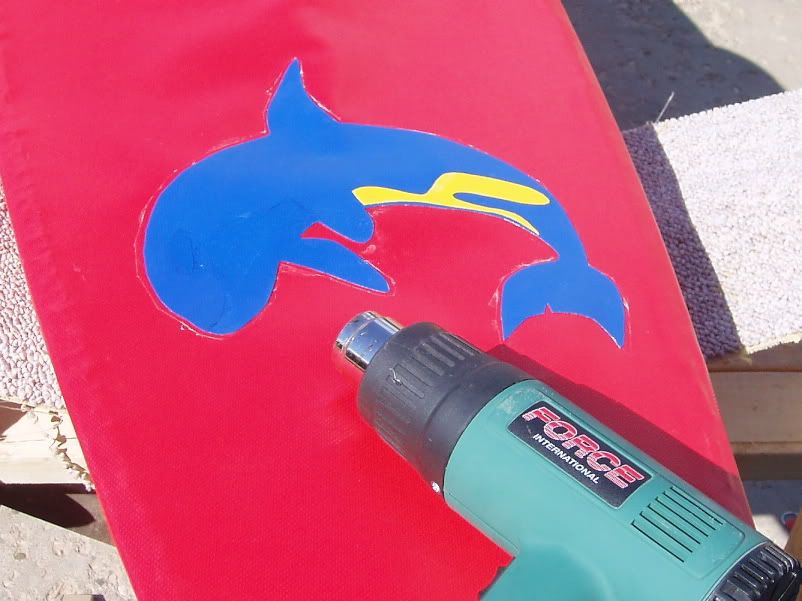
More pictures will follow soon.

Wednesday, May 28, 2008

A Hole In The Boat!, or The Red-Hot Screw!

Aaaarrrghhh!

Last week I cut off the ends of the too-long machine screws that attach the coaming. About 1/2" too long, the machine screws extended down into the coaming and the ends scratched my daughter's legs when she was trying out the kayak in the pool. I used my dremel with a cut-off wheel to cut about 3/8" off of the installed screws. The first one dropped a red-hot piece of machine screw onto the seat and I realised that I had better do something to catch the cut-offs lest they fall onto the PVC fabric. The second one did the same thing and I had the same thought. The third one fell between the seat pieces and, surprise, surprise, burned a hole tight through the hull. I'm sure it would have been funny seeing me run into the house to grab a coffee cup of water and dump it (way too late to be effective) into the kayak only to have all of the water flow out of the nice clean hole melted in the fabric.

After that learning experience, I was finally motivated to prevent more holes. I used a wet rag laid out in the cockpit to catch the smoking hot screw pieces (wet to quickly cool the cut-offs and prevent the rag from burning). I also spread my cutting around a little more, cutting the screws nearly through then coming back to them later for a short final cut preventing the pieces from getting quite so hot. Once cutoff, the sharp ends of the machine screws were covered with an acorn nut.

The picture below shows the full-length stainless steel machine screws, the locking nuts, the acorn nuts and the cut off pieces, as well as the dremel with cut-off wheel.

Below, a freshly trimmed machine screw. The tube to inflate the bow flotation bag can be seen.

Below, a machine screw with locking nut and acorn nut.
The nice clean hole, about 1/4" in diameter, created by a piece of red-hot screw.

The patch to fix the hole, perhaps the last item to complete the kayak, installed this evening. The patch is about 2" by 1", many times larger than the actual hole, and is adjacent to the keel line.
By the way, the Yost-designed Sea Flea I think is now officially done. I'll take some pictures and post them soon. In addition to adding the patch, this evening I finished the outriggers. The girls and I are now working on a paddle.

Thursday, May 22, 2008

To swim or not to swim to safety in cold water


In Canada, 2007 people died from cold water immersion between the years 1991 and 2000.


Last summer researchers published a study which addressed the question of what the best approach should be for those who find themselves immersed in cold water after a boating accident. The Ducharme and Lounsbury (2007) article, from which the opening statement above was taken, reviews the available literature in order to verify or improve the advice offered to those of us who head out on water that is often cold.

A National Research Council press release summarizes some of the important points taken from the research article:
  1. Stay calm. Unless you're wearing an immersion suit, you'll experience cold shock when you go into cold water due to rapid cooling of the skin. You won't be able to control your breathing, and you won't get far if you try to swim at this point. Your breathing will return to normal in two to three minutes.
  2. Make a plan. While you're waiting for the cold shock to subside, consider your situation and decide whether to swim or stay.
  3. If you decide to swim, look for the shore and decide if you can make it. Most people who participated in the researchers' studies could swim between 800 and 1500 metres in cold water, or for 45 minutes, before the muscles in their arms and legs cooled to the point that they could no longer swim.
  4. If you decide to stay, try to get out of the water as much as possible. Complete any tasks that require the use of your hands, such as tying knots or turning on flares, as soon as possible. As your hands cool, they lose dexterity.
  5. Stick to your decision-don't change your mind midway. After over 30 minutes in cold water, you may become hypothermic, and you won't make the best decisions.
I briefly experienced the cold shock described in point number one a few weeks ago after dumping in the Garden River. It was an interesting sensation for sure and I'm glad that I experienced it five feet from shore in four feet of water rather than 500 feet from shore in deep water. Regarding the cold shock response and the difficulty in breathing that ensues, Ducharme and Lounsbury point out that "people must remain almost vertical during the initial phase of immersion in an effort to avoid drowning." So, if you dump, don't panic and immediately swim for shore. Take a few moments to get your wits and your breath, then make a decision on how to save yourself. I wonder how many drowning deaths in cold water are related to that single factor.

Another interesting point from the research article, hypothermia does not set in as quickly as commonly believed. A swimmer in cold water may have 45 minutes before cooling of the muscles leads to incapacitation, not hypothermia. The authors also address swimming technique. Legs-only swimming is slow and uses a large amount of energy. Using the arms increases the rate of heat loss, but the pace of swimming is greatly increased and the authors conclude that "if one decides to swim for it in a cold water temperature (below 15 °C), the chosen pace should be as fast as possible."

The researchers also point out that due to the greater heat loss in the water, it is always best to get as much of the body out of the water as possible, even if your lower body remains in the water (such as lying on an overturned canoe). Another factor is clothing, and even though the clothes will slow down a swimmer, they will also slow the heat loss and are therefore valuable.

I would like to add one more point. If you find yourself immersed in water cold enough to result in experiencing a "cold shock response," you better have a pfd on or quite probably none of the above will matter!

Ducharme, M.B., and Lounsbury, S. 2007. Self-rescue swimming in cold water: the latest advice. Appl. Physiol. Nutr. Metab. 32(4): 799–807

For more on cold water immersion, check out the web site of University of Manitoba professor Dr. Geisbrecht. Watch the videos, they are worth the time.

Wednesday, May 21, 2008

South Saskatchewan River Ecocanoe Tour Map Guide

The Meewasin Valley Authority has recently made the South Saskatchewan River Ecocanoe Tour Map Guide available online in pdf form. This series of maps is an excellent resource for paddling the South Sask from Gardiner Dam to the Forks. Originally published in 1998, it has been out of print and unavailable for some years now.The guide breaks down the trip into sections or "reaches" each of which can be paddled in a day (usually a short day but that might depend on the section and on the wind). It provides information on access points, historical highlights of each region, and points of interest along the way. The original version was published on large paper sheets (11x17) with the map on the front, and the extra information on the back, with all of the sheets packaged in a folder so that you can take just the relevant sheets when paddling certain sections.
The maps can be found on the Meewasin Valley Authority web site.

12/6/08 Update: I just realised that the guide available online so far only covers Gardiner Dam to Saskatoon. I called the Meewasin Valley Authority this morning and they tell me that the second half of the guide (Saskatoon to the Forks) should be available online soon (two weeks?). Also, the MVA will be making black and white photocopies of the guide and will have them available at the MVA office for $10 to cover the cost of printing. I wonder how much it would cost to have a company like Mondrian print colour copies of the guide? (I have sent them a query by e-mail.)

Monday, May 19, 2008

Torch River 2008

My wife, our eldest daughter, & I went up to the Torch River again for the third year in a row, this time with a group from the Saskatoon Canoe Club. Last year we had snow the day before, highs of about 10C and muddy roads, impassable for our Honda Accord. This year things were looking better. The forecast for this weekend was excellent with highs of 22C and nothing but sunshine for the foreseeable future. With lots of hats and sun protection packed, we were prepared for a beautiful two days of paddling this small river. In the morning before leaving PA we woke to gray skies and an altered forecast.

The gravel and dirt roads in to the river were quite the contrast to last year's mud. Clouds of dust billowed behind the train of vehicles. As we neared the put-in just a few small drops were falling from the sky. We were on the water a few minutes after noon and within a couple of minutes the rain began. The rain was light but steady through the entire paddle and the temperatures dropped throughout the afternoon.
Nonetheless, the paddle was good. The "North Loop" of the Torch River is scenic, though we perhaps didn't revel in it the same way we might have had it been a bit warmer and drier. There are a few sections of riffles and class 1 rapids, and one good section of rapids right where a creek flows in from the north. It was at this section of rapids that I was unable to avoid one large wave. Knowing we were going to hit it, I decided to hit it straight and punch through. My wife, on the other hand, had her own ideas and did her best to counteract my efforts. Unfortunately, our daughter was sitting on the floor at the bow with an umbrella over her. The umbrella did not protect her from the wave as it poured over the bow, but it did compromise my wife's ability to paddle through the rapid. The added weight of having the girl in the bow would certainly have made matters worse, causing the bow to plunge deeper into the standing wave. She was not too happy about that particular bit of excitement. Once safely below the set of rapids we went to shore and our daughter donned a dry set of clothing (special thanks to Sheri for her help).

We finished the afternoon without further mishap, though the drizzle continued. Just as we arrived at the day's take-out, the drizzle tapered off to a mist, perhaps even stopping and the sun nearly peaked through the thinned clouds. However, this was just a tease and the drizzle returned. My wife & I decided to head back to PA that evening as we were running out of dry clothes for our daughter and the lining of her rain jacket was wet. If we had good weather for the next day, we would have been OK, but we didn't trust the forecast (which predicted better weather). We also had some concern about getting out on the muddy roads after any further rainfall, especially after Jay had already gotten his van stuck about 12 feet after leaving the take-out. As it turned out, our decision was good. Last night it rained all night in Prince Albert (about 100 km from the Torch River) and today was wet and cool (10-11C through most of the afternoon). I suspect that a couple of those that did stay might have had similar troubles on the road, though each of the vehicles that remained (a Toyota 4-Runner, a Dodge 3/4-ton 4x4, a full-size chev van) was much more capable than our small station wagon.

The participants in this year's excursion to the Torch River include Mark, Robin, Arlene, Jimmy, Ellen, Jay, Sheri, Larry and family, Steve, Martin, Heather, and a few others.

Check Mark's blog for a story and photos.

Some photos from the day, taken by my wife:

Our daughter takes a break from fishing and finds a spot to rest in the bow. Unfortunately, it proved to be a rather wet spot.

Jay & Sheri loving the rain.

Wet dog, wet Bryan.

Thursday, May 15, 2008

Almost There!

Here is a photo from a week ago, after the deck was fully skinned and before the coaming was installed. The deck was skinned in three pieces. small nails were poked through the fabric to help align it and to ensure the holes for the coaming could be located.
Since that time the coaming has been installed, mostly. I ran out of machine screws so had to buy two more.

In order to create tie down points for carrying handles, and the rest of the deck rigging, padeyes using 1" D-rings (bought at Fabricland, probably not the cheapest or the best selection but they had them) were installed. Pieces of PVC, 1" x 6" were cut, glued then folded over and trimmed (as per Tom Yost's instructions) to create 3" long padeye anchors to be glued to the sides of the kayak with the D-ring at the deck. The narrow strip of masking tape created a glue-free spot in the center where the D-ring sits and

These were then glued to the kayak, one pair at the bow, one pair at the stern, two pair for bow deck bungees and two pair for the stern deck rigging (which will use cords and a pair of sliders to tighten them).

The Orca-style decoration was also glued on today. The whole thing was cut from blue PVC then the yellow patches were glued on afterwards.
I have to remember to draw the eyeball on the Orca yet with black marker.

With the kayak very nearly complete (I still need to make the outriggers, cut off the coaming bolts, and fit out the cockpit with foam) the girls were trying it out on the lawn this evening. My older daughter loves to pose, so we indulged her by taking a few more pictures of the girls with the kayak.

Tuesday, May 13, 2008

Pool Test

We had the opportunity to test the kid's nearly completed kayak out in a pool on Sunday.


The girls & I were pretty happy with it. Quarters in the hotel pool were somewhat cramped and there were a couple of other people there so we couldn't let the kids really go more than a few feet in any direction, lest someone get hit with the too-large paddle (she borrowed Mom's). My older daughter had no problems keeping the kayak upright, nor did she seem bothered by the stability or the kayak rocking back and forth, even with a fair bit of water on board. I did find that the bolts around the caoming will need to be cut shorter and the ends covered with something to protect her thighs from them.

Still on the To Do List for the Sea Flea is:
  1. Buy D-rings, add tie-downs & deck bungees
  2. Add the decoration to the deck.
  3. Cut off the bolts below the coaming.
  4. Add some foam to the cockpit to pad it out, create a pad to sit on, and a bit of a backrest.
  5. Build or buy a paddle.
  6. Build a set of outriggers.

Sunday, May 11, 2008

My Daughter In Her Kayak

My older daughter drew a picture for me yesterday.

It looks like fun paddling with the Orca.

Thursday, May 08, 2008

Air Bags for a Kayak

Inspired by Anton Olsen's flotation bags installed in his daughter's Sea Pup, I decided to make some for the Sea Flea. The air-filled flotation bags fill up the voids in the kayak so that there is less room for water when a mishap occurs. Somewhere I read that there are plans for flotation bags in the Chris Cunningham book, Building the Greenland Kayak, so I ordered it through the local library to have a look. Tom Yost also describes his methods for building flotation bags on his web site. It was Tom's description that I primarily followed. The bag for the bow was made first and I decided to make it out of a single piece of PVC fabric folded in half and glued at the seams. That ended up not working as well as I expected so the stern air bag was made as per Tom Yost's instructions. I should probably have made the stern air bag a bit larger in each dimension as it doesn't quite fill the stern but it's not bad.

Here is a paper template for the bow bag being laid out on the fabric.
My plan was for the seam to be on the bottom, the straight side where the fold is would be at the deck. However, with the seams on the ends, the bag takes on an oval shape in cross section, something I hadn't thought of. This meant that the bag fits properly only with the seam to the side and because of it's shape the end closest to the feet is angled. Oh well. Once glued up, the air bag was set in place. Although the bags are removable, I don't really expect to do so and it's a lot easier to get them in there now before the deck goes on the kayak.

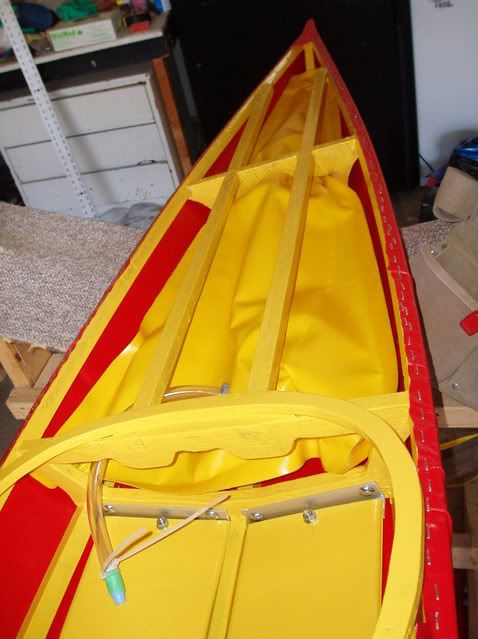
The stern flotation bag is inflated and tested for leaks. 
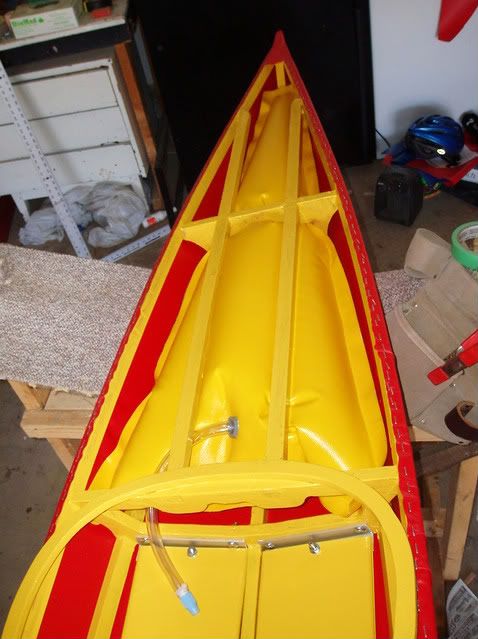
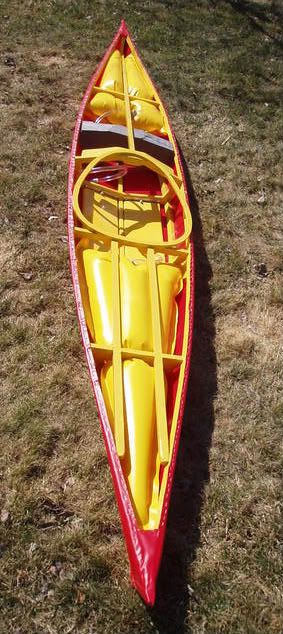
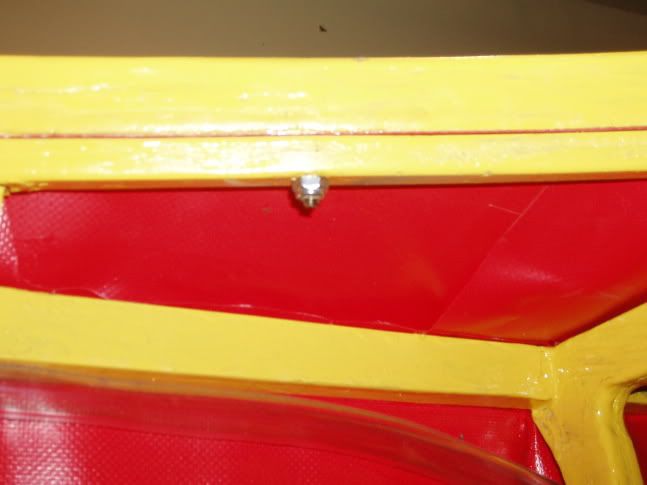
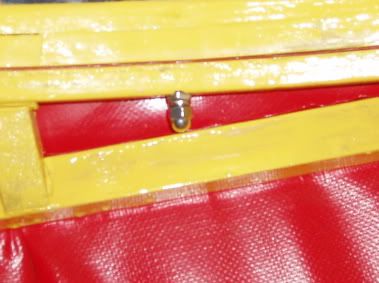
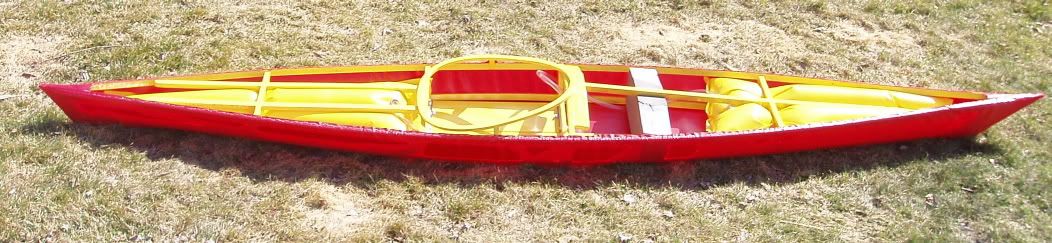
The foot brace I am using is a piece of minicell foam cut to size and wedged between the stringers (actually it was a near perfect fit prior to trimming and I mostly just cut the corners off). This chunk of minicell foam is left over from a bunch I ordered from Joe at Redfish kayaks in order to build the seat for the guillemot. As my daughter grows, I can trim the foam down and slide it more forward. Once her legs grow another foot, it will hit the front flotation bag but by then she'll probably be into a kayak that's a bit larger and my younger daughter will be paddling this one. 
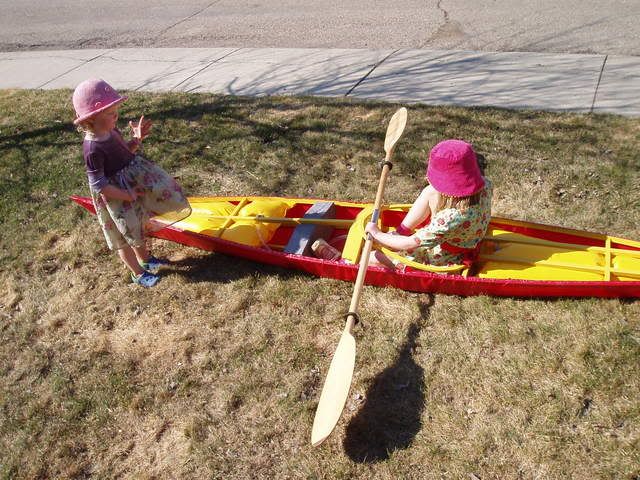
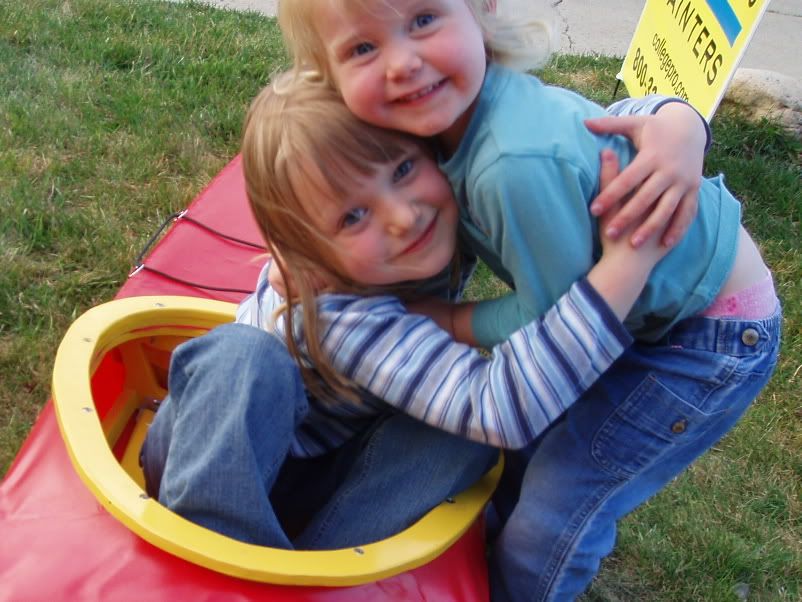
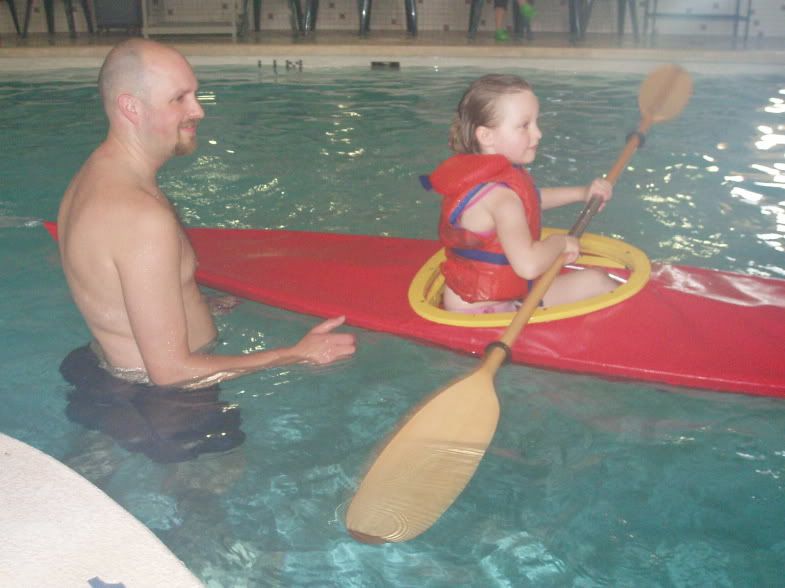
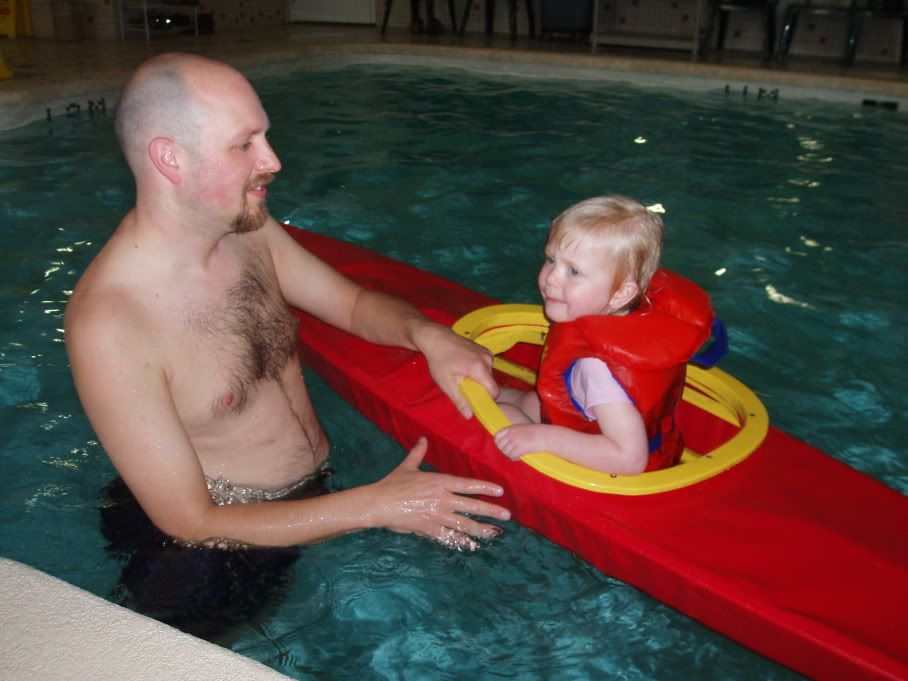
Incidentally, the Chris Cunningham book also includes information about building kid's kayaks, and adding outriggers.